Identify an OSAT that you would like to design to be a 3D printable technology
Make sure someone else has not already done it : existing designs here.
Reserve your OSAT by signature tagging with ~~~~ next to the OSAT on the list generated by the Appropedia community: Requests for 3-D printable open source appropriate technology. You can add your own ideas to the list, more than one of you can tackle the same tech in a different way, you may improve upon existing designs if you do so in a significant way. Do this by 11/18
Design 3D printable components with ONLY OS CAD packages (e.g. OpenSCAD, FreeCAD, or Blender)
Create a Appropedia page for your project. (Easiest way to create a page is to search for the name of it and then click on the red link or in the list put double square brackets around it)
Include the following sections on your page using the template below (copy and paste wiki markup into your page)
Add picture and link to your project page in gallery below.
Print component and bring to class - Complete and due by 12/4
Grading
20% Print quality
30% Documentation
25% Design (design for printing, plastic minimization)
25% Function - Is it OSAT? Does it work?
Automatic reductions:
-50% no source or the use of non-OS software
-10% per day for late
Gallery
Add your image and link the gallery below in a single line after the last one in the list
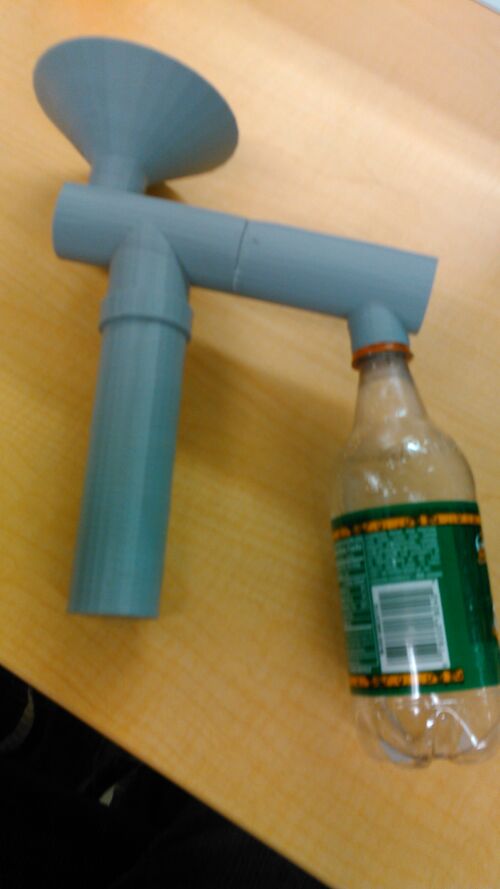
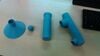
This device collects rain water in a water bottle or any container that has standard bottle threads. It includes a purge container that collects the initial dirty rain water. The reason this water is dirty is due to the sediment that collects on a roof between rain cycles. Once the purge container is filled a ball floats to the top and closes of this container and the clean rain water is diverted into the water bottle.
Picture of Rain Water Collector
Bill of Materials
All compents are 3D printable but glue is needed to secure the purge main to the bottle collector and a container with standard bottle thread is need to collect clean water.
The file used for the bottle neck threads and funnel were designed by laird can be found here [4]
Paragraph description of the OSAT - why is it Appropriate? What need does it fulfil? Are there case studies you have found of a technology being used successfully?
Provide a full BOM -- Materials needed for fabrication of device and alternative materials if they are not available, prices/sources of non-printable parts
If you used special skill – link to relevant wikipedia or wikiversity articles/courses
Technical Specifications and Assembly Instructions
Provide directions for print/assembly - be detailed enough in your “how to” to ensure that someone could construct the device from your description. Consider the elegance of IKEA like instructions.
Error in widget YouTube: Unable to load template 'wiki:YouTube'
Common Problems and Solutions
Include common mistakes/problems to avoid in building your OSAT and how to overcome them
Cost savings
If your solution is not a low cost one then it is not really appropriate.
Estimate your costs
Find a commercial equivalent
Calculate $ savings and % savings
References
The sources of information (e.g. engineering handbooks, journal articles, government documents, webpages, books, magazine articles etc.). References should use the <ref> </ref> and <references/> tags and can be in any format but should include all the information necessary for someone else to find the same information you did. For example: [1]
Based on the developmental needs addressed (e.g. food, heat, electricity, clean water, health care, etc.) be sure to label your device in the proper categories e.g. use [[Category:Water]]. Be sure to categorize your device so that it will be easy to find – for example “Low voltage connection basics” is categorized in
[[Category:How tos]]
[[Category:Electricity]]
[[Category:Electric lighting]].


.jpg)


![black mamba bicycle pedal[[1]]](/File:Pedal4r.JPG)


![[Field Dressing Tool]](/File:Tool_Cutting.JPG)


.JPG)


![[2]](/File:DoorHinge.jpg)


![[[3]]](/File:Rain_water_collector.jpg)
![[Seed Drill Punch]](/File:SeedDrillPoke.JPG)
![[Bike Hub Pelton Turbine]](/File:Pelton_wheel_iso.png)


![[Wind Turbine Blade]](/File:Blade.jpg)


