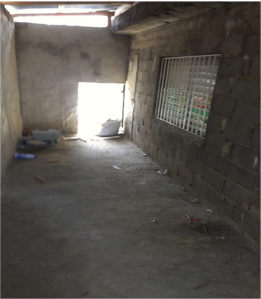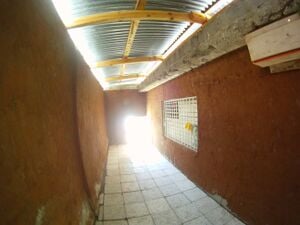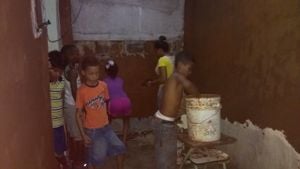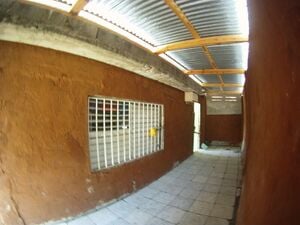
In 2011 an ecoladrillo schoolroom was built as an additional room to Escuela Basica Nurys Zarzuela in La Yuca, del Naco, Santo Domingo, Dominican Republic.[1] Currently the room is only being used as a storage space, which is not the originally intended purpose. To be more suitable for other purposes the room needs a new wall plaster, an improved floor, and a better ventilation system that does not let in rainwater. The renewable energy systems also need to be fixed for the LED lights in the room to function.
Objective[edit | edit source]
The objective is to fix the ecoladrillo schoolroom by adding a new plaster to the walls, fixing the floor, and fixing the ventilation of the room using natural building techniques.
-
The schoolroom before changes made in 2013.
-
The schoolroom after changes made in 2013.
Literature Review[edit | edit source]
Here is the link to the literature review for the ecoladrillo schoolroom.
Criteria[edit | edit source]
To help with the decision making process this is the weighted criteria created based on the interests of the school director.
| Criteria | Constraints | Weight (0-10) |
|---|---|---|
| Safety | Must be non-toxic and earthquake safe. | 10 |
| Longevity | Must last more than 2 years. | 9 |
| Aesthetics | Must be aesthetically pleasing enough to use for class. | 6 |
| Locality | All materials must be found in Santo Domingo. | 6 |
| Cost | Must be within budget. | 5 |
Proposed Timeline[edit | edit source]
This is the proposed timeline for when things should be done.
| Objectives | Completion Date | Responsible |
|---|---|---|
| Choose Project | June 7th | |
| Literature Review | June 10th | |
| Retrieve solar panel and troubleshoot lights | June 12th | Dom |
| Find and gather materials | June 14th | Patricia |
| Test all materials | June 15th | Alan |
| Check tests | June 16th | Patricia |
| Get lights working | June 16th | Dom |
| Hope for rain and find leaks in room | June 21st | Dom |
| All walls plastered | June 23rd | Alan |
| All leaks fixed | June 26th | Patricia |
| Floor done | June 28th | Alan |
| Final touch-ups/something extra? | June 30th | Patricia |
| Appropedia document | July 1st | Dom |
| Presentation | July 4th | Alan |
Construction Process[edit | edit source]
Detailed below are the steps to improve the schoolroom in La Yuca.
Ventilation[edit | edit source]
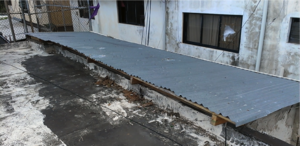
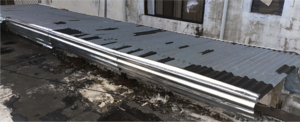
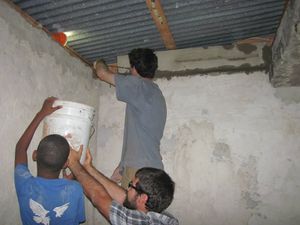
Water leaks into the room in various places when it rains. The room must be waterproof to prevent water damage to the room and the things inside.
Ventilation Materials & Budget
| Materials | Unit Price (RD$) | Quantity | Total (RD$) |
|---|---|---|---|
| Roofing nails | $26 | 2 boxes | $52 |
| Styrofoam 4'x8'x2" | $450 | 1 | $450 |
| Cement | Donated | 20lb | $0 |
| Total Cost | $502 | ||
Welding[edit | edit source]
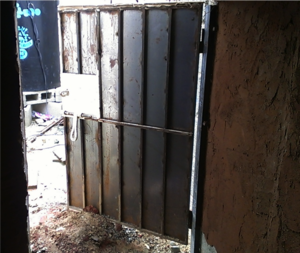
There were various parts of the project that required soldering. A welder in La Yuca was hired to solder the solar panel brace, the back door cover, and to fix the front door, which had a broken hinge. He also provided the zinc roofing sheets used to prevent water from entering through the roof. The cost for these materials was DR$ 2300 and for the labor was DR$ 800. The total cost was about DR$ 3100.
Solar Lighting[edit | edit source]
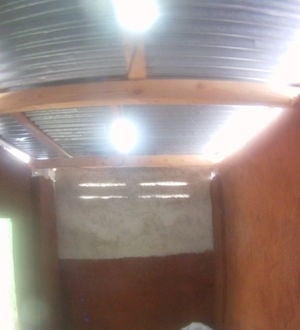
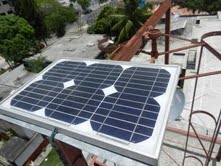
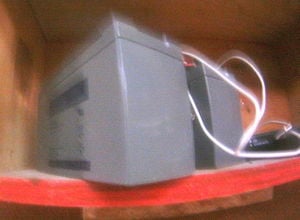
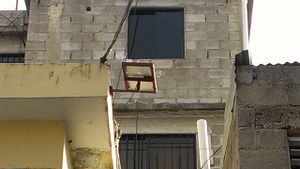
In 2011 a renewable energy system used to power lights was installed on a roof near the school.[2] In 2013 the system no longer worked, because the wire was cut, the battery was dead, and there was corrosion in some of the wires. To solve this issue, the panel was moved to the roof of the school, closer to the schoolroom, where it is visible to nearby neighbors and where theft is less likely. Two new batteries were installed, and the system was simplified, since the wind turbine was no longer being used. The shunt and relay installed previously were taken out, and now the batteries, the panel, and the lights are connected directly to the charge controller with fuses near the battery and the light switch.
Components
Please see La Yuca small scale renewable energy 2012 for more detailed information on the previous renewable energy system.
Solar Lighting Materials & Budget
| Materials | Unit Price (RD$) | Quantity | Total (RD$) |
|---|---|---|---|
| Solar Panel | Free from previous years | 1 | $0 |
| Batteries | $800 | 2 | $1600 |
| Fuze | $30 | 1 | $30 |
| Wire | $41 | 2 | $82 |
| Electrical Tape | $40 | 1 | $40 |
| Total Cost | $1752 | ||
Plaster[edit | edit source]
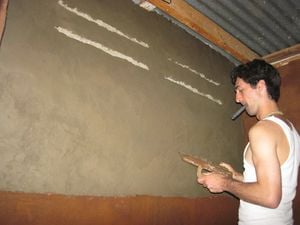
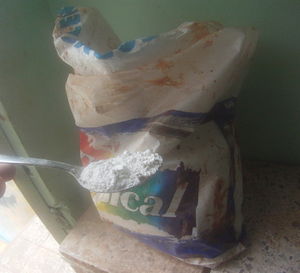
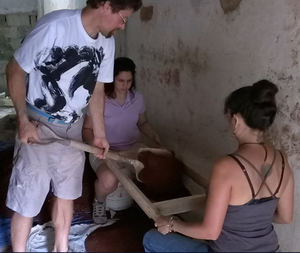
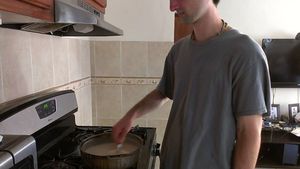
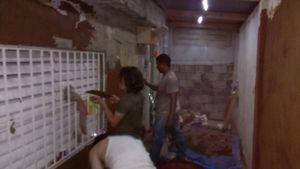
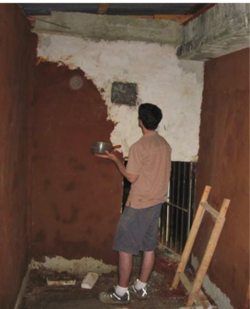
The cement and sand walls from 2011 had some cracks in them, and the block walls needed a better aesthetic finish. The ideal plaster would be one that could be applied over a cement wall and a block wall without cracking and look aesthetically pleasing on both. Many natural plasters were explored, and the final decision was a natural plaster that includes flour paste, clay, sand, and lime.
Tests
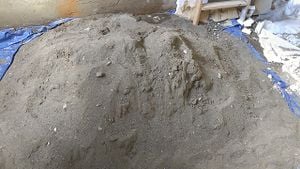
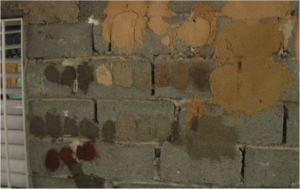
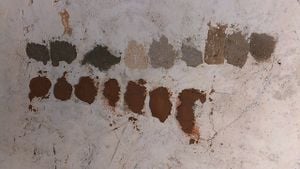
Many test plasters were created to find the best plaster for the situation. Adobe and the sawdust and cement mixtures were tried, but both turned out to be too thick and did not stick to the wall well enough to be a finish plaster. Clay paints were tried, but they cracked where there were cracks in the wall. A mixture of flour paste, sand, clay, and lime turned out to be the best test. The first mixture we had that we wanted to use was aesthetically much more attuned to what the director of the school wanted. Local clay was found in an excavation site in La Yuca where it could be gathered for use in the schoolroom. If the final mixture was just right it would create a smooth, aesthetically pleasing finish that was also more durable in the scratch test than the preexisting wall of cement and sand. However, it is not more durable when wet, so care must be taken not to let the walls get wet.
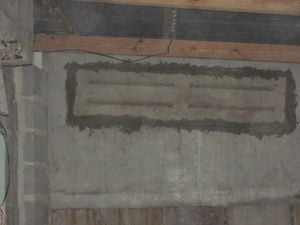
Test Patch
The strongest test was a mixture of just sand, flour paste, and cal, but we decided not to use it based on a lack of existing research or data on using a mixture without clay. One square of the mixture was put above the back door, so in a year the durability of the patch can be compared with the rest of the wall. The mixture for the patch is: 1/50th parts lime dissolved in 1 part water, 2 parts flour paste, and 5 parts sand.
Final Decision Recipe
The final decision was a mixture that used the grey plaster sand, four paste, lime, and the clay found locally in La Yuca.
Plaster Materials & Budget
| Materials | Unit Price (RD$) | Quantity | Total (RD$) |
|---|---|---|---|
| Lime | $68/25lb | 25lb | $68 |
| Clay | Free | 3 wheelbarrows | $150 in tips |
| Sand | $225/0.25m^3 + $350 delivery fee | 0.25m^3 | $575 |
| Flour | $750/50lb | 25lb | $325 |
| Gas for cooking | $200 | 1 | $200 |
| Total Cost | $1428 | ||
Floor[edit | edit source]
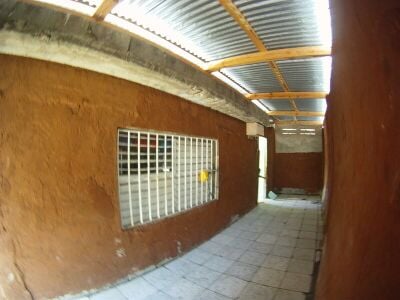
The floor was made using old donated tiles and cement mixed with sand. The leftover clay was laid down first to help level the floor, so less cement and sand would be necessary. Some waste sawdust from La Yuca and Las Malvinas was also laid down to level the floor.
Floor Materials & Budget
| Materials | Unit Price (RD$) | Quantity | Total (RD$) |
|---|---|---|---|
| Tiles | Donated | 200 | $0 |
| Cement | $350 | 3 | $1050 |
| Sand | 1100/m^3 | 0.5m^3 | $550 |
| Total Cost | $1700 | ||
Video[edit | edit source]
Next Steps[edit | edit source]
- Monitor the integrity of the plaster over time.
- Compare the test patch to the rest of the plaster in one year.
- Apply a lime wash if the plaster begins to degrade, or if the color is too dark.
