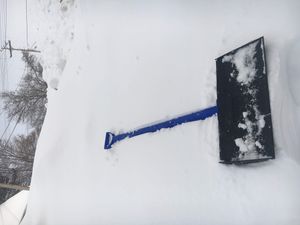
Snap Together Snow Shovel[edit | edit source]
Project developed by Brett Hulbert
Abstract[edit | edit source]
This project consists of multiple components that can be assembled into a full scale snow shovel. Some commercial shovels are very expensive, and their only purpose is to pick up snow and place it somewhere else. For someone who cannot afford an expensive snow shovel, this design is appropriate for them, as this is a task that can very easily be obtained by 3D printable components. Each component to the design were all used using open source hardware and software. Additionally, this design was created to require the least amount of outside tools and assembly.
Bill of Materials[edit | edit source]
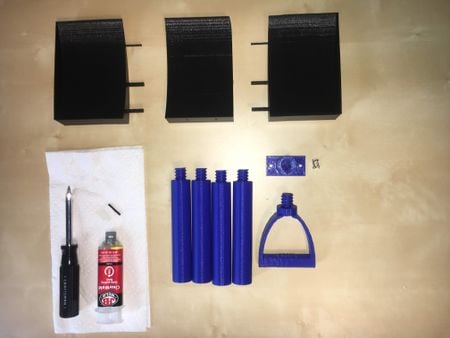
- Snow Shovel 3D printed components (Source code and.stl files for all components are found by clicking the following link to Youmagine: [1]
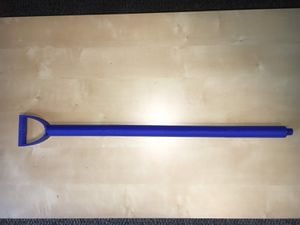
- Handle
- Middle plow piece
- Right plot piece
- Left plow piece
- Handle extension piece
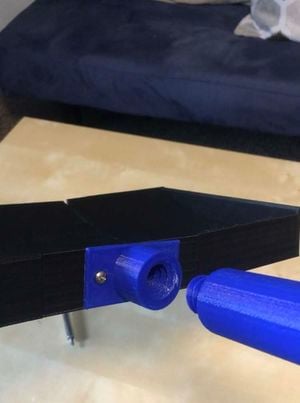
- Thread connector piece
- Super glue or epoxy
- Two screws below size #10
- Two washers
Tools needed[edit | edit source]
- MOST Delta RepRap or similar RepRap 3-D printer
- Super glue or epoxy
- 2 screws size #10 or below
- 2 washers (if needed based on screw)
Skills and knowledge needed[edit | edit source]
- None
Technical Specifications and Assembly Instructions[edit | edit source]
- Print all 6 Components with desired infill and support material
- Handle (~15% infill, support material)
- Plow middle (~20% infill, support material)
- Plow right (~20% infill, no support material)
- Plow left (~20% infill, no support material)
- x3 Handle extension piece (~20% infill, support material)
- Thread connector piece (~15% infill, no support material)
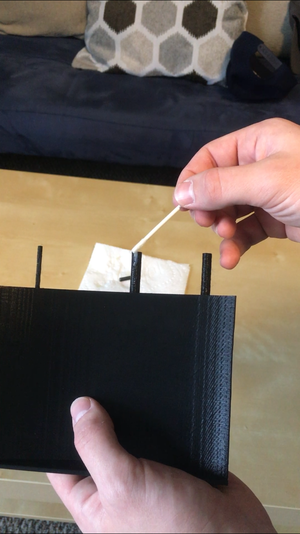
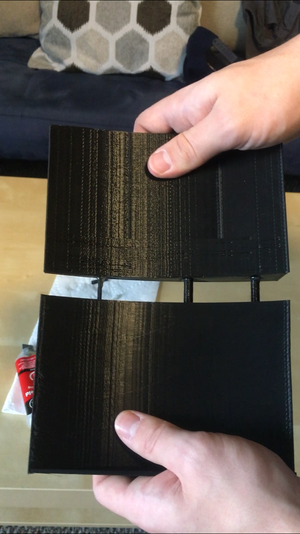
- Press fit the left plow piece into the middle plow piece using the connecting rods. Use glue or epoxy on the rods that connect the two pieces to ensure best fit
- Press fit the right plow piece into the middle plow piece using the connecting rods. Use glue or epoxy on the rods that connect the two pieces to ensure best fit
- After epoxy is applied and plow pieces are inserted, put weight on to assist the epoxy in bonding the plow pieces together
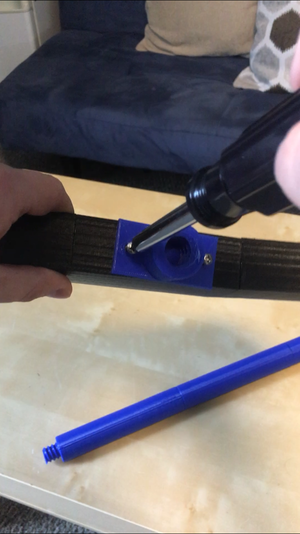
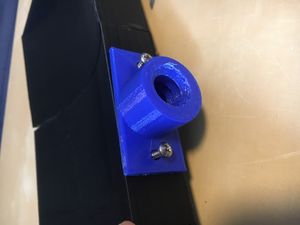
- Screw the thread connector piece into the back of the plow assembly, using washers if needed
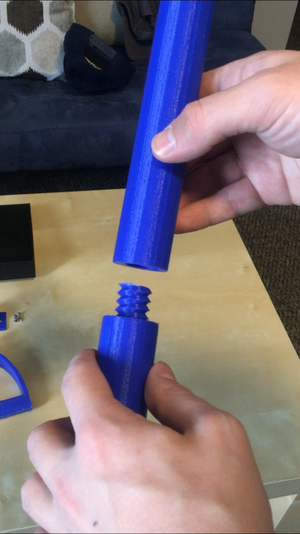
- Thread the three handle extension pieces together
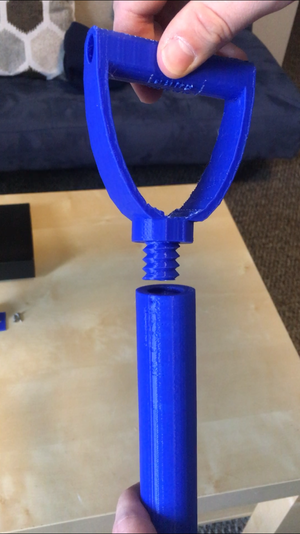
- Thread the handle onto the end of the extension assembly
- Thread the extension and handle assembly into the plow piece assembly
- Print time estimate:
- Handle (~1.5 hrs)
- Plow middle (~2 hrs)
- Plow right (~2 hrs)
- Plow left (~2 hrs)
- x3 Handle extension piece (~2 hrs)
- Thread connector piece (~30 min)
- Assembly time estimate: 10 minutes
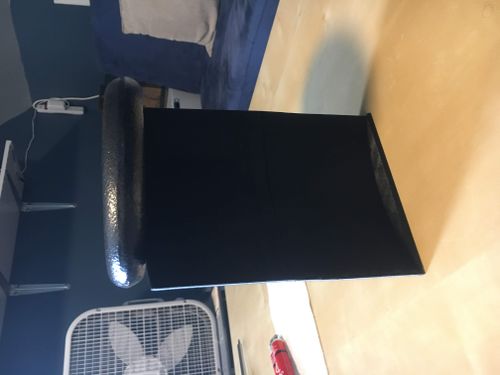
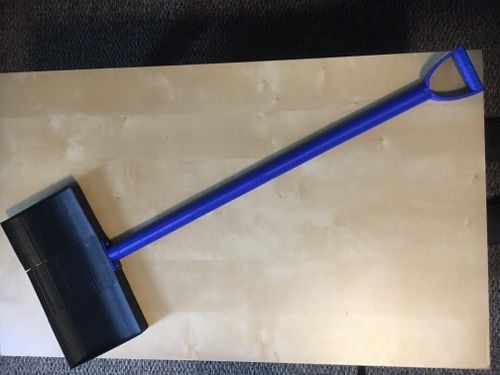
- Picture of full assembly:
Common Problems and Solutions[edit | edit source]
- Keep in mind what direction you are printing the pieces in. For some prints, if the threads were not printed straight up, the resolution would not be good and they would not fit into each other.
- Consider taking a knife and widening thread entry holes, as this will make it easier for the threads to work properly
Cost savings[edit | edit source]
- All combined pieces equal a total of 432 grams. For the PLA spools that I purchase from, that equals a price of $6.84
- A commercial equivalent of a standard snow shovel can be found from the following link, and its cost equals $20.99 [2]
- Comparing the two products, this 3D printable shovel will save $14.15 compared to the commercial equivalent, equaling a 67.41% cost savings
Benefited Internet Communities[edit | edit source]
- Appropedia users - OSAT applications [3]
- r/3DPrinting [4]
- r/opensourcehardware [5]
- Community snow observations [6]
- Ski and snowboard groups [7]
References[edit | edit source]
- ↑ web page: Tractor Supply 24 in Snow Pusher, Available: https://www.tractorsupply.com/tsc/product/true-temper-24-in-poly-snow-pusher-1256757?cm_mmc=feed-_-GoogleShopping-_-Product-_-1256757&gclid=EAIaIQobChMIp4fu9b6d5gIVh4bACh22MARtEAkYCyABEgKi-_D_BwE
Based on the developmental needs addressed (e.g. food, heat, electricity, clean water, health care, etc.) be sure to label your device in the proper categories e.g. use. Be sure to categorize your device so that it will be easy to find – for example "Low voltage connection basics" is categorized in
.
