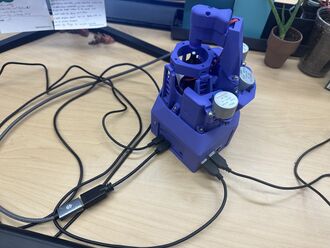
To set up the microscope must be connected to a power via the USB-C port, and connected to a monitor with an HDMI cord and to a keyboard and mouse using the USB-A ports.
Fig 1. CablesMicroscope will turn on automatically once connected to power
To Use:
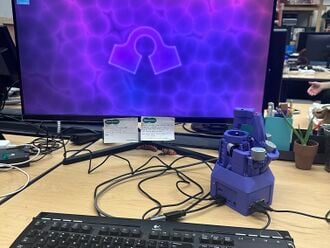
Double click the icon titled "OpenFlexure Connect"
Fig 2. Openflexure Software
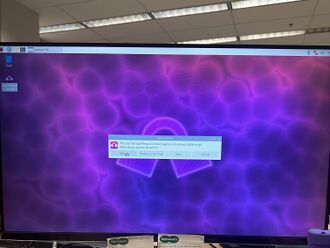
Choose the "Execute" option
Fig 3. Execute
Connect to the microscope - should be the only available
Under the capture tab images can be taken by clicking the "Capture" button
Under the navigate tab the stage can be moved by entering coordinates
All images taken can be found under the gallery tab
Images taken are automatically saved to files under the path var>openflexure>data>micrographs and can be transferred to an external hard drive for transfer