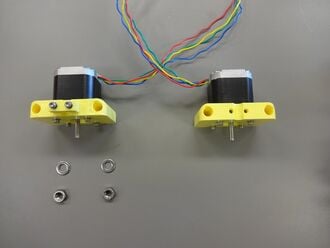
..Attach the guide rod clamp to one of the motor mounts. Don't tighten the screws yet.
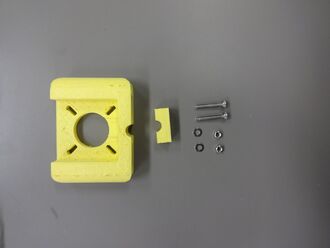
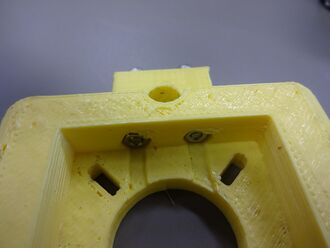
.Make sure the nuts are inside the recesses.
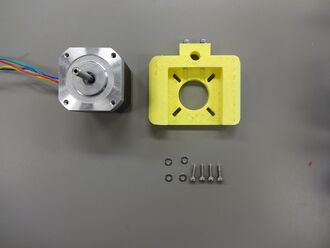
.Next, attach the motors to the mounts.
.Make sure the wires are on the proper side.
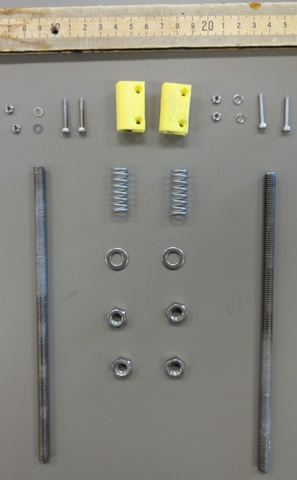
.Next step is to assemble the lead screws. The washers in the picture shouldn't be used. The bottom nuts are in the picture, but aren't used yet.
.Assemble the top part of the screw. Add the top screws as well, but don't tighten them (not shown in the picture).
Screw them into the X-axis and screw the bottom nut on.
.Set the top nuts of the lead screws to approximately halfway of the lead screw, then push the X axis into the spring to thread the bottom nuts up. Thread them so far, that when letting the X axis rest on them, the top screws are flush with the plastic.
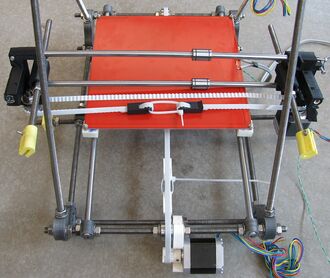
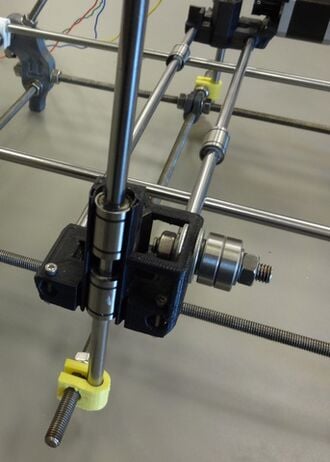
.Put the X axis with those rods on the base of the printer.
Attach the motor mount with the guide rod clamp to the right side of the top rods. Make sure the rods don't stick out.
Attach the other motor mount to the left side of the top rods. The rods will stick out considerably.
.Put the smooth rod from the top through the motor mount block.
.Then through the X-axis.
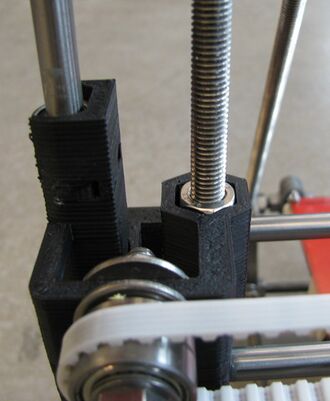
Then through the lead screw support. Note that there are some issues with this, so you may want to skip this. It is also not on the pictures for this reason.
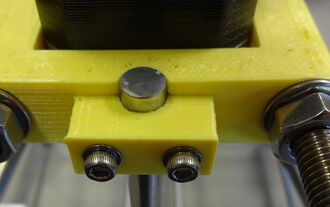
.Finally, put a clamp at the bottom of the bar with nuts and washers. Push the smooth rod through it. Don't tighten anything.
.Attach the other smooth rod in the same way. Note that it doesn't have the top clamp.
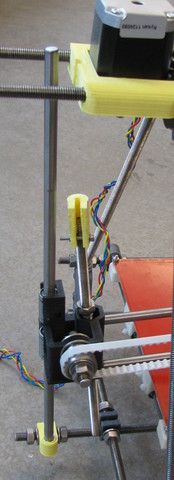
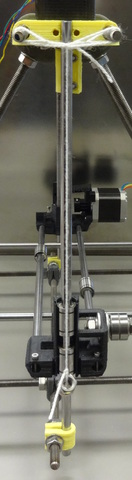
Slide the extruder onto the top rods, so that it clamps the smooth rod.
Put the tube through the top rods.
Click the X carriage onto the X axis bearings. You will need considerable force for this; be sure to support the bearings from underneath.
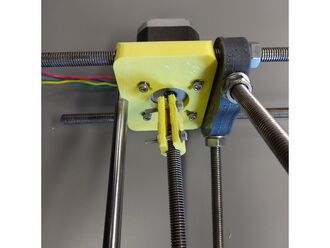
.Connect the lead screws to the motors.
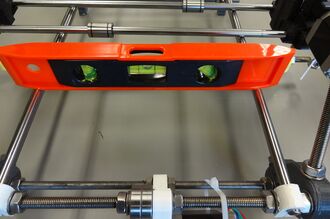
.Next we will align the frame. We use gravity, which is exactly vertical. This means we want the base of the frame to be perfectly horizontal. Position the frame in a way that allows easy access to both sides, then using paper under the footed verices (the parts that touch the table), make sure the y axis is horizontal. Check this with a spirit level.
.Put a piece of flat material on the Y-axis smooth rods and check the x axis to be horizontal with the spirit level. Add paper to the feet as needed.
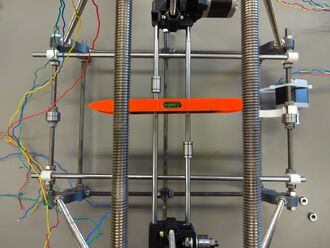
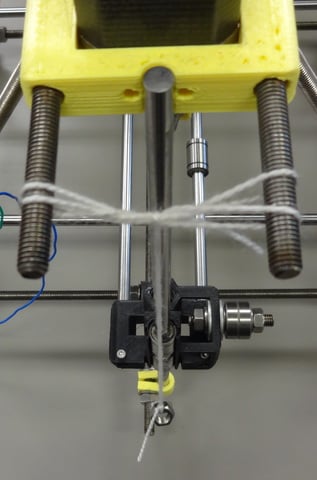
.Hang a nut on a string to make a vertical line.
.Adjust the bar clamps on the bottom (in both horizontal directions) to make sure the smooth rods are completely vertical.
.Attach the z-axis limit switch to its holder and then place the assembled end stop on the guide rod under the x-axis motor end. Insert an M3 nut and an M3 x 20mm screw into the end stop holder and tighten just enough to keep the holder in place on the guide rod. Don't worry about its height yet.