Instructions for Making a Nut Sheller
Based on the kit available from the Full Belly Project
There are two sets of molds, one for the stator and one for the rotor. Each mold set has an inner mold and an outer mold.
Stator Molds: The stator is the concrete piece that makes up the outside of the machine and does not turn.
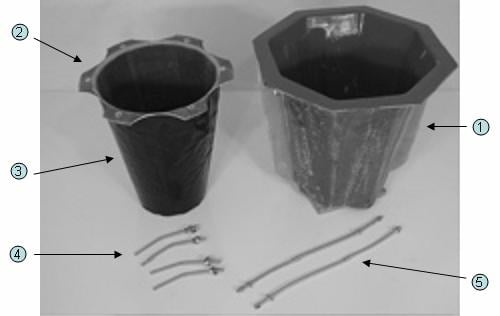
1. Outer Stator Mold, 2. Inner Stator Mold, 3. Plastic Sleeve, 4. Bent Anchor Bolts, 5. Long Stator Rods
Step 1: Assemble the Outer Stator Mold (#1).[edit | edit source]
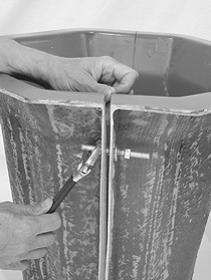
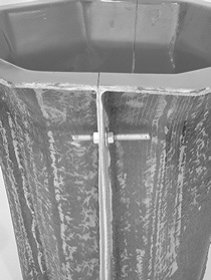
Tighten the bolts that hold the two sides of the outer stator mold together. Do not over tighten the bolts. If the molds have been used before, check that the side expansion joints are free and clear of any residual mortar or foreign matter of any kind that could prevent the mold from sealing.
 |
 |
Step 2: Grease Inside of Outer Stator Mold (#1).[edit | edit source]
Wipe inside of the Outer Stator Mold with a thin layer of cooking grease. This keeps the concrete from sticking to the mold.
Step 3: Install Plastic Liner (#3) over Inner Stator Mold (#2)[edit | edit source]
Slide the Plastic Liner over the Inner Stator Mold. Try to make the liner fit around the mold as smoothly as possible. ANY FOLDS IN THE PLASTIC WILL MAKE A WEAK SPOT IN THE STATOR.
Step 4: Insert Bent Anchor Bolts (#4)[edit | edit source]
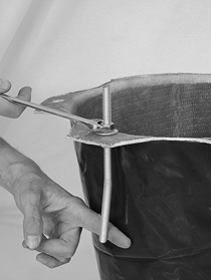
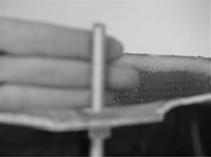
Insert four Bent Anchor Bolts into the four holes in the Inner Stator Mold, leaving any two opposite holes open as shown. Be sure to turn rods so that lower tips are one finger width away from the plastic liner. Place one washer (#17) and one nut (#18) above and below the lip. The end of the bolt sticks out three finger widths.
 |
 |
Step 5: Place Inner Stator Mold (#2) in Outer Stator Mold (#1)[edit | edit source]
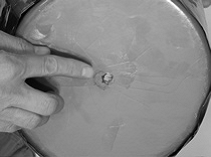
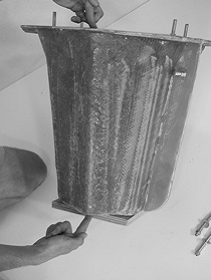
Insert Inner Stator Mold into Outer Stator Mold. The center pin in the bottom of the Outer Stator Mold fits into hole in center of the Inner Stator Mold. Rotate the inner mold so the open holes are immediately above the open holes in the bottom of the outer mold.
 |
 |
Step 6: Insert Long Stator Rods (#5's)[edit | edit source]
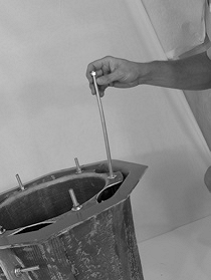
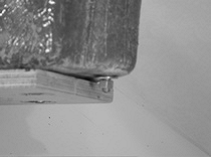
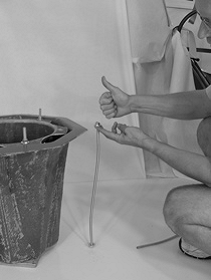
Insert the Long Stator Rods into the two remaining holes in the Inner Stator Mold. Each rod passes through a hole in the bottom of the Outer Stator Mold and is secured by one washer (#17) and one nut (#18) on each end. At the narrow end of the stator mold, the ends of the rods do not extend past the wood base. The rods have a slight "S" bend. Rotate the rods so the ends of the rods are perpendicular to the molds. (See Picture). Tighten nuts, but DO NOT OVER TIGHTEN. The Stator Molds are ready for concrete.
 |
 |
 |