Rotor Molds[edit | edit source]
The Rotor is the concrete piece that is cast around a central shaft. The rotor is the piece that turns inside the stator.
 |
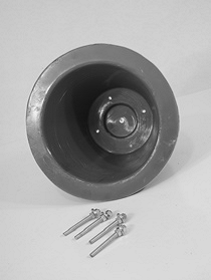 #8: rotor mold bolts |
Grease Inner Rotor Mold[edit | edit source]
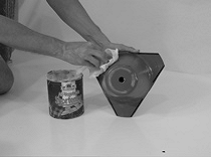
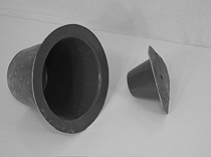
Locate the Inner Rotor Mold (#7). Wipe the smooth exterior surface of the inner rotor mold with cooking grease or heavy oil. This ensures an easy release of the concrete from the mold.
Grease Outer Rotor Mold[edit | edit source]
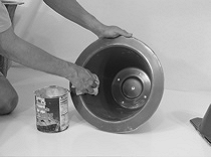
Locate the Outer Rotor Mold (#6). Wipe entire inner face of the outer rotor mold with cooking grease or heavy oil.
Mount four Rotor Rods on Outer Rotor Mold[edit | edit source]
|
|
|
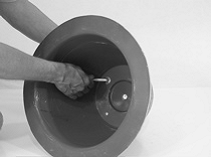
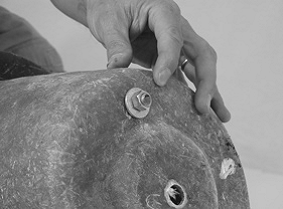
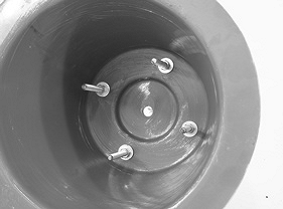
Install Rotor Rods (#8's)with one nut (#15) and one washer (#14) on both sides of Outer Rotor Mold (#6). Each bolt sticks one finger width outside the mold.
Insert Rotor Shaft into Outer Rotor Mold[edit | edit source]
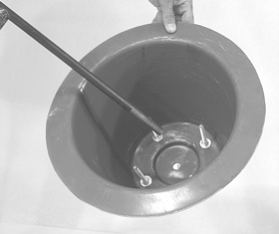
Insert the Rotor Shaft (#9) into the center hole of the Outer Rotor Mold (#6), threaded end first. The threaded end must be facing down, otherwise you will be unable to assemble your machine.
Assemble the stool[edit | edit source]
 |
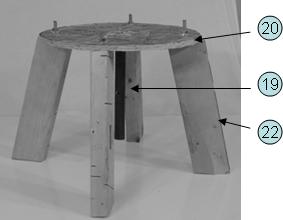 |
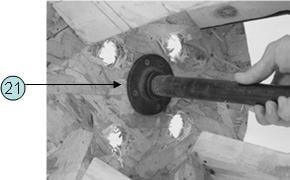
Assemble the stool by attaching legs (#22) to the base (#20). The flange (#21) must be on the same side as the legs, facing towards the ground. Next, screw the pipe (#19) into flange on the base.
Set Outer Rotor Mold on Stool[edit | edit source]
|
|
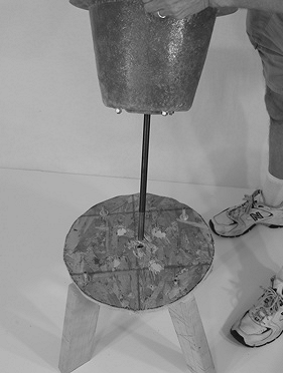
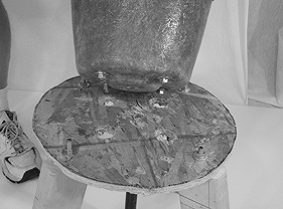
Place the Outer Rotor Mold (#6) on the stool by sliding the threaded end of the Rotor Shaft (#9) into the hole in the center of the stool. The four bolts sticking out of the mold should drop into the four holes on the stool base.
Securing Outer Rotor Mold with Lock Nut[edit | edit source]
 |
|
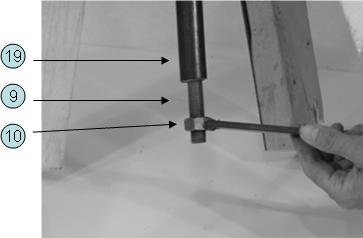
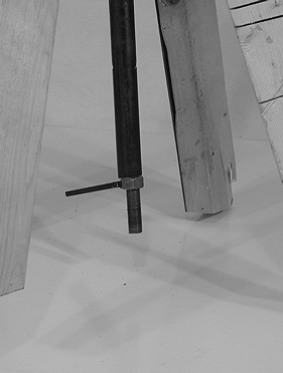
Spin the Lock Nut onto the threaded end of the Rotor Shaft and tighten by hand.
Put Inner Rotor Mold into Outer Rotor Mold[edit | edit source]
 |
|
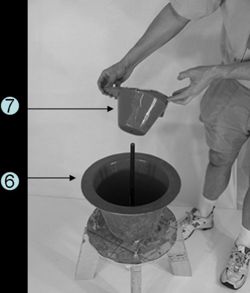
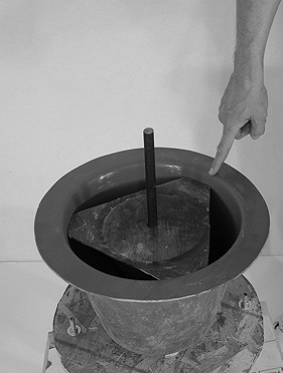
Slide the Inner Rotor Mold (#7) onto the Rotor Shaft.
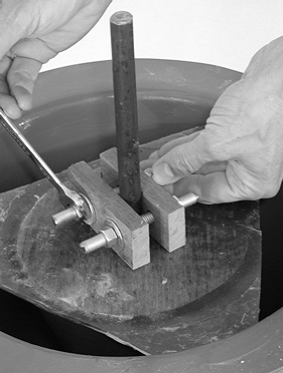
Pressing the Inner Rotor Mold (#7) tightly into the Outer Rotor mold (#6), slide the Wood Clamp (#11) onto the shaft and tighten.