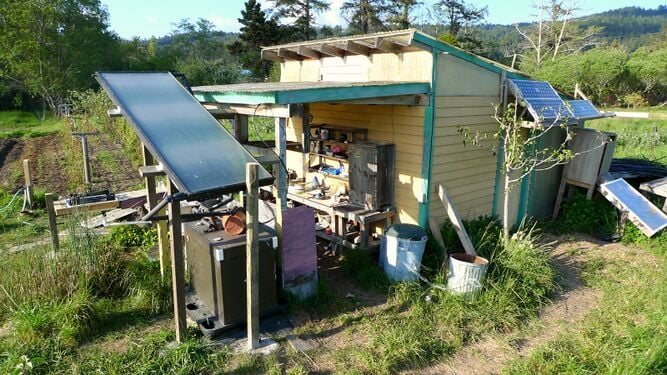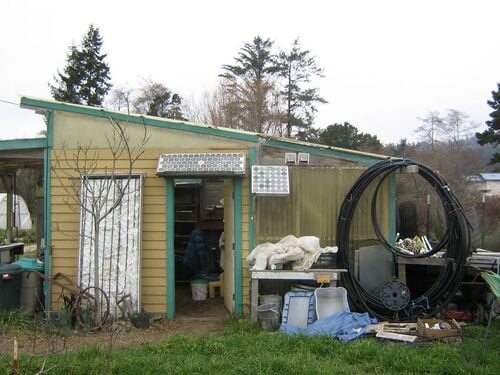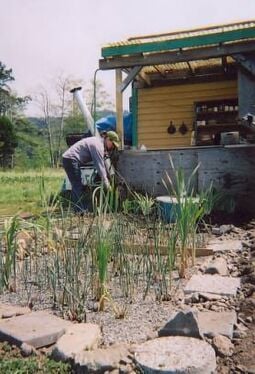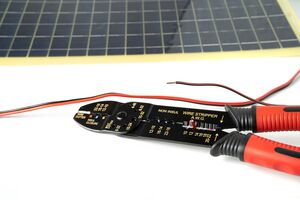
This paragraph will appear in search results and previews for this page. Write a brief introductory text with information such as a description of your project, when was it designed and built, your motivation to solve the problem, the intended users. This will explain your project to someone who has never heard of it before.
Background[edit | edit source]
Describe the background of the project. Make sure to cover who, what, why, when and where...
Problem statement[edit | edit source]
Start your project objective statement in the format, "The objective of this project is to...". Consider what will change once your solution is built and running.
Criteria[edit | edit source]
Include a brief intro to the criteria and then include a table with constraints and weights (0-10 highest).
| Criteria | Description | Weight (1-10) |
|---|---|---|
| Thoroughness of content | Who, what, when, were, etc. | 10 |
| Considers audience | This will be read by people outside the US and in the future, so be sure to add enough context. Consider that most people might not even know where Arcata is. | 9 |
| Formatting | Should look good, sortable table for criteria | 5 |
| Extra content | Makes documentation informative (e.g. images, video) | 5 |
Prototyping[edit | edit source]
Show examples of the prototyping process including what you learned. A great way to communicate your design your process (and to earn extra points!) is to show your early drawings (by hand and digital), failed attempts and photos of tools, materials and your team (or your hands) as you build this prototype.
- Sample gallery
-
Sample caption text.
-
More sample caption text. This would look better with different images.:)
-
Even more sample caption text.
Final product[edit | edit source]
Describe your final product here with image and labels. Start with the biggest overview first.
Construction[edit | edit source]
A very complete description of how the final project is built. This large section should have lots of pictures. Use the Help:Images#Galleries and probably Template:Steps (e.g. Barrel O' Fun Worm Bin Instructions).
- Sample gallery
-
Sample caption text.
-
More sample caption text. This would look better with different images.:)
-
Even more sample caption text.
Video instructions[edit | edit source]
A good way to display a process is by making a video explaining your process. See Template:Video for information on how to add and annotate videos.
Bill of materials[edit | edit source]
Description of costs, donations, the fact that this is just proposed, etc. For a simple cost table, see Help:Table examples#Cost Table and Template:Bill of materials for two nice formats.
| Item | Amount | Cost per unit | Total |
|---|---|---|---|
| Things — Get at the thing store | 3 | USD 5.75 | USD 17.25 |
| Another thing — 3' x 2', yellow | 1 | USD 150.00 | USD 150.00 |
| Grand total | USD 167.25EUR 143.84 <br />GBP 122.09 <br />CAD 207.39 <br />MXN 3,487.16 <br />INR 12,518.66 <br /> | ||
Operation[edit | edit source]
This is how to operate. It should have a brief introduction. You might want to show images or videos with step-by-step instructions when needed.
Maintenance[edit | edit source]
Introduce this maintenance section. Help ask the questions:
- Are there any needed actions for maintenance?
- How often?
- Who should perform maintenance?
Maintenance schedule[edit | edit source]
This is when to maintain what. Please keep the format the same as it populates the kiosk in CCAT.
- Daily
- A daily task
- A daily task
- Weekly
- a weekly task
- a weekly task
- Monthly
- a monthly task
- a monthly task
- Yearly
- a yearly task
- a yearly task
- Every __ years
- task
- task
Conclusion[edit | edit source]
Testing results[edit | edit source]
Describe the testing results.
Discussion[edit | edit source]
Discuss the testing results.
Lessons learned[edit | edit source]
Discuss lessons were learned during this project and what you would do different next time.
Next steps[edit | edit source]
Discuss any next steps for the project as it goes on into the future.
Troubleshooting[edit | edit source]
This is only how to troubleshoot basic operation. For complex issues, the solution might just say something like contact ________. It should be a table in this format:
| Problem | Suggestion |
|---|---|
| Example issue | Example solution or suggestion |
| Does not turn on | Make sure it is plugged in |
| Another issue | Etc. |
Team[edit | edit source]
Introduce team and semester in the following format:
- Lonny Grafman
- Emilio Velis
- One bullet for each team member.
References[edit | edit source]
