For full article about the open source dryer see Open Source Vacuum Oven Design for Low-Temperature Drying: Performance Evaluation for Recycled PET and Biomass and publication:
- Hubbard BR, Putman LI, Techtmann S, Pearce JM. Open Source Vacuum Oven Design for Low-Temperature Drying: Performance Evaluation for Recycled PET and Biomass. Journal of Manufacturing and Materials Processing. 2021; 5(2):52. https://doi.org/10.3390/jmmp5020052 open access preprint
Brief Overview[edit | edit source]
These are detailed step-by-step instructions on how to use this device to remove moisture quickly and efficiently from a sample.
Step 1: Confirm air compressor is properly set up.[edit | edit source]
1.1[edit | edit source]
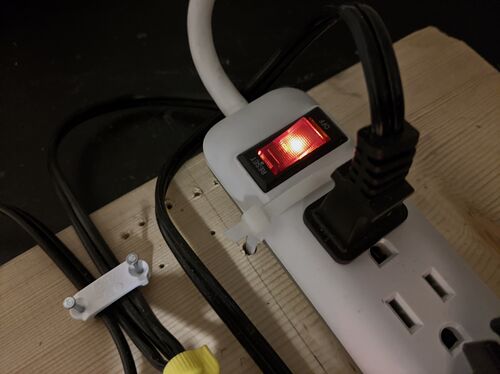
Make sure that the power strip is plugged into an electrical outlet.
1.2[edit | edit source]
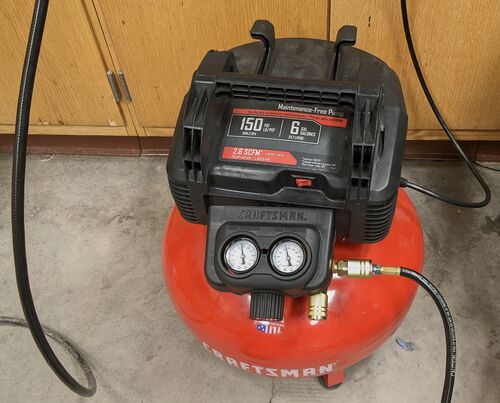
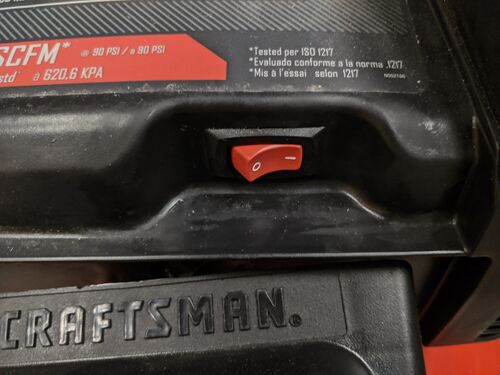
Turn the air compressor on, it should not turn on yet as power strip it is plugged into is not turned on until later, when we are ready to begin drying the sample.
1.3[edit | edit source]
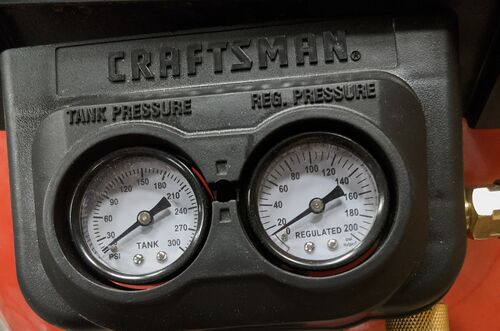
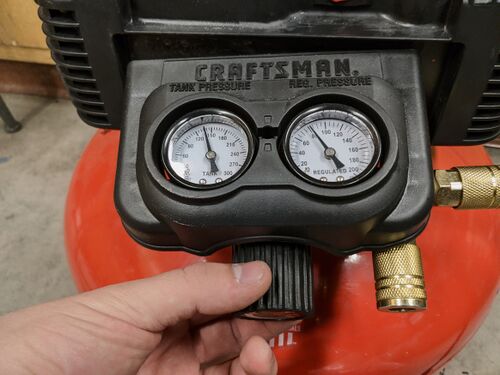
Set the regulator's pressure all the way down to zero (counter-clockwise with the knob).
1.4[edit | edit source]
Check for any kinks in the air hose and straighten them out.
1.5[edit | edit source]
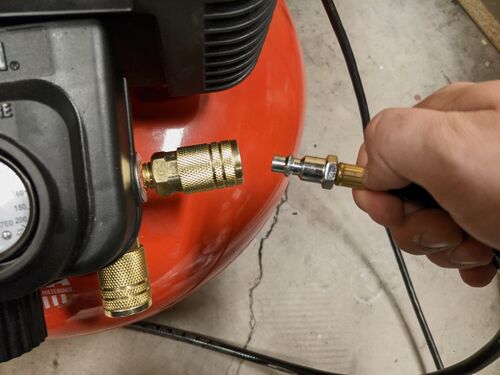
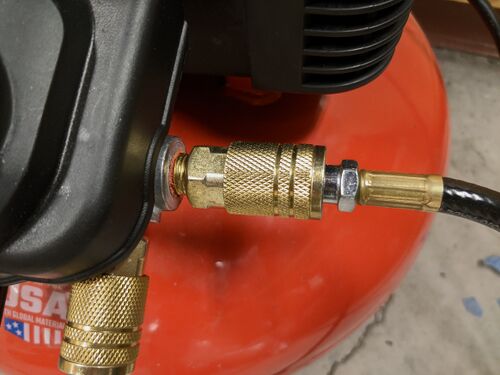
Connect the male end of the air hose to the air compressor.
Step 2: Verify connections to venturi vacuum pump are secure.[edit | edit source]
2.1[edit | edit source]
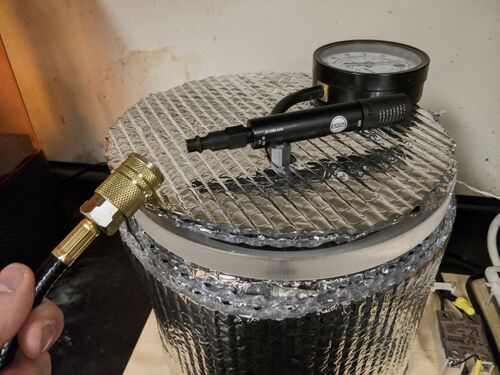
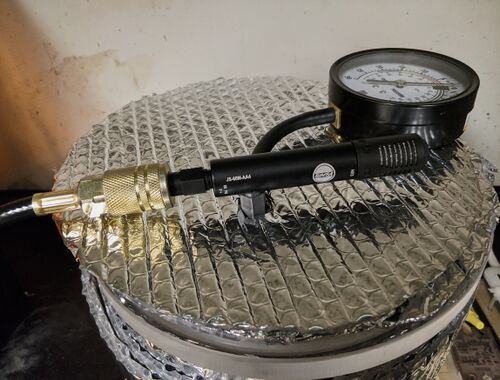
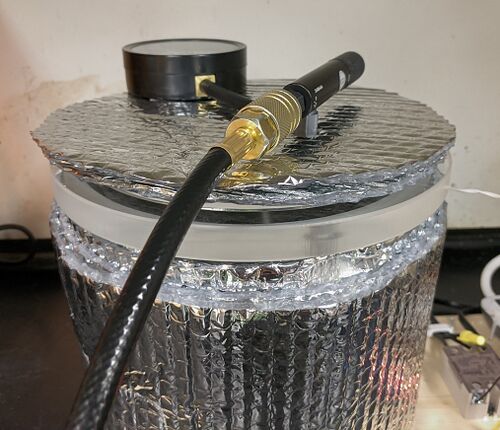
Visually inspect that all connections to the vacuum pump and lid are secure.
2.2[edit | edit source]
Connect the female end of the air hose to the vacuum pump.
Step 3: Check electrical connections for the heater and control circuitry.[edit | edit source]
3.1[edit | edit source]
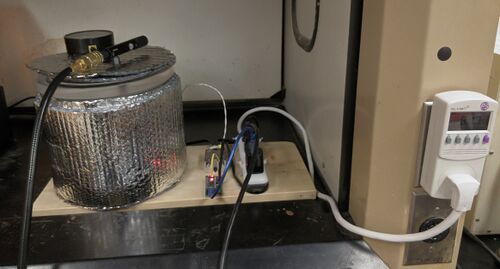
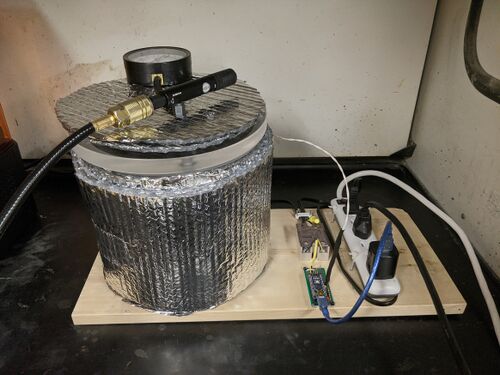
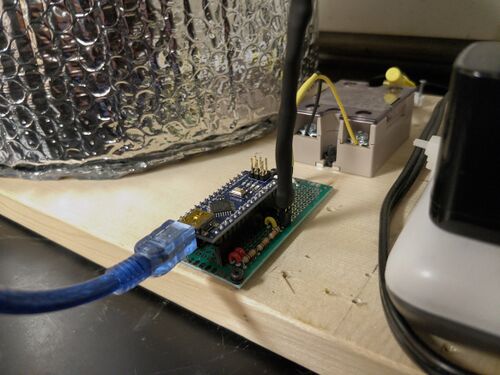
Make sure that everything is connected as seen below.
3.2[edit | edit source]
Make sure the two twisted white wires are connected securely to the pins on the right of the green circuit board, they go to the temperature sensor for the chamber.
Step 4: Prepare sample to dehydrate.[edit | edit source]
4.1[edit | edit source]
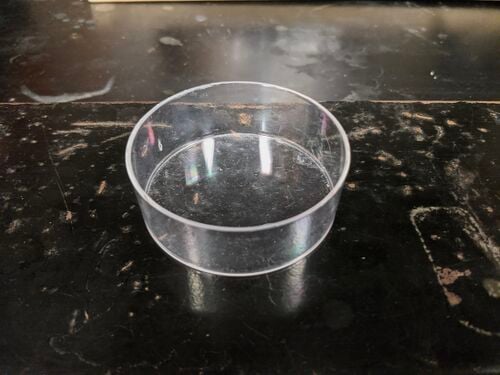
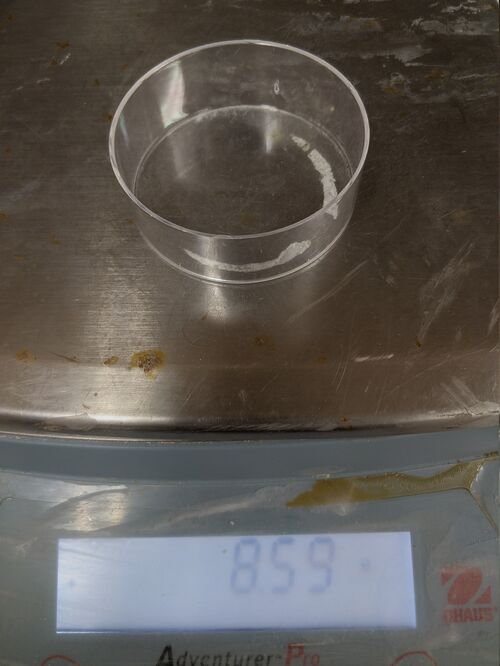
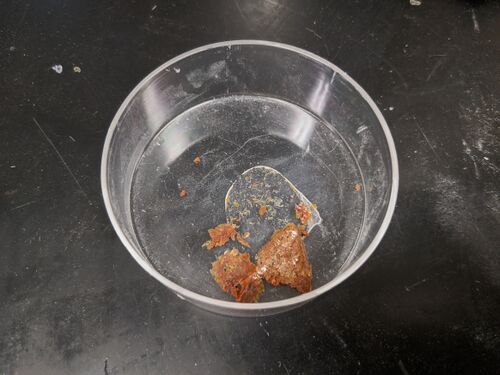
Measure and record the mass of the dish that the sample will be placed in. This way, the mass of the dish containing the sample can be subtracted from the overall mass so a before-and-after mass of the sample can be calculated.
4.2[edit | edit source]
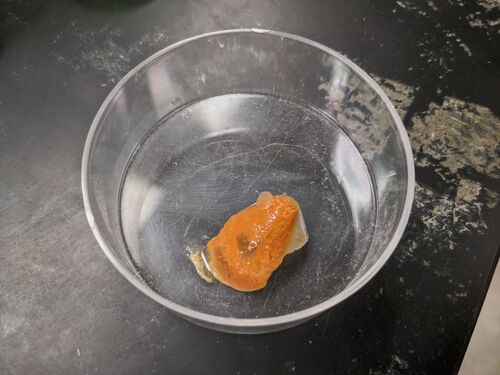
Place the sample in the dish.
4.3[edit | edit source]
Now measure and record the mass of the sample and the dish together.
Step 5: Start dehydration.[edit | edit source]
5.1[edit | edit source]
The lid needs to have a good seal to be able to create a vacuum in the chamber, so make sure that the silicone seal on the chamber is clean.
5.2[edit | edit source]
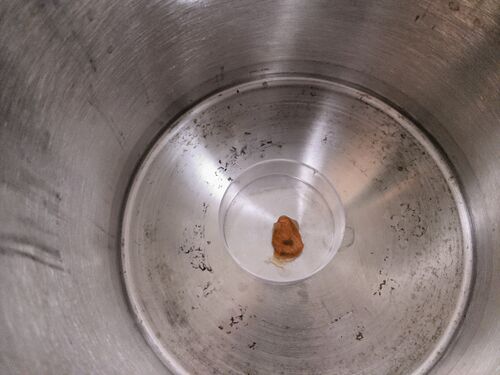
Place the sample inside of the vacuum chamber, do the best you can to have as much surface area of the sample in contact with the bottom of the chamber/dish, this will reduce the time it takes the sample to dry.
5.3[edit | edit source]
Place lid on top of the chamber and turn on the power strip, do not be startled, the air compressor might turn on once the power strip is turned on.
5.4[edit | edit source]
Use the knob on the air compressor to bring the regulator's pressure up to 80 psi.
5.5[edit | edit source]
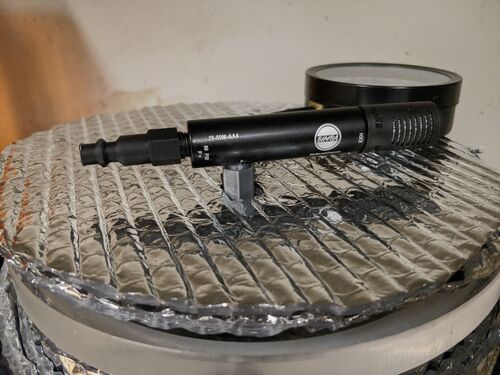
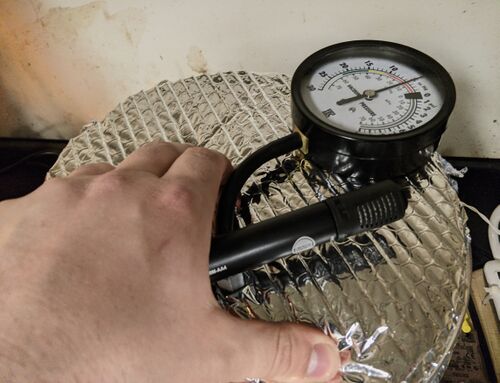
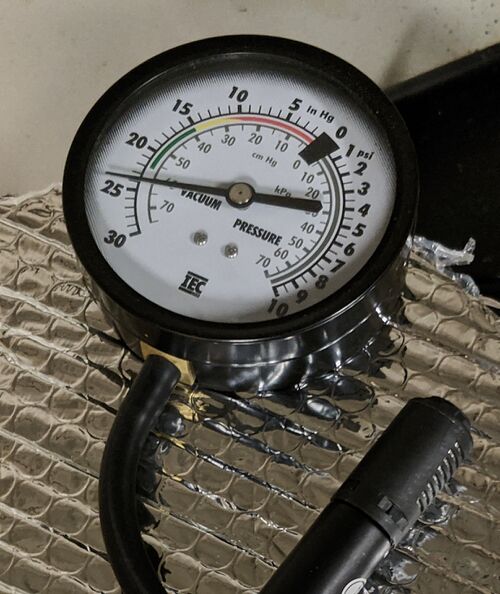
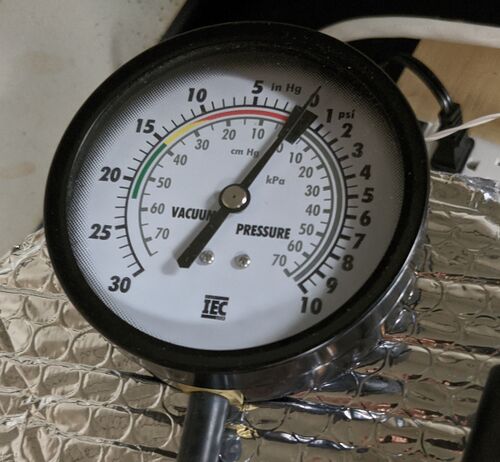
Check the pressure/vacuum gauge. If the needle is not steadily moving towards the 24 (in. Hg) mark, press down lightly on the lid to help create the seal.
5.6[edit | edit source]
The chamber should reach 24 (in. Hg) in about 3 minutes at 80 psi, if the needle stops before 24 (in. Hg) double check the regulator, it should be set to 80 psi.
5.7[edit | edit source]
The air compressor's regulator may need to be slightly increased above 80 psi in order to achieve a 24 (in. Hg) vacuum.
5.8[edit | edit source]
Record the time that drying was started.
5.9[edit | edit source]
Continue onto Step 6 once the specified amount of time has passed.
Step 6: Release the vacuum and remove the sample.[edit | edit source]
6.1[edit | edit source]
In order to remove the sample from the chamber, the vacuum needs to be released. Doing this quickly will allow air to rush inside the chamber and may cause the dehydrated sample to be blown out of the dish it is in. To keep this from happening, slowly release the pressure in the chamber with the air compressor's regulator knob. Decrease the psi by about 10 every 4 seconds. Once the pressure gauge on the lid reads close to 0 (in. Hg) the lid should be able to be removed and the sample can be taken out.
6.2[edit | edit source]
Turn off the power-strip.
6.3[edit | edit source]
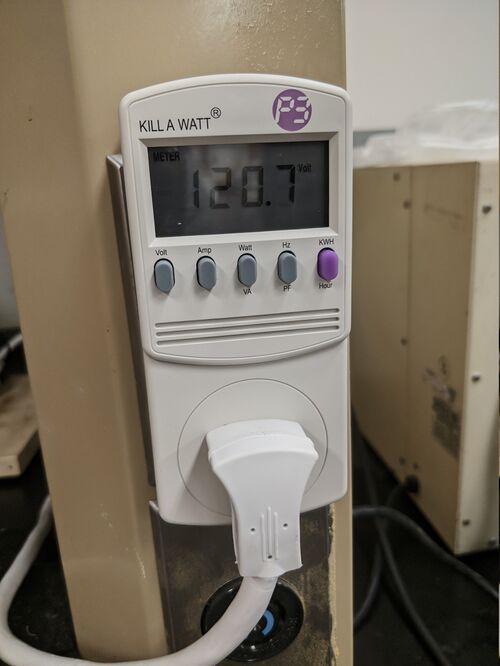
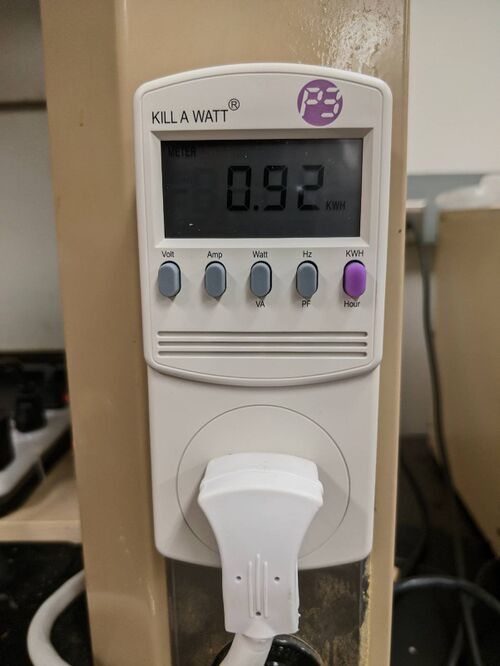
Pressing the far right (purple) button on the watt-meter will display how many kilowatt-hours the whole system has used.
Step 7: Measure and grind sample.[edit | edit source]
7.1[edit | edit source]
Now measure and record the mass of the dehydrated sample. Remember to subtract the mass of the dish that we recorded earlier. Now the initial mass of the sample can have the final mass subtracted from it to know how much mass was lost while drying.
7.2[edit | edit source]
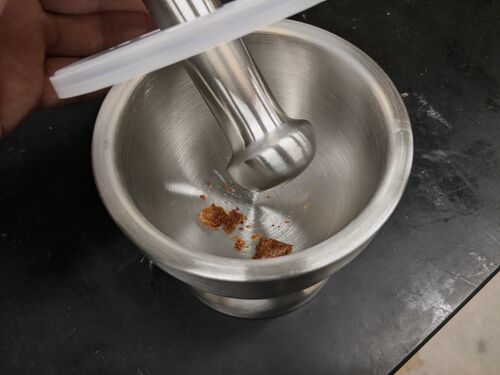
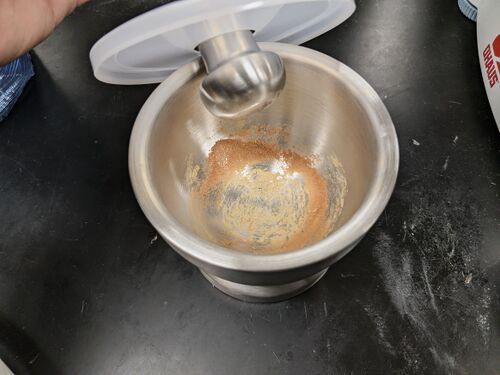
Now that the procedure is done, the sample can be ground to a powder.


