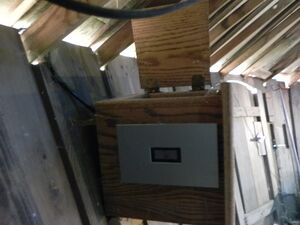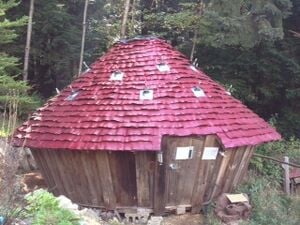
CCAT yurt. Image credit: Samantha Seglin, Lily Pastel, Rachael McCain, and Tanja Hopmans
FA info icon.svg Angle down icon.svg Project data
Authors Wkaris
Location Arcata, California
OKH Manifest Download

This is the Operation and Maintenance (O&M) manual for CCAT yurt. Please refer to it regularly and keep it up to date with any O&M changes.

Operation[edit | edit source]
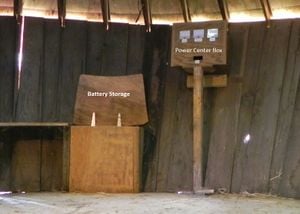
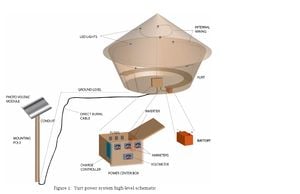
Yurt Power.
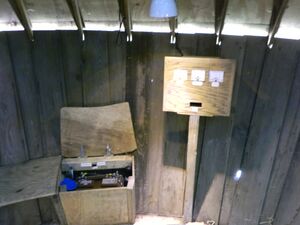
Yurt Power. Image credit: HSU Engr-535 Fall 2006[1]
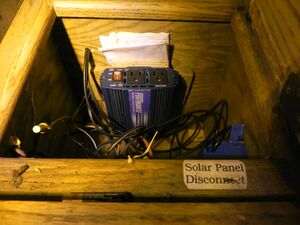
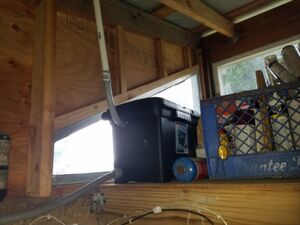
Yurt Inverter

The operation of the CCAT yurt is straightforward when all components have been well maintained. There is little that needs to be done in order for the retaining wall, roof, and Liter-of-Lights to operate. However, the photovoltaic system does require some further explanation.

PV System
  • The LED lights powered by the PV system and can be turned on and off using the switches on the side of the power center box that houses the inverter, charge controller, and spare fuses.
  • The option to plug in AC loads, however, is more complex. First, the loads must be plugged into the inverter, and then the inverter must be turned on. Be sure to turn off the inverter when loads are not in use. Finally, users must understand that AC power is limited, and may be completely unavailable during the darkest three months of the year.

Maintenance[edit | edit source]

To ensure the yurt lives a long productive life, regular maintenance of its different components is essential.

Schedule[edit | edit source]

Daily

  • Check state-of-charge reading on charge controller monitor

Weekly

  • Clean solar panel
  • Inspect power center box for corrosion, debris, or loose/exposed wires

Monthly

  • Check electrolyte levels of battery (Eye and Hand Protection Required)
  • Inspect battery terminals for corrosion, debris, or loose/exposed wires
  • Clean/dust Liter-of-Light bottles

Every 3 months

  • Equalize battery
  • Inspect retaining wall for weeds, debris, and weakened or damaged structures, especially after heavy rains
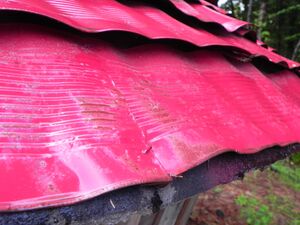
  • Inspect roof for loose or rusty shingles
  • Inspect Liter-of-Light flashings for leaks

Yearly

  • Conduct IV curve to assess health of PV panel

Every 5 years

  • Replace the water/bleach solution in the Liter-of-Light bottles

Instructions[edit | edit source]

Below are instructions from manuals regarding the maintenance of different CCAT yurt projects. Those regarding the CCAT yurt roof were developed in the SALIRAJA Yurt Project and those describing the PV system were adopted from the 2006 Cal Poly Humboldt ENGR 535 class CCAT Yurt Solar PV System Users Manual.

1
Rusty Shingle

Identify loose or rusty shingle

2
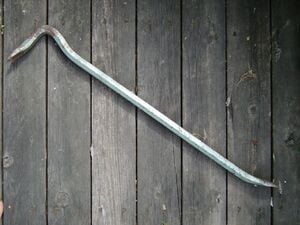
Flickr crowbar

Remove rusty single using small crowbar or similar lever

3
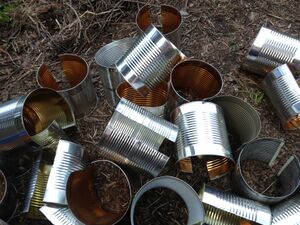
Cut cans

Scrub the rust off with steel wool. Or, if beyond repair, cut a clean tin can using tin snips and flatten

4
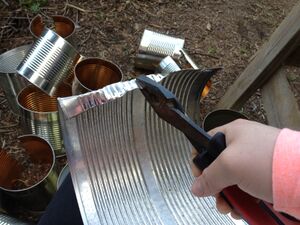
Bend cans

Use pliers to bend the edges of the cans so they are less dangerous to work with

5
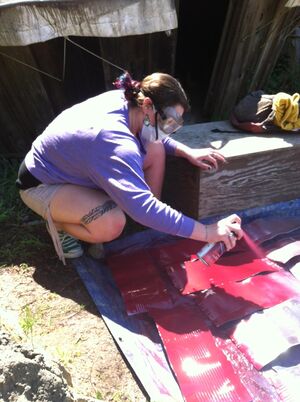
Spraying Cans

Spray cans with rust resistant paint (Eye and respiratory protection required)

6
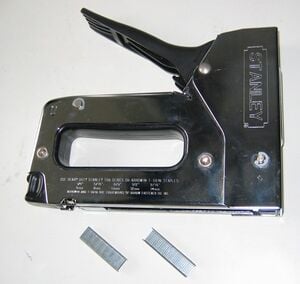
Attach Fresh Shingle

After drying, attach the refreshed shingle using a staple gun

1
Deep cycle battery

Disconnect the battery

2
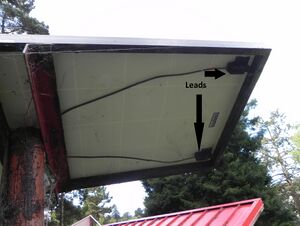
Back of PV Panel

Disconnect the leads from the back of the panel

3
Multimeter Diagram

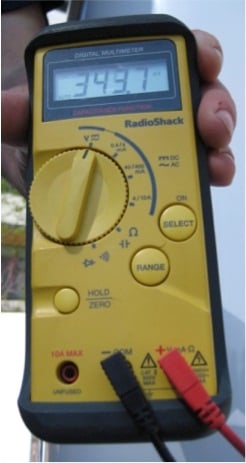
Test the open circuit voltage (Voc) by setting the multimeter to test DC Voltage (don't forget to check the placement of the cables) and then holding the probes across the input and output terminals of the panel Step 4: Test the short circuit current (Isc) by setting the multimeter to test DC current, and again hold the probes across the terminals

4
Record Values

Record the readings for each panel and the ambient conditions (time, cloud cover, wind) in the comments section of the maintenance log. If the panels vary by more than 20% in either voltage or current, contact a solar technician

5
No Clouds

The readings should be taken as quickly as possible for minimizing the effect of the outside conditions and angle of the incoming sunlight. Ideally, readings will be taken on a day with either no cloud cover, or no moving clouds so that the available solar radiation stays constant

1
Deep cycle battery

Disconnect the battery

2
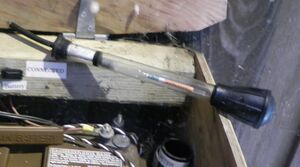
Hydrometer

Clean off specific gravity hydrometer to ensure no foreign material could be introduced into the battery (Eye protection required) Step 3: Open battery box and ensure door is secure.

Step 4: Open left-most cell door

3
Hydrometer

Depress hydrometer ball. Note: Never depress ball while hydrometer tube is in battery cell!

Step 6: Insert hydrometer tube into the cell completely and release

4
Record Values

Note and record the level of the hydrometer float in the tube. Step 8: Record fluid level of cell

5
X6.jpg

Repeat for all cells

6
DI Water

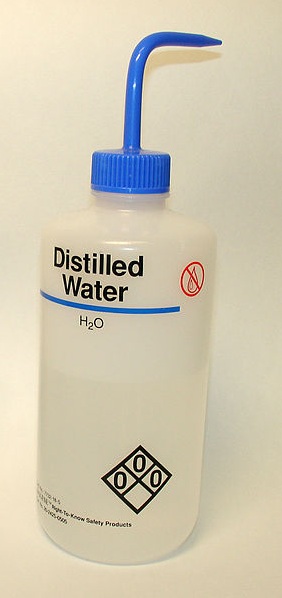
With the help of the funnel add distilled water to any cell below the full line (approx. ¼ to ½ inch below bottom of battery vent) on the battery

7
Battery Cell

Ensure all cell doors are securely closed Step 12: Close battery box

Step 13: Perform battery equalization if specific gravity of any of the cells varies from the mean by 0.025 or greater

8
Hydrometer

Rinse the hydrometer thoroughly and return to hydrometer holder. The hydrometer holder should also be removed occasionally and rinsed to prevent corrosion

1
Battery box and power center box

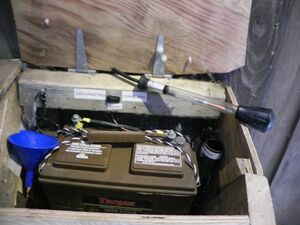
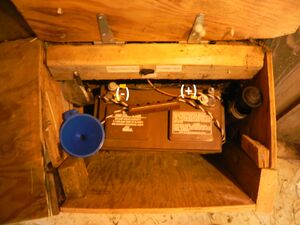
Lift the lid of the battery box (the section of the bench)

2
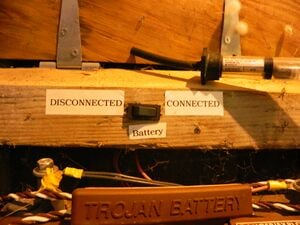
Hydrometer

Disconnect the battery from the system by turning the switch off within the battery box.

3
Deep cycle battery

Identify positive (red) and negative (black) battery terminals

4
Battery charger

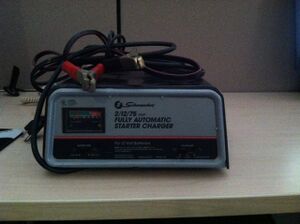
Connect corresponding positive (red) and negative (black) clips of battery charger to charging tabs Step 5: Plug in and turn on battery charger

5
Battery Display

Monitor battery display every hour Step 7: Note time when display shows battery is full

6
Time

Battery should be allowed to remain charging at a low current (approx. 5% of battery's 20 hr capacity in amps) for 1-2 hours after it is full Caution: Leave yurt door open for maximum ventilation. If battery becomes heated over 125°F, the battery should be disconnected and equalization continued after battery cools.

7
Our hydrometer.jpg

If two specific gravity readings taken within ½ hour are equal, equalization is complete

8
DI Water

Turn off and unplug battery charger

9
Battery Cell

Disconnect clips from battery terminals

10
Equalization

Record date of equalization and specific gravity measurements of each cell before and after equalization

Troubleshooting[edit | edit source]

The following table outlines potential problems and possible solutions that one may find when operating the yurt PV system.

Problem Suggestion
LED lights do not turn on Inspect PV panel, battery, and power center box for corrosion debris or loose/exposed wires
Battery does not charge Inspect PV panel, battery, and power center box for corrosion debris or loose/exposed wires
Battery only partially charges Inspect the electrolyte level in battery cells. Add DI water. Conduct battery equalization.

For a more in depth trouble shooting key, please see HSU's 2006 Engr-535 report: CCAT Yurt Solar PV Users Manual located at[2]

Suggestions for future changes[edit | edit source]

Implementation of a CCAT yurt sign up sheet will help to maximize the yurt's potential as a gathering space and make it more accessible to different groups. The sign up sheet could be held by a CCAT co-director, or tacked near the door outside of the yurt.
FA info icon.svg Angle down icon.svg Page data
Part of Engr535 Development Technology
Keywords ccat, ccat active project
Authors Wkaris
License CC-BY-SA-3.0
Organizations Cal Poly Humboldt, Campus Center for Appropriate Technology (CCAT)
Derivative of CCAT yurt
Language English (en)
Related 0 subpages, 4 pages link here
Impact 224 page views
Created April 21, 2014 by Wkaris
Modified January 29, 2024 by Felipe Schenone
Cookies help us deliver our services. By using our services, you agree to our use of cookies.