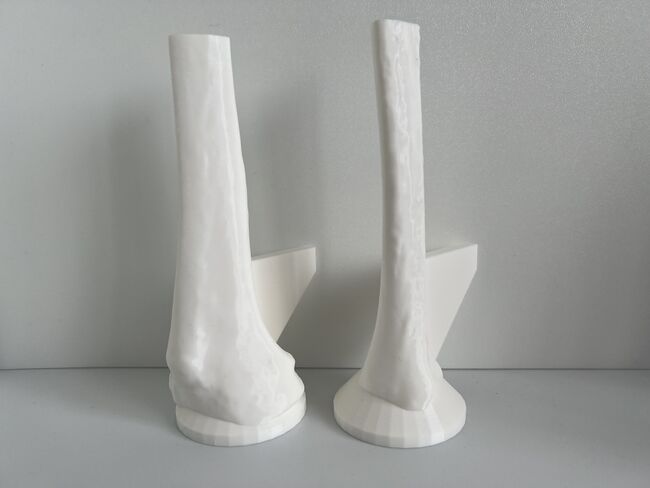
Check Print Settings[edit | edit source]
Please pay attention to and follow all the instructions closely to ensure the bone models are printed properly and display the required visual, tactile, and acoustic fidelity for orthopedic surgical simulation training.
Have this checklist displayed on a mobile device when verifying the print settings are correct on a computer.
| # | Print Setting for Fused Filament Fabrication 3D Printer | Reference Screenshot | Check the most appropriate response for Model #1 | Check the most appropriate response for Model #2 | Why This Matters |
|---|---|---|---|---|---|
| 1 |
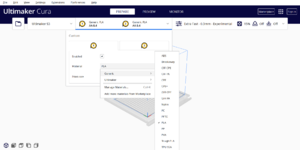
Filament Material: PLA AT ALL ORIGINAL DEFAULT SETTINGS |
 |
Done Correctly Done Incorrectly Not Done |
Done Correctly Done Incorrectly Not Done |
|
| 2 |
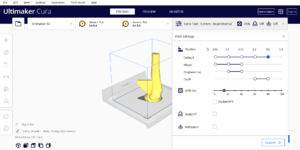
Support: NONE |
 |
Done Correctly Done Incorrectly Not Done |
Done Correctly Done Incorrectly Not Done |
|
| 3 |
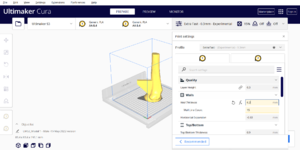
Layer Height: 0.15 - 0.3 mm OR LESS Wall Thickness: 6.2 mm (THIS CHANGES THE WALL LINE COUNT) |
 |
Done Correctly Done Incorrectly Not Done |
Done Correctly Done Incorrectly Not Done |
|
| 4 |
Top Layers: 0 Bottom Layers: DEFAULT VALUE (NOT 0) |
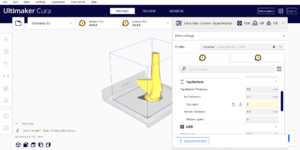 |
Done Correctly Done Incorrectly Not Done |
Done Correctly Done Incorrectly Not Done |
|
| 5 |
Infill Density: 15% Infill Pattern: TRI-HEXAGON |
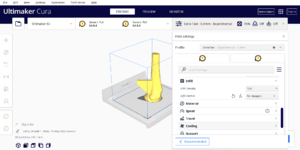 |
Done Correctly Done Incorrectly Not Done |
Done Correctly Done Incorrectly Not Done |
|
| 6 | Top/Bottom Speed: 15.0 mm/s | 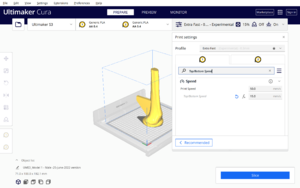 |
Done Correctly Done Incorrectly Not Done |
Done Correctly Done Incorrectly Not Done |
|
| 7 |
Build Plate Adhesion Type: NO RAFT |
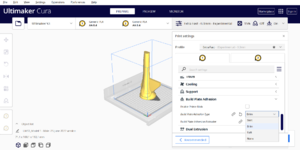 |
Done Correctly Done Incorrectly Not Done |
Done Correctly Done Incorrectly Not Done |
|
| 8 |
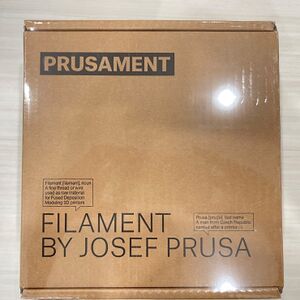
Filament: WHITE PLA JUST FRESH OUT OF SEALED PACKAGING |
 |
Done Correctly Done Incorrectly Not Done |
Done Correctly Done Incorrectly Not Done |
|
| 9 |
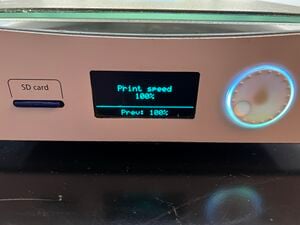
Print Speed on 3D Printer Control Screen: 100% or less |
 |
Done Correctly Done Incorrectly Not Done |
Done Correctly Done Incorrectly Not Done |
|
All 9 checklist items must be checked as "Done Correctly" for Models #1 and #2 in order to proceed with 3D printing sample models.
Please proceed to the next step by clicking on this link or by clicking on the "Next" button in the Menu box in the upper right section of this page.
Acknowledgements[edit | edit source]
This work is funded by a grant from the Intuitive Foundation. Any research, findings, conclusions, or recommendations expressed in this work are those of the author(s), and not of the Intuitive Foundation.
References[edit | edit source]
- ↑ 1.0 1.1 www.prusa3d.com/file/370474/technical-data-sheet.pdf
- ↑ 2.0 2.1 https://support.ultimaker.com/hc/en-us/articles/360011962720-Ultimaker-PLA-TDS
- ↑ 3.0 3.1 Ultimaker. Ultimaker PLA Technical Data Sheet [Internet]. Ultimaker Support. [cited 2021 July 29]. Available from: https://support.ultimaker.com/hc/en-us/articles/360011962720-UltimakerPLA-TDS.
- ↑ 4.0 4.1 Vian, Wei Dai and Denton, Nancy L., "Hardness Comparison of Polymer Specimens Produced with Different Processes" (2018). ASEE IL-IN Section Conference. 3. https://docs.lib.purdue.edu/aseeil-insectionconference/2018/tech/3
- ↑ 5.0 5.1 Society For Biomaterials 30th Annual Meeting Transactions, page 332. Femoral Cortical Wall Thickness And Hardness Evaluation. K. Calvert, L.A. Kirkpatrick, D.M. Blakemore, T.S. Johnson. Zimmer, Inc., Warsaw, IN.
- ↑ https://support.ultimaker.com/hc/article_attachments/4800377696540/Ultimaker-ABS-TDS-v5.00.pdf
- ↑ https://support.ultimaker.com/hc/en-us/article_attachments/360026416800/ultimaker-PETG-SDS-v1.00.pdf
- ↑ https://support.ultimaker.com/hc/en-us/article_attachments/360010204279/SDS_CPE__v3.004-en.pdf
- ↑ https://support.ultimaker.com/hc/article_attachments/4800535847708/Ultimaker-CPE-PLUS-TDS-v5.00.pdf
- ↑ https://support.ultimaker.com/hc/en-us/article_attachments/4777237744540/Ultimaker-PETG-TDS-v1.00.pdf
- ↑ Maeda K, Mochizuki T, Kobayashi K, Tanifuji O, Someya K, Hokari S, Katsumi R, Morise Y, Koga H, Sakamoto M, Koga Y, Kawashima H. Cortical thickness of the tibial diaphysis reveals age- and sex-related characteristics between non-obese healthy young and elderly subjects depending on the tibial regions. J Exp Orthop. 2020 Oct 6;7(1):78. doi: 10.1186/s40634-020-00297-9. PMID: 33025285; PMCID:PMC7538524.
- ↑ Forrest AM, Johnson AE, inventors; Pacific Research Laboratories, Inc., assignee. Artificial bones and methods of making same. United States patent 8,210,852 B2. Date issued 2012 Jul 3.
- ↑ National Institutes of Health Osteoporosis and Related Bone Diseases National Resource Center. What is Bone? [Internet]. Bethesda (MD): The National Institutes of Health (NIH); 2018. [Cited 2021 Aug 17]. Available from: https://www.bones.nih.gov/health-info/bone/bone-health/what-is-bone.
- ↑ 14.0 14.1 https://support.ultimaker.com/hc/en-us/articles/360011952740
- ↑ https://support.ultimaker.com/hc/en-us/articles/360012101319-How-to-store-material
