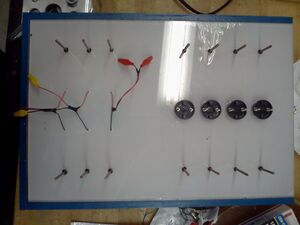
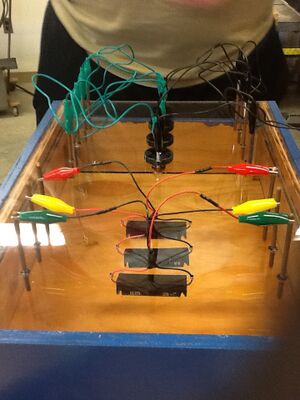
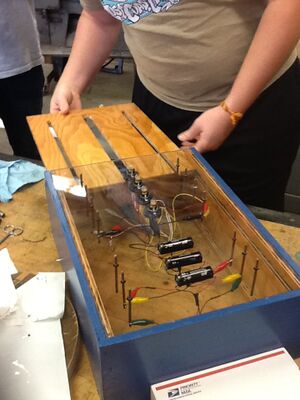
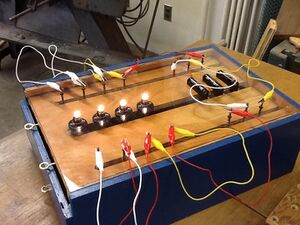
These are the instructions for the assembly and construction of Current Specialists' Onderdonk's Box education tool.
How to Build[edit | edit source]
Cut 1/2" thick plywood to dimensions required for box. Onderdonk's Box required the following cuts of plywood for construction: two 18"x6", one 6"x13", one 3.5"x13", four 1/2"x18", four 1"x3.5", and two 12"x18" pieces. Also cut to 12"x18" for the box top is a piece of 1/4" polycarbonate.
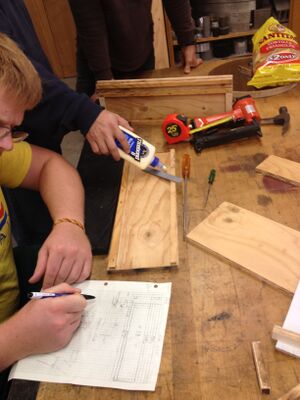
Glue, then staple a 1/2" strip of plywood to a 12" wall piece 1/4" from the top of the wall piece. Measure a half inch below the strip, then glue and staple another 1/2" strip of plywood. Directly below this second strip and at both ends of the wall, glue and staple a 1"x3.5" block. Finally, glue and staple a third 1/2" strip to the bottom of the wall. Repeat for other wall piece.
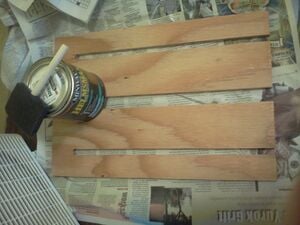
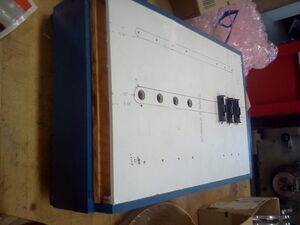
Cut a 1" diameter channel down the center of one 12"x18" piece of plywood to within 1.75" from the end. Come in 2 inches from each side and cut two smaller channels to the same distance for the terminals, leaving as small a gap between the terminals and the plywood as possible. Paint the sheet of plywood with a sealer.
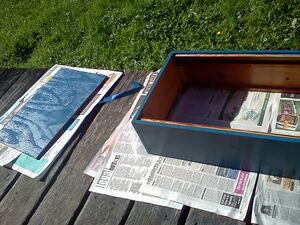
Glue the above mentioned components to the polycarbonate from the underside using E6000 and solvent when applicable. Place the polycarbonate sheet upside down on top of the now constructed box. Insert solid sheet of 12"x18" plywood into gap between the upper 4 pieces of 1/2" plywood. Push terminals down until they touch the plywood so that height will be uniform. Allow 24 to 48 hours to bond.
How to Maintain[edit | edit source]
Maintenance is generally limited to replacing light bulbs and batteries when they expire.
