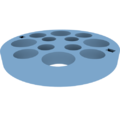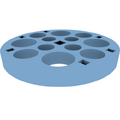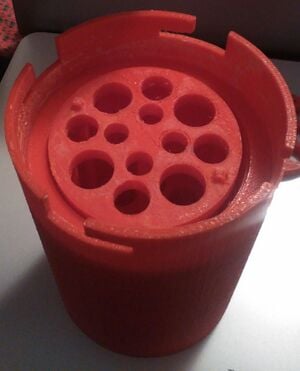
The insulated test-tube Container can be used for various test-tube sizes depending upon requirement and can be modified accordingly. Is well insulated from the surroundings and can maintain the temperature.
- Cylindrical shape insulated container
- Slots for 3 different test tube sizes; 20mm, 16mm and 13mm in diameter. Length can be upto 150mm
Assembly instructions[edit | edit source]
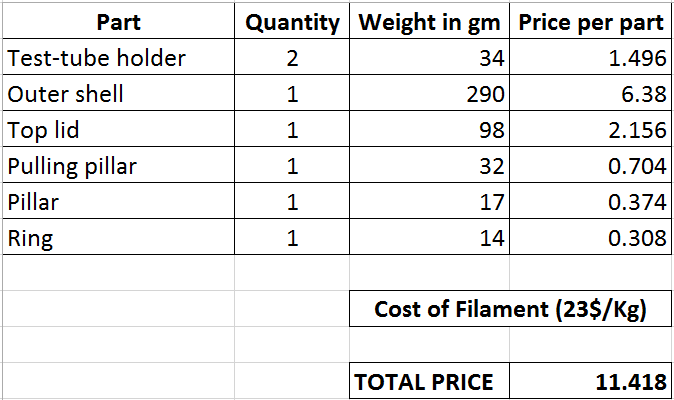
After printing all the parts shown in Gallery section we can start assembling them into one piece. Things you would need to put them together would be precision knife, any kind of insulation foam which spreads in gaps and strong adhesive.
- Take a precision knife and carve out the gaps which have excess PLA for smooth fitting of other parts into it.
- Connect test-tube holder and test-tube holder 2 with the 5 printed pillars.
- Once the pillars are firm in position, the two long pulling pillars can be sent through the holes given in opposite ends of both the test-tube holder
- Cut the height of pulling pillars as desired. I have provided them tall just to ensure that it is convenient to pull out the whole test tube assembly out of the container.
- Take the outer shell and clean the gap between inner and outer cylinder, after this you can use a spraying foam in the gap (I used great stuff). Fill all the four gaps.
- Once the foam is dry, remove of excess visible foam and stick the printed ring that fits exactly on top of the gap.
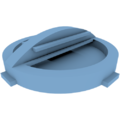
- The top lid has a groove where insulation can be provided if required.
