Abstract[edit | edit source]
This page is for the Spring 2012 Humboldt State Engr205 Introduction to Design course and project. This specific design was made for the Friends of the Dunes' visitor center to help improve the acoustics within the center's main room. This page will provide a background of the problem and solution, description of the final design, costs of materials and time, a "how to build" this yourself section, discussion section, and finally references used for the conception of this project.
Acoustic Dampening Project Plan[edit | edit source]
The acoustic dampening system is a combination of the use of acoustic panels and banners. This system is large, soft, and porous. This combination allows the panels and banners to intersect sound waves and absorb and/or reflect sound waves to decrease the reverberation of sound throughout the Humboldt Coastal Nature Center. This system is made through alternative building methods such as recycled materials as well as being relatively cheap. These systems are required to be held up securely since they are installed on the ceiling and walls and could possibly fall. A combination of strong mounting systems and light weight components for panels and banners is key for the success of the system.
Background[edit | edit source]
Friends of the Dunes (FOTD) is a non-profit organization based out of Manila, California. FOTD objective is the conservation of coastal environments through ecosystem restoration, education programs, and stewardship. Their visitor center known as the Humboldt Coastal Nature Center (HCNC) is a former home owned by the Stamps Family. Designed and constructed from an earth shelter kit the house is mainly constructed from concrete. Therefore the main room at the HCNC has poor acoustics due to the concrete and unique half cyclical shape of the room.
Problem Statement and Criteria[edit | edit source]
| Criteria | Weight | Description |
|---|---|---|
| Safety | 10 | Must be designed to... |
| Aesthetics | 8 | Design must be aesthetically pleasing. |
| Cost | 3 | Entire design must cost less than $400. |
| Durability | 5 | Must last until Humboldt Coastal Nature Center's remodel |
| Inspiration | 7 | Design inspirational quality of using alternative building methods. |
| Ease of Maintenance and Installation | 7 | Design must be easy to install and free of a lot of maintenance |
| Functionality | 10 | Design must improve acoustics within Humboldt Coastal Nature Center. |
Description of final project[edit | edit source]
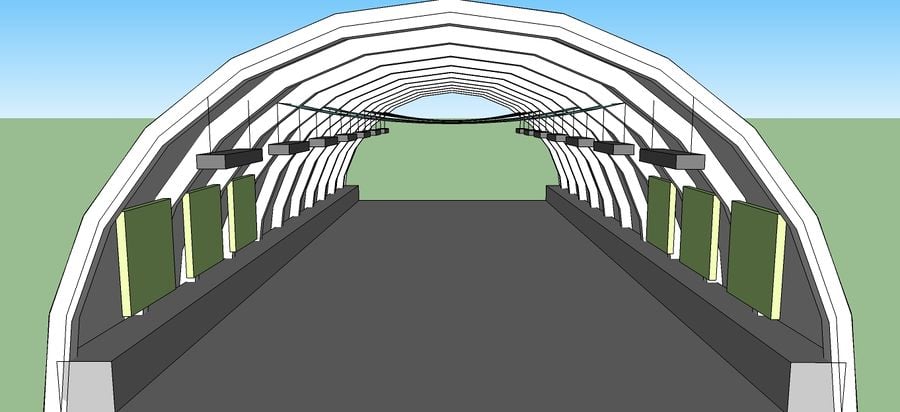
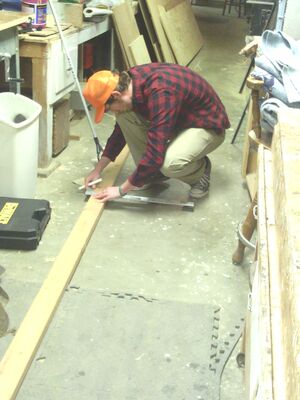
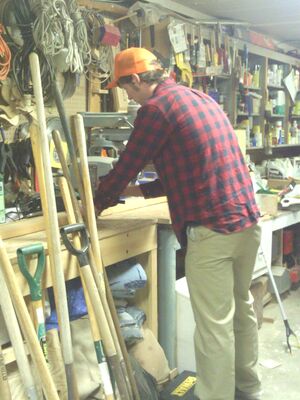
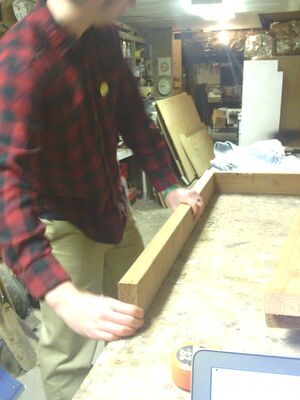
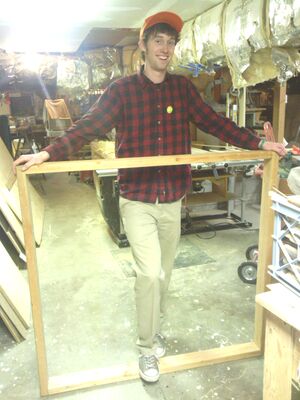
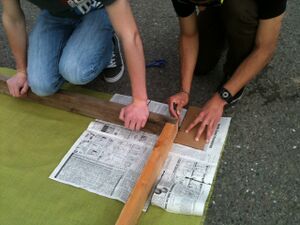
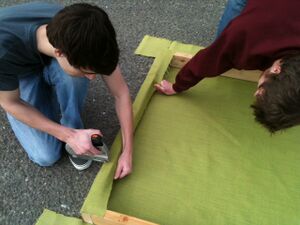
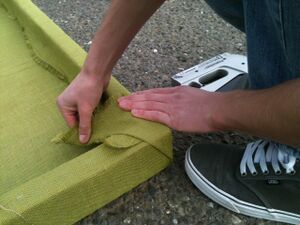
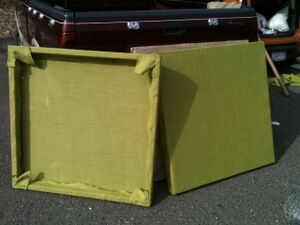
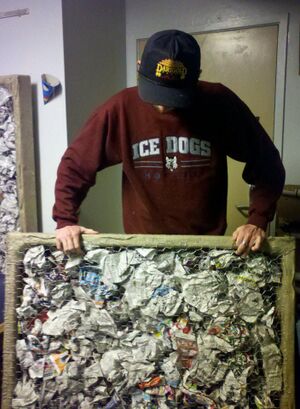
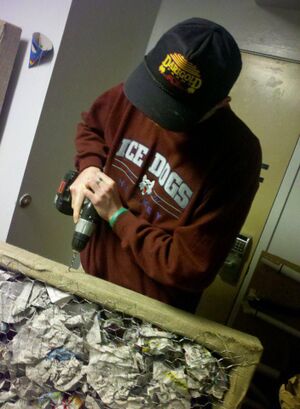
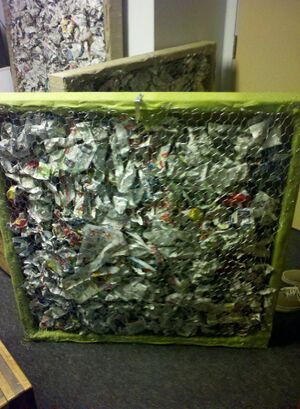
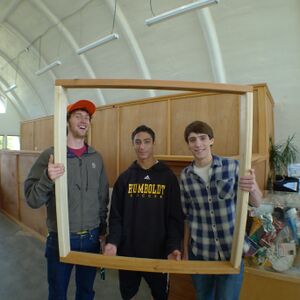
Acoustic panels and acoustic banners are used to improve the acoustics within the Humboldt Coastal Nature Center. The acoustic panels are filled with a material that is recycled, and will diffuse sound well. Some recycled, sound absorbing material that are being considered are newspaper, sheared wool, packing peanuts, egg cartons, and dry beachgrass. The panels are constructed with 2x4s, burlap fabric, a recycled sound absorbing material, and chicken wire. The panels are mounted to the walls in the open part of the building. We positioned them here because it is where most of the visitors gather, so this is the area that has the greatest sound generation in the building. The Acoustic banners are hung between the already existing light fixture mounts in the Eastern half of the building and hung vertically between the light fixture mount and the light fixtures themselves in the Western half of the building. Both types of banners are made from a long strip of fabric. For the banners hung between the light fixture mounts there is a specific rigging system. The ends of the banners are secured in between two pieces of wood and bolted together and tightened with a wing nut. A cable is then attached to the banner and then attached to the light fixture mount.
Costs[edit | edit source]
Material Costs[edit | edit source]
| Material | Use | Quantity | Project Cost ($) | Projected Project Cost ($) |
|---|---|---|---|---|
| Burlap | Panels/Banners | 54 yds. | $158.87 | $158.87 |
| Strike Anchors | Panels | 6 | $7.74 | $7.74 |
| Lumber (2x4) | Panels | 24 | $32.00 | $54.00 |
| Angle Brackets | Panels | 8 | $10.00 | $10.00 |
| 2" Bolts | Panels | 6 | $1.50 | $1.50 |
| Newspaper | Panels | 30 ed. | $0.00 | $12.00 |
| ChickenWire | Panels | 2'x25' | $25.00 | $25.00 |
| Lumber (plywood) | Banners | 1'x4' (6) | $0.00 | $20.00 |
| Cable | Banners | 50 ft. | $8.69 | $8.69 |
| Cable Clamps | Banners | 1/8" (24) | $12.00 | $12.00 |
| Total | $247.11 | $308.80 | ||
Design Hours[edit | edit source]
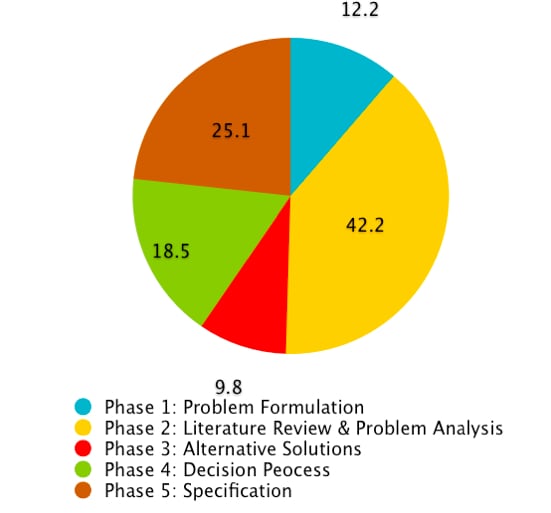
The total design hours were 107.8 as shown in Figure 3.
Testing Results[edit | edit source]
How to build[edit | edit source]
Discussion and next steps[edit | edit source]
The acoustic banners and panels were built to last at least ten years or when Friends of the Dunes decide to go through with their remodeling plans. The panels were also specifically designed so that they can be taken off the walls at anytime or during the inspections every couple of months. This process is as easy as removing the top connecting bolt from the brackets which the panels are resting on. Possible future plans for the banners and panels consist of painting on wildlife or ocean designs by Friends of the Dunes.
References[edit | edit source]
- Online Discount Drapery Fabrics and Upholstery Fabric Super Store! Web. 5 Apr. 2012. <http://warehousefabricsinc.com/>.
- "Project Overview." Humboldt Coastal Nature Center. Web. 15 Mar. 2012. <http://web.archive.org/web/20160223061101/http://www.friendsofthedunes.org:80/HCNC//>.
- "Quiet Classrooms - How to Measure Reverberation Time?" QuietClassrooms.org, ClassroomAcoustics.org and SchoolNoise.org - Homeroom. Web. 28 Apr. 2012. <http://web.archive.org/web/20180202122305/http://www.quietclassrooms.org:80/library/test2.htm>.
