ASTrifaley (talk | contribs) |
ASTrifaley (talk | contribs) |
||
| Line 18: | Line 18: | ||
==Instructions== | ==Instructions== | ||
==Cost== | ==Cost== | ||
Revision as of 17:37, 13 December 2018
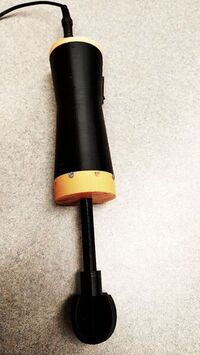
Electric Whisk
Project developed by Aditya (talk)
Template:Statusboxtop Template:Status-design Template:Status-prototype You can help Appropedia by contributing to the next step in this OSAT's status. Template:Boxbottom
Abstract

Materials Needed
Items to 3D Print
Instructions
Cost
- Filament - Approx $6
- PWM controller with switch $8
- Motor : $12
- Batter or adapter : $6
Total cost : $32
Working Prototype
Error in widget YouTube: Unable to load template 'wiki:YouTube'
Commercially equivalent
The commercial equivalent costs about $300 and can be found here. The 3d printedd model has a screw mechanism can is used to tighten itself to the table. whereas commercial models use a heavy stone to keep them in place while working.
Links
DC motor: DC motor available on Amazon
PWM controller with switch.: PWM controller available at Amazon