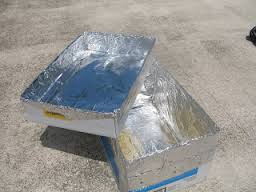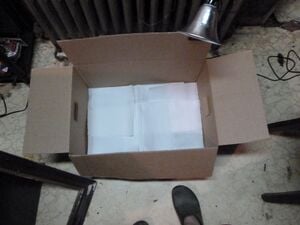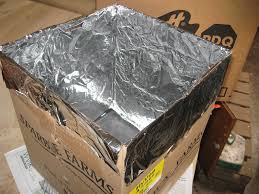
The following is a step by step guide to building a retained heat cooker that was designed for the purpose of the Jefferson Community Center workshop 2013
Bill of materials[edit | edit source]
- 1 Cardboard Produce Box
- 1 Roll of Aluminum Foil
- Duct tape
- Paper (newspaper is preferred)
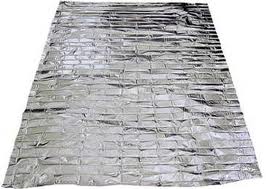
- 1 Mylar emergency blanket
- Scissors
Building Instructions[edit | edit source]
This is an easy process using less than 10 dollars worth of materials
2
3
5
Use[edit | edit source]
The cooker is easy to use. Bring a meal to the proper temperature and leave it there for at least 2 minutes, then seal it in the box. Leave it in the box until cooking is completed. It should be noted that recipes using this method require less spicing and usually 50% more time to cook, so plan accordingly.
Maintenance and tips[edit | edit source]
- Clean your cooker between each use.
- Be sure to wash all blankets and towels used in the cooking process
- Do not leave your cooker in areas where it could get wet.
- Always ensure that your food is fully cooked before consuming
- Experiment with new recipes! Stews and soups work well with this method.


