Athena Dual Extrusion Mod
Dual extrusion opens up many possibilities for 3D printing. The most obvious use for dual extrusion is to have 2 color models printed. However there are even more useful ways to take advantage of dual extrusion such as being able to print a dissolvable support material which will allow you to print much more complicated geometries than would otherwise be possible as you no longer have to worry about overhangs and bridging.
The traditional method for dual extrusion has been to use two hotends and two extruders. This method however requires extra hardware and reduces the size of your build space. Also this method requires careful calibration of nozzle heights to insure that the nozzle not in use is not hitting the printed part. Often times the results with these dual extrusion setups have ooze from the nozzle not in use ending up on the printed part and other artifacts.
The dual extrusion solution that I have chosen is one which uses a single hotend and only requires the addition of another extruder and a printed part to merge the outputs of the two filament extruders. This solution has the advantage of requiring no additional calibration, not needing added hardware for the second hotend and inputs and outputs to drive that hotend, and maintaining full build volume.
Project Created by: User:Lmbrueck

Design
Features
- Thick aluminum bed for even heat distribution and stable temperature.
- 500 Watt heater for fast heat up times
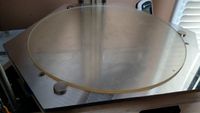
- Removable glass print surface
- Magnetic attachment
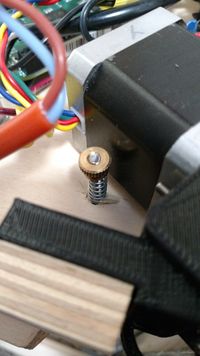
- Built in bed leveling
Construction and BOM
Bill of Materials
| Item | Quantity | Price |
|---|---|---|
| 1/4" Aluminum Plate | 1 | $29.14 |
| 2" 8-32 Flat head (countersink) Bolt | 3 | $0.26 |
| 8-32 hex nut | 6 | $0.21 |
| 8-32 Thumb nut | 3 | $1.18 |
| 8-32 Fender Washer | 3 | $0.30 |
| Springs | 3 | $2.56 |
| 260mm Borosilicate glass | 1 | $19.99 |
| 250mm 500 Watt 120V Adhesive Silicone Heater w/ Thermistor | 1 | $18 (email for custom heater specs) |
| 260mm PEI film | 1 | $11.69 |
| 5/8" x 1/8" N42SH High Temp Magnet | 6 | $12.96 |
| Sugru | 1 pack | $3.63 |
| Self Fusing Silicone Tape | 1 | $6.60 |
| Printed 8-32 Nut Thumb Wheel | 3 | cost of filament |
| Solid State Relay | 1 | $4.75 |
| Total Cost | $111.27 |
Construction
| Metal Bandsaw (handheld jigsaw could also be used) |
| Drill Press (handheld drill could also be used) |
| #2 Screw Driver |
| File |
| Wire Stripper |
| Adjustable wrench (1/8" box end wrench can also be used, alternatively you can simply hand thread the nuts using the printed thumb wheel when necessary for additional torque) |
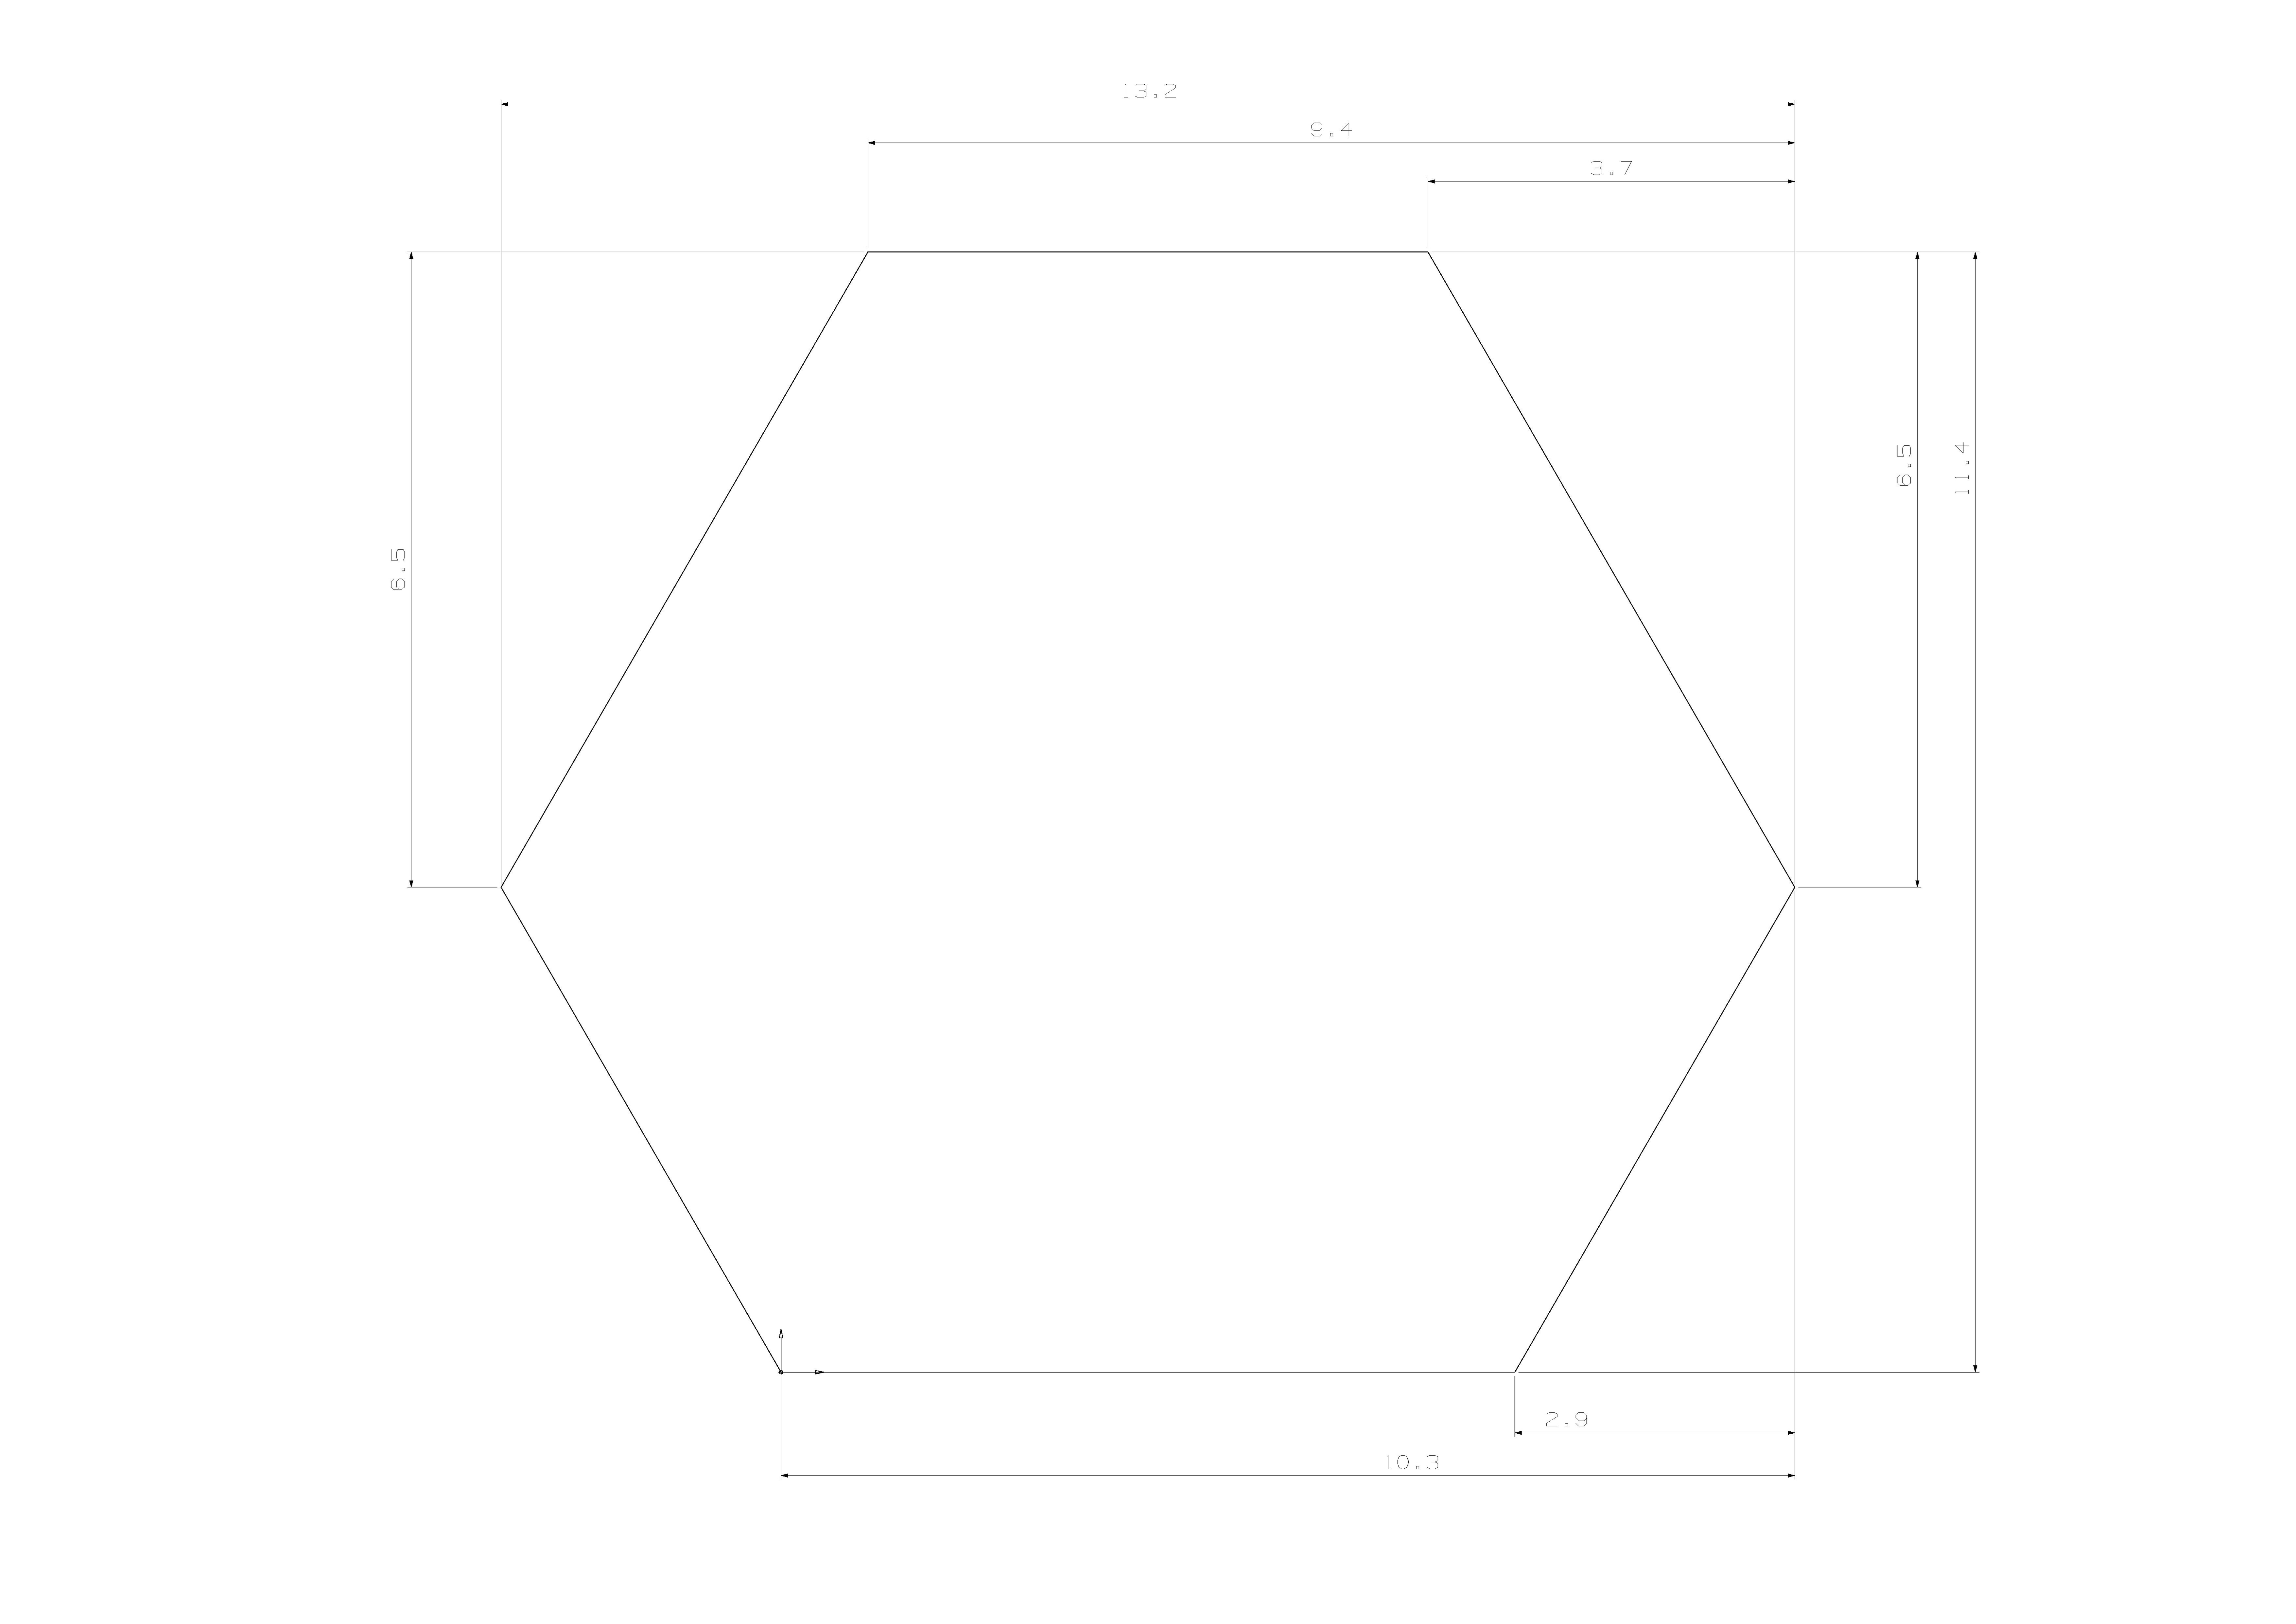
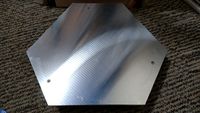
- Cut aluminum plate to size.
- Drill and countersink holes in aluminum plate.
- Drill holes in printer base.
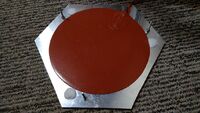
- Install heater on aluminum plate
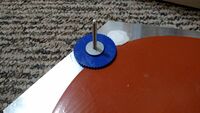
- Install bolts and nuts on aluminum plate
- Install magnets with sugru on bottom of aluminum plate
- Install assembled aluminum plate on printer base.
- Wire thermistor, SSR, and silicone heater
- install PEI sheet onto glass
- wrap magnets in silicone tape
- Level print bed using thumb wheels and a square
- Add the heated bed in Franklin.
- Set Temps to 2
- Check the box labeled bed next to the new temp
- Set thermistor values (for the thermistor built into the heater use R0 = 10, R1 = Infinity, Rc = 100, Tc = 25, Beta = 3950).
- Heater set to D12 and make valid
- thermistor set to A6 and make valid


Substitutions
If you do not have the skills or tools necessary for cutting the aluminum plate to the hexagon shape you can order a 10" X 11.5" plate and adapt the design slightly
Common Problems
- The Current version of Franklin doesn't seem to properly support heated bed G-Code. This means that you have to manually set the bed temperature. One potential workaround is to uncheck the box that says bed. You can then change your start g-code to set the temperature of the second extruder to the desired bed temperature.