Abstract[edit | edit source]
The purpose of this Spring 2019 ENGR 215 project is to build a desk with an attached pedal system for our client, Zane Middle School. Since middle school students have tons of energy and sit in a classroom most of the day, pedaling while working on assignments allows them to quietly get their jitters out will getting work done. Our client representative, middle school teacher Paige Boone, had this problem and gave us the task to build a desk with pedal system to help improve her student's ability to work in the classroom.
Background[edit | edit source]
Catherine L. Zane Middle School is located in Eureka, Northern California. This 6th-8th grade school focuses their curriculum on STEAM (Science, Technology, Engineering, Art, and Math). Spring 2019's team Education With Movement's goal was to create a resource for students to utilize during instruction that allows them to fidget quietly.
Problem statement and criteria[edit | edit source]
Team EWM's objective is to construct a desk that allows students to remain focused and on-task during class instruction while also safely fidgeting quietly by having access to a bike pedaling system under their desk.
Table 1: Criteria for Final Design
| Criteria | Description | Weight |
|---|---|---|
| Safety | Moveable components should be shielded, table should have a sturdy base. | 10 |
| Durability | Design will be used daily, so it must be sturdy and not break. | 9 |
| Sound Level | Must be as quiet as keyboard typing. | 7 |
| Child Size | Design should be adjustable to account for all students' sizes. | 6 |
| Transportability | Must be able to move around with ease. | 5 |
| Movement | Must provide students with adequate movement to allow quiet fidgeting. | 5 |
| Cost | A maximum budget of $400, but preferably less than $100. | 4 |
Description of final project[edit | edit source]
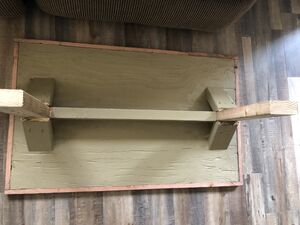
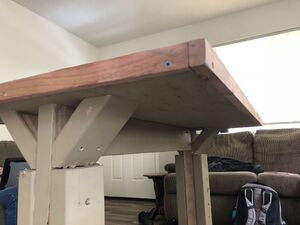
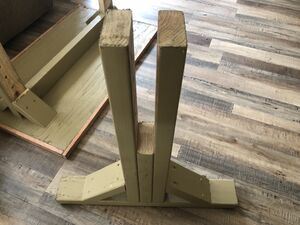
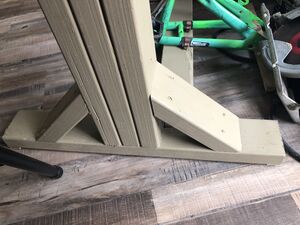
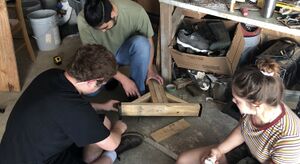
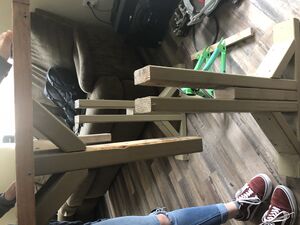
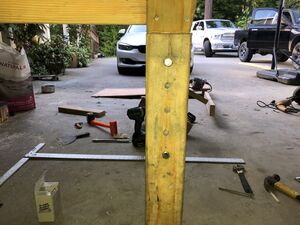
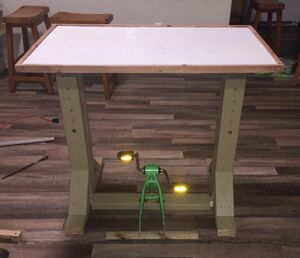
Our final design features an adjustable table with a pedal system. The desk has two main legs attached to parallel runner boards on the bottom, giving the desk a strong base. The middle board is attached to the bottom of the table top and fits snuggly in between the previously said two main legs. The legs have five preset heights that utilize four nuts and bolts, to hold its position. To adjust the table, two wrenches and a rubber mallet will be provided to our client representative to aid in adjusting the nuts and bolts. In addition there are a total of eight 45 degree angle support boards that make the table top and bottom runner boards sturdy. As for the pedal system, it is a recycled bike frame secured to two boards with copper brackets as a base. The pedal system is easily detachable, but sturdy enough to stay in place when in use. As for the table top, it was created with a piece of plywood on the bottom for strength, then another was painted with whiteboard paint and screwed on top. A ¼" piece of trim also runs along the perimeter to keep things from rolling off.
Prototyping[edit | edit source]
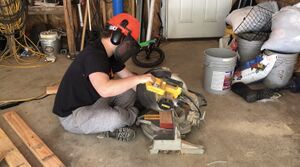
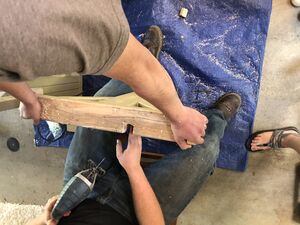
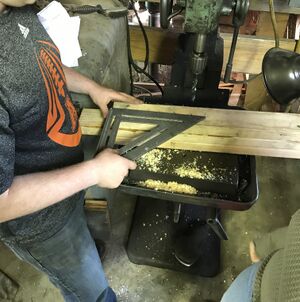
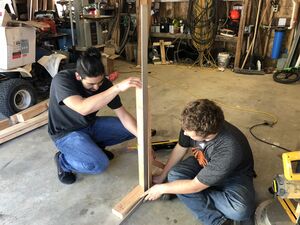
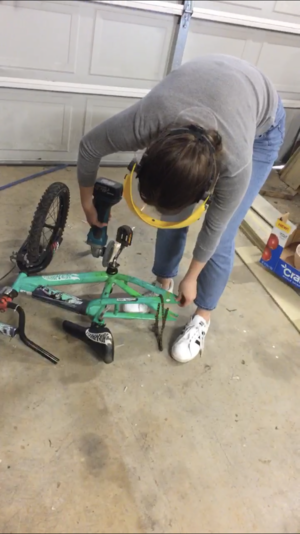
Use a gallery of prototyping photos and lessons learned.
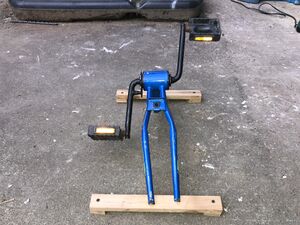
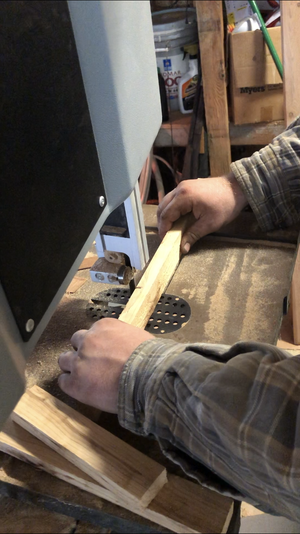
For our first prototype we decided to figure out a way to make a pedal system that would be able to be placed underneath the desk. We found our first donor bike at a local scrap yard in arcata. I took it home for a grand total of $5. The bike was already stripped down but the pedals and frame were intact. When it came to the design of this first prototype, we didn't have anything in particular in mind. We were just going to use ideas we found on the internet and try to modify them to suit our needs. As soon as we made the first cut on the donor bike, we realized that we could have made a different cut that would have been significantly better, but it was too late to go back. In the end, we were able to scrap it together.
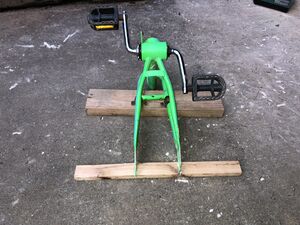
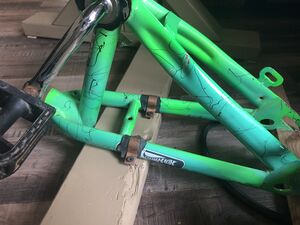
The second pedal prototype was created using a $3 craigslist bike. We cut more strategically this time. This gave us a much stronger frame to work with. Then we took apart the bike to get down to the bearings. We packed them full of grease to allow for a smoother and quieter ride. We used copper brackets to secure the front part of the pedals to the 2x4, and we cut small grooves into a strip of cedar that was used as the back support.
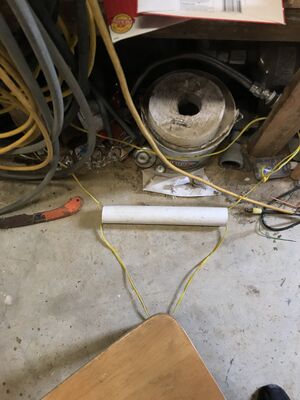
Our group brainstormed up a foot roller design. Our first thought was to develop a track system that a piece of pipe would roll gently on. After more thought, using a rope track that the piece of pipe could follow was the better option. Our group decided this prototype was of the most efficient. However, this is something that was found to work with the kids' existing desk.
Costs[edit | edit source]
Material and construction costs include any material or labor cost that became a part of our overall total cost of the project. We were lucky enough to be able to use all the tools needed for construction for free which significantly lowered the total cost and allowed us to remain under our budget of $325.
Table 2: Item and Construction Costs
| Items | Quantity | Cost |
|---|---|---|
| 2x4 wood | 4 | $12.69 |
| Box of screws | 1 | $6.49 |
| Washers | 4 | $0.92 |
| Bolts | 4 | $6.00 |
| Nuts | 4 | $0.92 |
| Drill Bit | 1 | $7.04 |
| Blue Bicycle | 1 | $5.00 |
| Green Bicycle | 1 | $2.00 |
| Wrench | 2 | $8.03 |
| Whiteboard paint | 1 | $26.03 |
| Plywood | 1 | donated |
| Tools | 1 | donated |
| TOTAL | $75.12 |
Costs (Hours)[edit | edit source]
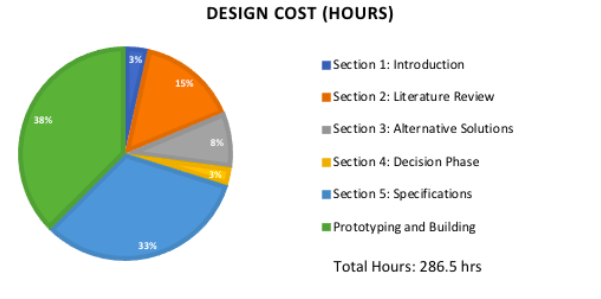
Figure 4 illustrates a graphical representation of the total design costs in terms of hours for the design.
Testing Results[edit | edit source]
One adjustable bike pedal desk was made to help students get their wiggles out without disrupting other students. Also, being able to work on class work in Paige Boone's classroom. The desk and bike pedals have given the students a resource to accomplish staying on task during class time while simultaneously moving their legs on bike pedals.
How to build[edit | edit source]
The following two tables are step-by-step instructions on how to build an adjustable desk and pedal system.
Footer
Footer
Maintenance[edit | edit source]
Maintenance is not the most important thing in order to keep the pedal desk looking pleasant and functioning properly. Very little regular maintenance should be required for the desk due to the mount of use.
Schedule[edit | edit source]
Maintenance on the bike pedal desk does not follow an exact schedule. If so, a daily task would simply be to wipe the desk top off at the end of the day when normal maintenance crew cleans the classroom. However, if something where to come apart the easiest fix would be to insert a new screw in the same location or near the same screw. As for the pedal the only maintenance it will need is when it starts to make any squeaking noises. The best way to resolve this problem is to apply WD-40 in the grease hole near the pedals.
- Daily
- Wipe down the desk top to disinfect any bacteria and to take off any marks that previous students made.
- Long Term
- Check the pedals to see if it needs oil, if so apply the oil in-between the pedals in the oil hole that's included.
Troubleshooting[edit | edit source]
The following table is a guide that details some common problems found with pedal desk users and solutions to each problem.
| Problem | Solution |
|---|---|
| Desk gets marked up | Wipe/scrub surface |
| Pedal begins to make high pitched noises | Apply WD-40 to squeaking area |
| Whiteboard starts to come off | Add super glue |
Discussion and next steps[edit | edit source]
Team EWM worked collectively to accomplish the construction of the bike pedal desk system. Through the process our team members have gained skills working as a group, communicating with a client, time management, being accommodating, and stepping outside of our comfort zones.
Suggestions for future changes[edit | edit source]
- Instead of using wood, use metal pipe and weld it to the bike frame for a stronger joint.
- Manufactured pedal systems cans be found inexpensively on the internet.
- Try to make the best cuts when cutting the bike frame.
Poster[edit | edit source]
Video[edit | edit source]
This is a video made by Education with Movement to show how to build a pedal desk.
