About the Team[edit | edit source]
Keith Brennan, Briana Celest-Ruiz, Salvador Garduno-Sanchez, Mikaela Shannon
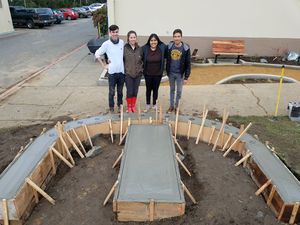
Environmental Resource Engineering students at Cal Poly Humboldt.
Abstract[edit | edit source]
The Human Sundial is a design that Team Ocynthia chose as a project, a planned installation at Six Rivers Charter School in Arcata, CA. This school requested a sundial to be installed on the west end of campus, a shared space between Six Rivers Charter and Arcata High School. Our most important considerations consisted of an educational component for the students, longevity of the design, safety for those who interact with it and a visually striking design.
The Human Sundial is a platform, where students can learn by interacting with the sundial on a regular basis watching their shadow change from each time and month in the year. The sundial emphasizes how the sun changes position in declination angle from each month in the year.
Background[edit | edit source]
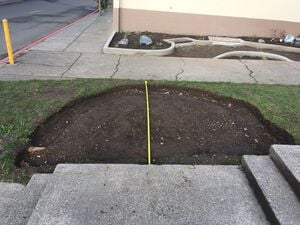
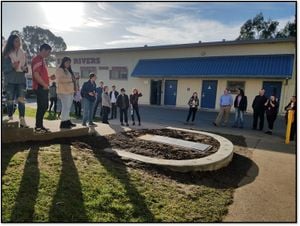
The space which was chosen as the location for the development of the Human Sundial at Six Rivers school is centered in a high traffic area on campus. Surrounding an underutilized space of lawn are major drop off points for students from buses, as well as the school wood shop and design lab. Through creating a more dynamic campus environment, this design project intended to change the way students interact with their school, and promote curiosity as they see it during passing periods and lunch breaks. Through reforming the space, it could create additional seating and spaces for students to enjoy, play, and create.
Objective[edit | edit source]
The objective of the human sundial was to demonstrate an interactive, educational model. The goal was to educate the students on how the sun's position affects the angle of the sun and time due to each month.
Additionally, making a sundial that was elevated off of the ground creates a platform, with the flexible usage as a bench, raised planter bed, and creative space. Educational components of the design are minimalist in nature, as represented in our design. By creating a strongly curved, arching curb of numbers surrounding a monolithic platform, the shape of the space creates a place that is encouraging to students to fill. Once a student steps onto the platform and observes their shadow highlighting the current time, it could have the effect of reinforcing their connection with the revolution of the earth around the sun and how it relates to the passage of time.
Problem Statement and Criterion[edit | edit source]
Problem Statement[edit | edit source]
The sundial needs to be safe, interactive; long-lasting-- enduring for several years; have a level of educational value- in this case referencing astronomical and mathematical concepts; be aesthetically pleasing; require little to no maintenance. In addition, the sundial needs to be within our project's budget plus the client's resources.
Criterion[edit | edit source]
- Aesthetic: The sundial is pleasing to look at from a teacher and student point of view.
- Durable: The sundial's platform and accessories can withstand students using the sundial for other events, such as skateboarding.
- Long lasting: The material will be long-lasting considering weather and usage.
- Interactive: Involves the student with the project.
- Educational: The sundial will project educational values and directions to use the sundial.
- Maintainable: To be able to easily repair and groomed.
- Low Cost: The maximum cost for the project from the client was $100.
- Safe: Must be safe for the students with no slippage when raining and nothing pointy or someone to fall on.
- Accurate: The Accuracy of the Sundial when done correctly has a difference of approximately 20 minutes when seasons change.
Description and Final Project[edit | edit source]
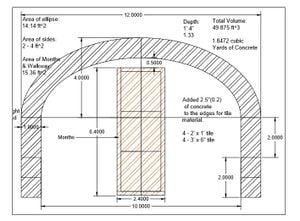
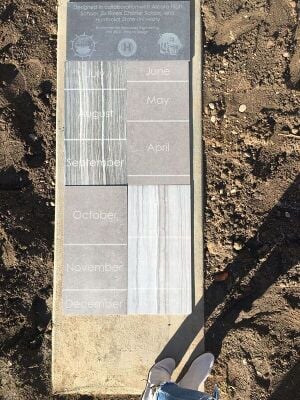
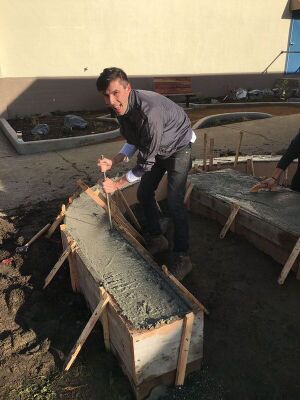
- the calendar months are a raised platform in the middle of the sundial. consists of a 2' x 6' slab of concrete with laser-etched patio tiles.
- Calculations for the amount of concrete used. We were informed to add a quarter more of concrete, which was approximately 2 yards of concrete.
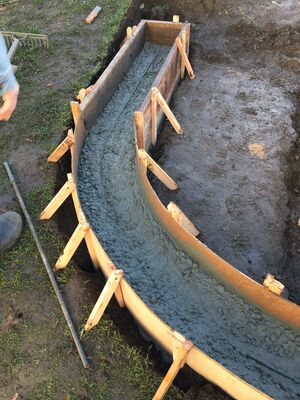
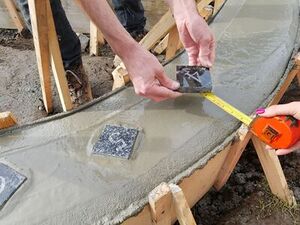
- a 1 ft. wide cement arch surrounds the months platform, and has inset granite tiled numbers will be placed centered in the curb.
- The cement curb and platform are raised above grade by fourteen inches, creating an area for students to be able to sit down.
- The platform for the months has a "floating" design as the space between the calendar and arch can be filled as a planted garden.
Prototyping[edit | edit source]
Prototype I[edit | edit source]

- The first prototype was a down-scaled calculated human sundial that we brought to the site.
- The prototype was correct when the shadow was cast by the small human we made.
- The error in the prototype was the horizontal months. This was adjusted later.
- However, the prototype in October and November did show correct results in these particular months.
- Calculations (Pruss AR (2011)).
Prototype II[edit | edit source]

- The second prototype was a layout of the projected human sundial size.
- The numbers are positioned by the calculations.
- This prototype gives the client a visual of how big the human sundial was going to be.
- There was a same error in this prototype to the first.
Prototype III[edit | edit source]
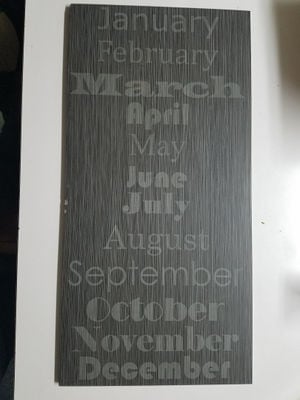
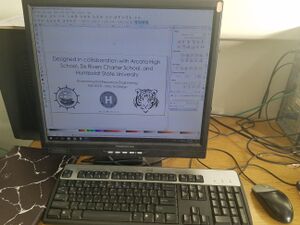
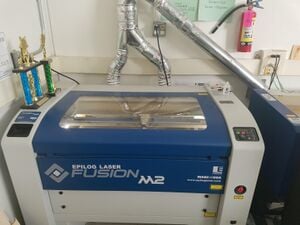
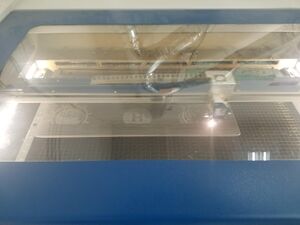
- Laser etched calendar on a testing 1 x 2' tile.
- This was a prototype to find the right text font and size. We assessed font aesthetics and legibility.
- Another reason for the prototype was to evaluate if the tile would laser etch well, and which settings to use.
Costs[edit | edit source]
Material Cost[edit | edit source]
| Quantity | Material | Source | Cost ($/Quantity) | Team Cost ($) | Real Cost ($) |
|---|---|---|---|---|---|
| 1 | Cement (yard) | Eureka Ready Mix | 90.00 | 0.00 | 90.00 |
| 6 | Tile - 2' x 6' | PCG | 6.00 | 0.00 | 36.00 |
| 14 | Granite - 4" x 4" | Arcata Countertops | 4.00 | 0.00 | 56.00 |
| 6 | Rebar - 10' | Thomas Center | 12.00 | 45.00 | 72.00 |
| 6 | Masonite Sheet - 4' x 8' | Thomas Center | 10.00 | 10.00 | 60.00 |
| 1 | Quickrete 10 lbs. | Thomas Center | 11.00 | 11.00 | 11.00 |
| 1 | Wooden Forms - 20' | Thomas Center | 25.00 | 0.00 | 25.00 |
| 20 | Granite Laser Etching | Arcata High School | 50.00 | 0.00 | 50.00 |
| Total Cost | $66.00 | $400.00 | |||
Labor Cost[edit | edit source]
| Person(s) | Hour(s) | Description | Cost ($/Person(s)) | Team Cost ($) | Real Cost ($) |
|---|---|---|---|---|---|
| 3 | 5 | Digging | 11.00 | 0.00 | 165.00 |
| 4 | 5 | Digging | 11.00 | 0.00 | 220.00 |
| 1 | 2 | Dial Check | 11.00 | 0.00 | 22.00 |
| 4 | 14 | Formwork | 11.00 | 0.00 | 528.00 |
| 2 | 6 | Professional Formwork | 60.00 | 0.00 | 720.00 |
| 6 | 8 | Cementing | 11.00 | 0.00 | 528.00 |
| 3 | 4 | Formwork | 11.00 | 0.00 | 44.00 |
| 1 | 2 | Digging (Tractor) | 50.00 | 0.00 | 100.00 |
| Total Cost | $0.00 | $2,327.00 | |||
How To[edit | edit source]
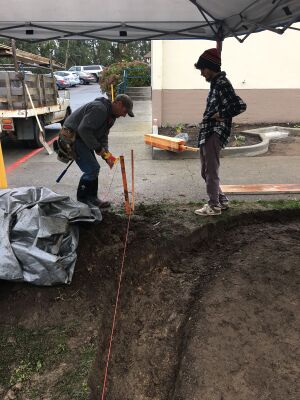
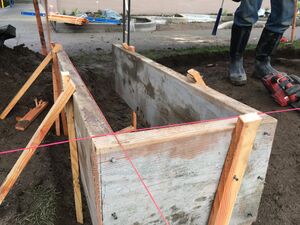
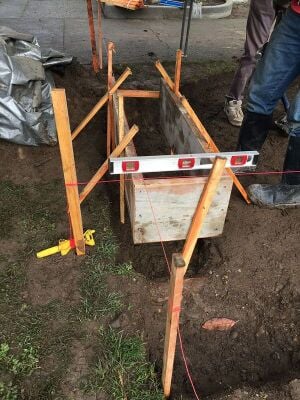
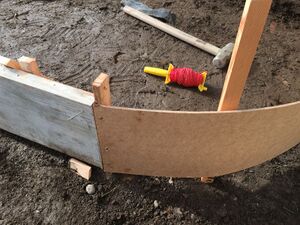
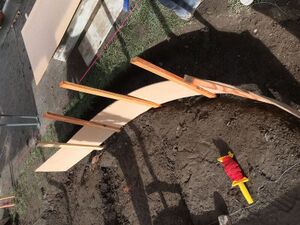
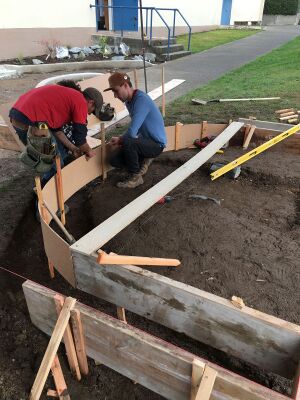
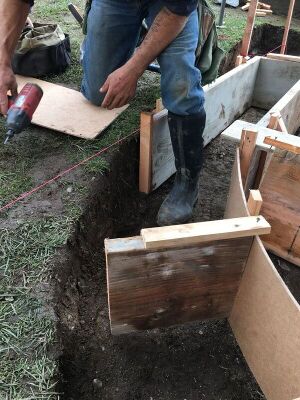
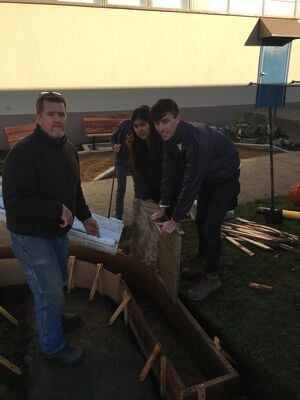
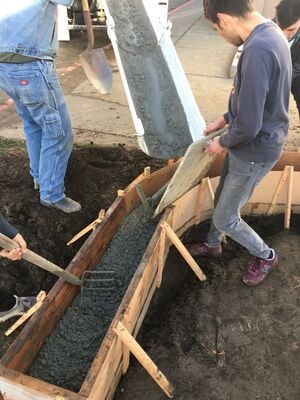
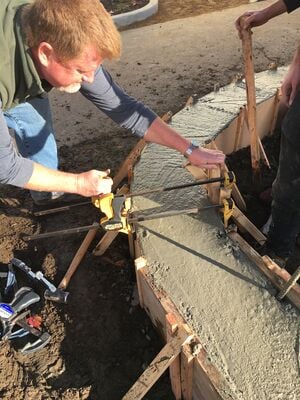
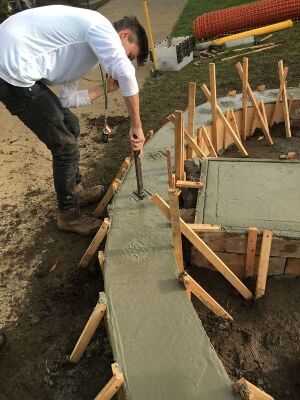
We repeatedly checked the levels of the forms and hammered in the stakes to level the forms if inaccurate.
Instructions[edit | edit source]
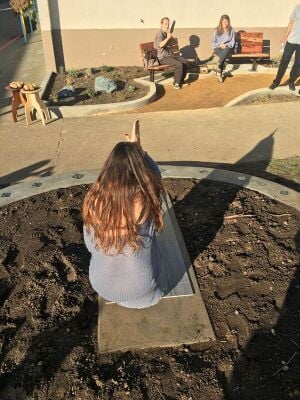
- Stand on the months that best represent that time of year.
- The months are different sizes, therefore based off day of the month vertically stand in that general area. For example if today is Nov 2nd, stand on top end of that month.
- The shadow might be too long, where your torso might be in two times.
- Go on your knees and place your hands together on top of your head to read in between the times better.
Maintenance[edit | edit source]
The majority of maintenance for the Human Sundial would be tending to the garden and landscaping. The sundial itself was designed to exceed load specifications and should be usable for many years to come.
Schedule[edit | edit source]
This is when to maintain each component.
- Weekly
- Water the plants during dry season.
- Maintain grass area around sundial.
- Cleaning off dirt left on tiles.
- Monthly
- If needed, hosing off the tiles and granite stones for cleaning
Suggestions for future changes[edit | edit source]
- When creating a sundial with a cement do not dig too much.
- One of the challenges in framework and cement was that the cement was not stopped by natural ground. Therefore, more wood was involved and labor.
- Consider weather patterns. Heavy rain complicated the process, causing the cementing step to be postponed.
- Consider combining different materials and styles to make the sundial more visually appealing and cost effective.
- Test the design multiple times and refine as needed to ensure the final design is accurate.
References[edit | edit source]
Calculations: Pruss AR (2011) Analemmatic Sundial PDF Generator. In: Papercraft Sundial PDF Generator.
http://analemmatic.sourceforge.net:80/cgi-bin/sundial.pl?. Accessed 23 Sep 2018
