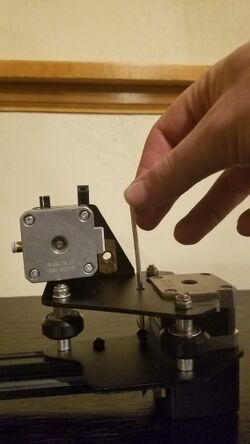
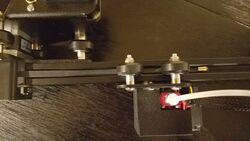
Lining up the X-axis motor piece and the beamTake the X-axis motor and the 20x20 beam and line them up on the side with the three screw holes close together.
Attaching the pieces X-motor piece with the beamUsing two M4x16 screws, attach the X-axis motor to the beam. A good tip is to hold it the screw vertical with pliers, and hold it in place. You can screw a little bit with your hand to hold it into place, and then use the 3mm allen wrench to do the tightening.
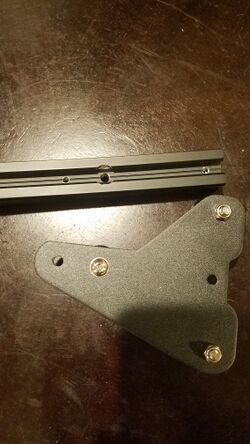
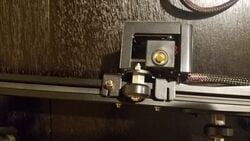
Lining up the mounting bracketLine up and loosely tighten the mounting bracket to the beam using two M4x16 screws with the rollers facing away from the beam.
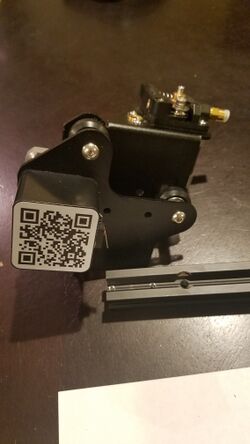
Sliding on the extruder headSlide the extruder head with the head facing down on the mounting bracket side. Once it has slid past the mounting bracket, tighten up the mounting bracket M4x16 screws.
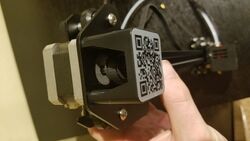
Putting the belt around the X-axis motor shaft. The smooth part of the belt should be facing outwardsTake the belt with the teeth facing inwards, and wrap it around the X-axis motor shaft. (the QR code motor)
Feeding the belt underneath the extruder rollersFeed the belt on top underneath the two rollers of the extruder motor. This can be done pretty easily by laying the gold end in the slit, and moving the rollers over it
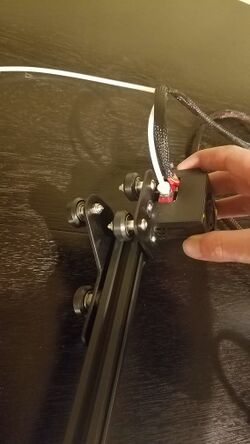
Pinning the gold end of the belt on bottom in the extruder head slitBring the gold end of the belt on bottom and slide the belt into the slit by the extruder head.
The easiest way to do this is to slide the belt between the extruder and the beam. The gold end should be held like how the belt should be slid.
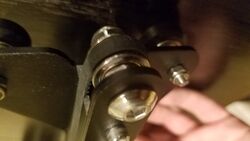
Attaching the belt tensioner and wrapping around the top of the beltUntighten the t-nuts of the belt tensioner so it can slide onto the end near the mounting bracket. Slide the t-nuts (with the t-nut being vertical so it doesn't fall out of the beam slit) onto the beam as much as possible. Taking the top of the belt, wrap it around the axle of the tensioner, and slide the gold end into the slit of the extruder head much like the last step. Once both belts are secured into the bottom of the extruder head, pull out the tensioner to get as much tension as possible and tighten the t-nuts.