This page is a preliminary student design and has not been vetted. Care should be taken to read critically and weigh the evidence. Remember non-tested and vetted designs should not be relied on, especially in matters of health and safety.
a solid design but has not been tested on full scale on bicycle
needs longevity testing - probably best in high performance plastic - e.g. nylon
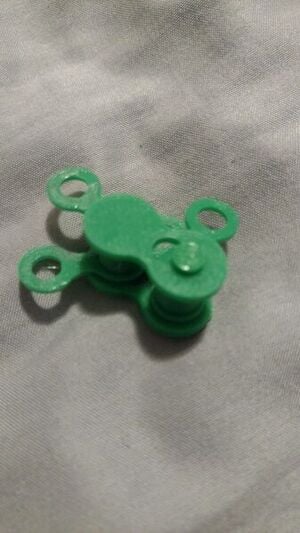
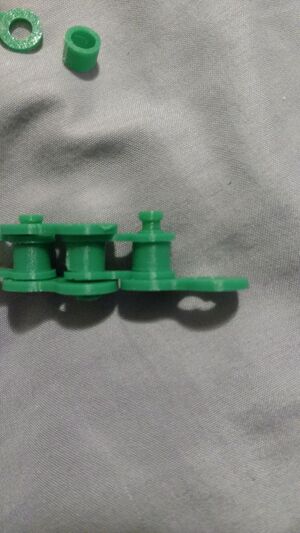
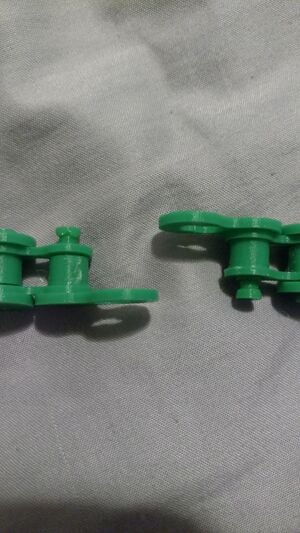
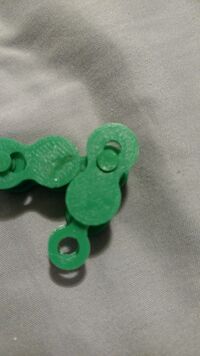
This design can be printed to produce a bicycle chain to be used with a bike. This design can fit under multiple OSAT goals that involve cheaper transportation for creating a mostly 3D printed bicycle. There is one other design for a 3D printed chain, however the design is not listed for actual use due to its lack of strength. This design has more strength to it, without taking away the ease of assembly that the other option has.
Technical Specifications and Assembly Instructions
Print settings for bike chain used (feel free to experiment with other options):
Layer Height: 0.1 mm
Shell Thickness: 1mm
Bottom-Top thickness: 0.5mm
Fill Desnity 30%
Print Speed: 30mm/s
Print Temperature (PLA): 190 C
Flow: 100%
Print time estimate: 26 minutes for one link
Assembly Time for entire chain: 10-20 minutes
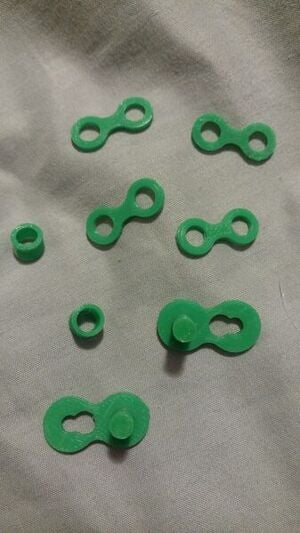
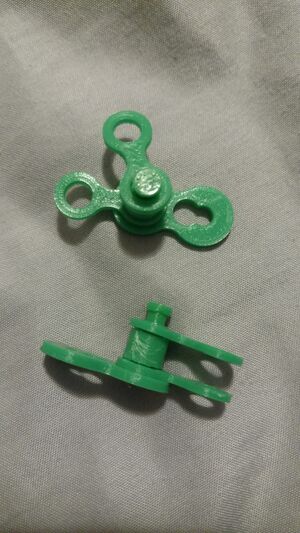
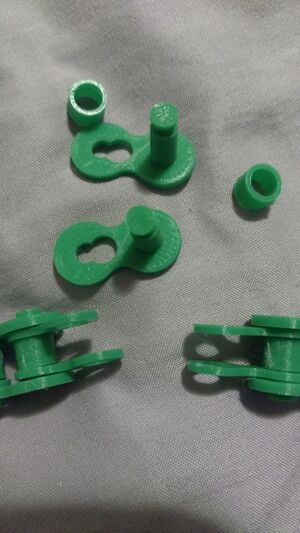
Take two main brackets, and place a connector bracket, spacer ring, and another connector bracket on the cylinders of each main bracket
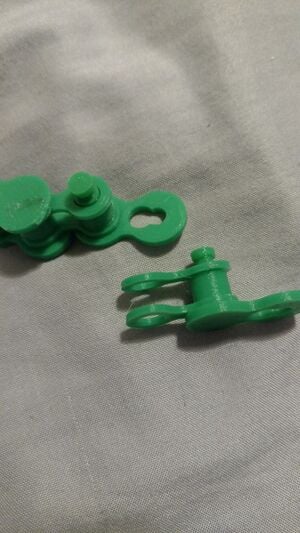
With the assembly just made, place the cylinder of each of the main brackets inside the larger hole of the other main bracket.
Pull on both brackets to snap them into place of the smaller hole.
Take 2 more main brackets, 2 more spacer rings, and 2 more connector brackets. Place a spacer ring between two of the connector brackets on the part assembled in the previous step. Place a main bracket's cylinder through the three parts.
Assemble the other main bracket with a connector bracket, a spacer, and another connector bracket.
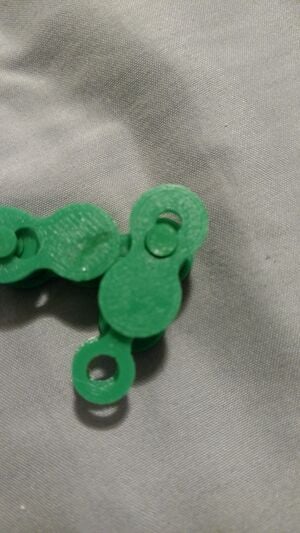
snap the assembled main brackets together as before.
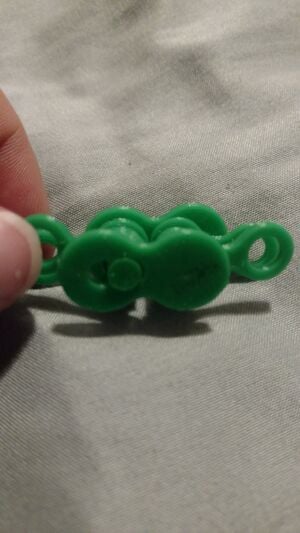
Continue this process until just two main brackets are left. Place a spacer between the connector brackets at each end. Place a main bracket at each end, and connect the ends together.
Headline text
Common Problems and Solutions
Not being able to snap a link into place onto the existing chain: Place the link that is being added in parallel to the existing link. This prevents the existing parts from getting in the way of adding new links on.
Cost savings
If your solution is not a low cost one then it is not really appropriate.
One link = Two main brackets, two connector brackets, two spacer rings