Background[edit | edit source]
Problem statement and criteria[edit | edit source]
Description of final project[edit | edit source]
Cost Table[edit | edit source]
Testing Results[edit | edit source]
How to build[edit | edit source]
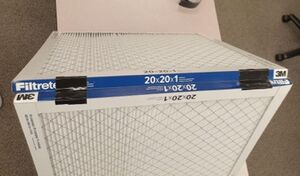
Place the fan face-down (such that the portion that blows air is face down) on a flat surface. Align the bottom edge of one filter with the bottom edge of the fan and the side edge of the filter with the right side of the fan. Place two temporary pieces of tape down to keep the filter in place, but that are removable if necessary. Lift this filter up and repeat the process with the second filter, aligning the bottom with the bottom of the fan and the side with the left side of the fan
Carefully place the fan-filter combo onto a large piece of cardboard and trace around the bottom of the filters. It is only necessary to trace the outline of the filters as the cardboard does not need to extend underneath the fan. Trace to the frontmost edge of the filters, then stop. Carefully move the fan and filters and use a straight edge to connect the endpoints of the trace. This piece will be used to seal the bottom of the unit. Cut this piece out, then trace and cut out an identical copy to be used for the top. In both cases, cut out a bigger piece than you think is needed, as the piece can always be reduced later.
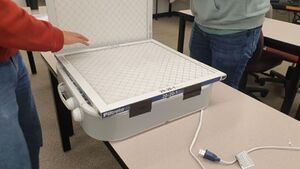
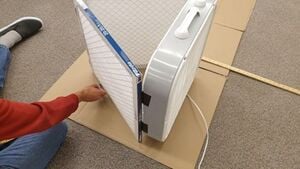
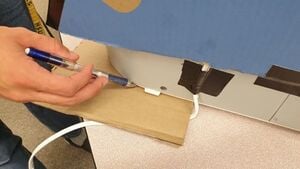
Carefully place the fan upside down so that the bottom piece of cardboard can be attached. Line up all three edges of the cardboard triangle to the edges of the filters and fan as best as possible. If any areas extend too far beyond the edges of the filters or fan, carefully trim this excess. Then, as seen in the photo, attach this piece to the filters. Use small pieces of tape first to hold everything in place, then go over with one or two longer strips of tape. Note that in all instances of sealing with tape, it is recommended to make the seals as airtight as possible to maximize the efficiency of the filter. Note also near the top of the figure that the fan cord, which attaches to the back of the fan, is routed between the fan and the cardboard base. This will be properly sealed later.
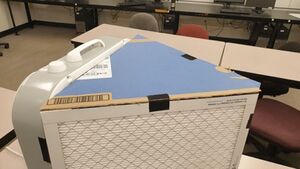
Flipping the fan over, the cardboard top can now be attached to the top of the fan in a similar fashion. This piece should line up with the edges of the filters and backside of the fan. Since the filters are shorter than the fan, the cardboard will sit below the height of the fan, which is okay. This will be sealed later. For now, seal the cardboard top with the two filters and properly seal the joint between the two filters.
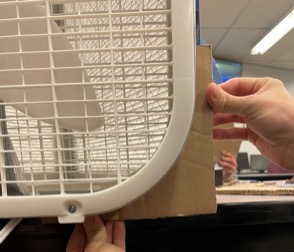
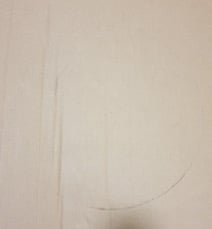
With the round shape of the fan on the square edges of the filters, there will be gaps in the sealing of the unit at each of the corners. To seal these, lay the unit facedown onto a piece of scrap cardboard, tracing along its curve. Make sure that there is enough thickness between the trace and the edges of the cardboard to fully seal these corners (a few inches should be enough; always leave more than you think you need and trim down to match later). The image shows this tracing. Cut this piece out and trace 3 similar pieces for the 3 other corners.
After trimming the piece down to better match the gap it is filling, it should fit around the corner of the fan. Note that the cardboard will not be flush with the air filter behind it, as the air filter is at an angle. Trim this edge to be close in width to the extent at which the filter behind it sticks out.
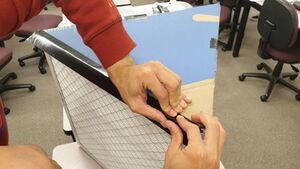
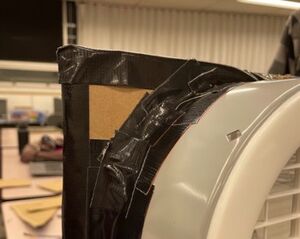
This piece is mounted in place with tape. Note that multiple pieces of tape are used to ensure the seal is as airtight as possible, as taping around a curved edge is more difficult with a single piece of tape. Repeat this with the other three corner pieces. With this step completed, look over the unit and ensure that every connection between two components is sealed. This may include the connections between the fan and the cardboard top/bottom and the left and right side of the fan with each filter. If any breaks in the seal arise, seal them with additional tape.
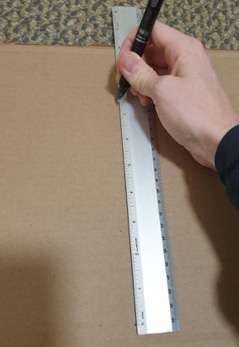
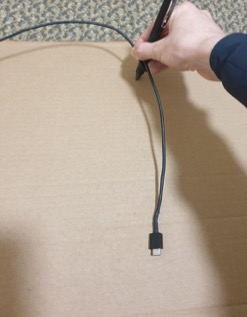
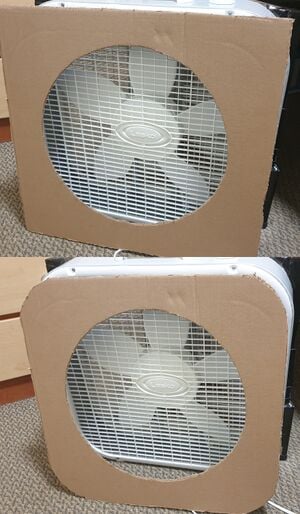
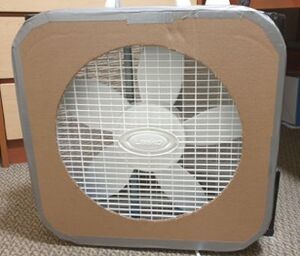
The shroud can be assembled using any remaining cardboard from the packaging on the box fan. Measure out the cutout diameter based on the brand of box fan (15-inch diameter for Lasko, 14.5 for Utilitech) leaving enough room on the sides to completely cover the face of the fan. Mark the center and create guidelines by measuring from the center to the radius.
