Abstract[edit | edit source]
The purpose of this project is to educate middle school level students on the basics of chemistry and physical science through desalination. The project has not successfully fulfilled all desired criteria, but is currently being worked on. Team Zane-iacs went with a lean to design that was supposed to capture condensation to display the change from evaporated water to condensed water. Team Zane-iacs was formed at Cal Poly Humboldt in the Engr205 Introduction to Design class.
Background[edit | edit source]
Zane Middle School is a STEAM school. STEAM stands for Science, Technology, Engineering, Art, and Math. Students at Zane Middle School have to follow Next Generation Science Standards(NGSS). This requires them to learn about physical science and chemistry. A way that the students are taught these science standards are through desalination. The original device, that was being used by the students to learn about desalination, did not fully evaporate water. The project that team Zane-iacs took on, was to help create a efficient device to replace the old method.
Problem statement and criteria[edit | edit source]
The objective of our design is to construct a reliable, electricity powered, and compact desalination device intended for the use of educating children on the subject of desalination.
| Criteria | Importance | Constraints |
|---|---|---|
| Efficacy | 10 | Should separate water from salt, producing salt crystals and clean water. |
| Aesthetics | 6 | Should look aesthetically pleasing to children and just as aesthetically pleasing as other scientific objects in the room, i.e taxidermy duck showcase. |
| Cost | 5 | The cost out of pocket should not exceed the budget of $400. |
| Power Consumption | 5 | The desalination device should use the least amount of electricity possible. |
| Educational Value | 10 | Should not only desalinate water, but have the process be observable over an extended period of time. |
| Safety | 10 | Should be as safe as any other electrical device in the classroom. |
Description of final project[edit | edit source]
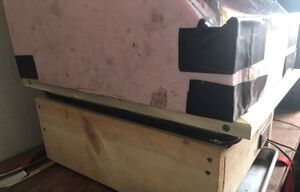
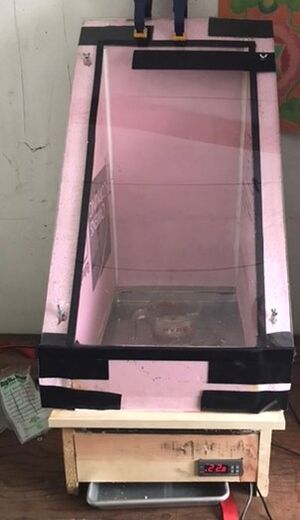
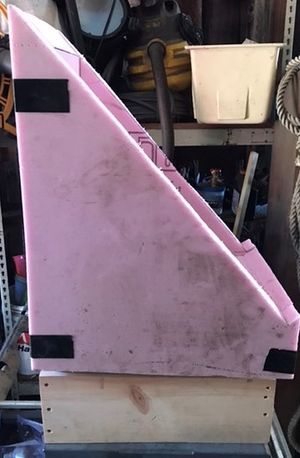
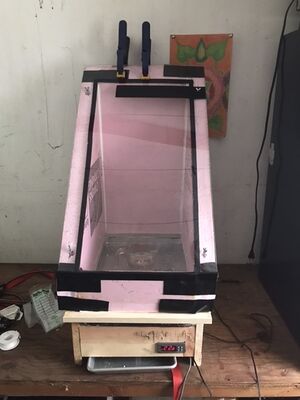
The Lean with it Rock with it was the final design that selected to be implemented at Zane Middle School. This desalination device rests upon a rectangular wooden base. The insulated walls supporting the sides of the device are constructed from extruded polystyrene foam. The heating device used is a 750W 120V silicone mat with adjustable temperatures. The condensing unit is constructed from plexiglass, allowing for a visual demonstration of the desalination process. Once the water has evaporated and condensed on the plexiglass, clean water will fall into the catchment system, a collection device, where it will be collected.
How to Use[edit | edit source]
The desalination device is intended to be used on a countertop with electric power. The user should fill the beakers with a saline solution. Once the user has filled the beakers with a saline solution, the beakers should be placed on the heating pad. In order to place the beakers on the heating pad remove the plexiglass cover/condenser. The plexiglass cover can rest on the countertop while removed. After the user inserts the beakers of saline solution into the device they can put the cover back on and plug in the device. The device should take 1-2 days to complete desalination. Once desalination is complete. Remove the beakers, and clean the collection vessel. The collection vessel should stick out slightly, so the user will be able to see if it might overflow, and the vessel’s state of cleanliness. The beakers should have salt crystals in them. If larger salt crystals are desired use non iodized salt, and make it a hyper concentrated solution. One can also make the salt crystals have fun colors by adding food coloring. For proper functioning, the temperature probe should be placed in one of the beakers of water. This will maintain the water at the desired temperature.
Setting Desired Operating Temperature[edit | edit source]
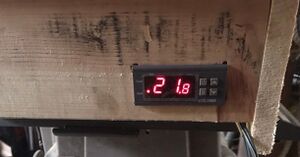
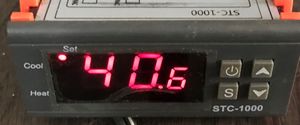
The device uses a Ketotek STC - 1000 thermostatic controller to control the temperature of the heating pad. It comes set to evaporate water at 40 degrees C. It may be necessary to modify this setting to change run times or for varying quantities of water. Complete instructions can be found in the owners manual linked here https://images-na.ssl-images-amazon.com/images/I/71VSFdFfszL.pdf. But here is a quick start guide to setting temperature: 1. Press and hold “S” for 3 seconds to enter parameter setting mode. 2. Press the up and down arrow keys to find “F1” the temperature setting parameter. 3. Press “S” to enter temperature setting mode. 4. Press the up and down arrow keys to select the desired operating temperature. 5. Press the power button to set the new value.
Prototyping[edit | edit source]
The results of the prototype provided information on the progression of the project. Three prototypes were created: one to test the heating element, one to test external aesthetic, one to test the internal design.
To prototype the function of the heating device, a 12 x 12 in. silicone heating pad, a Pyrex glass measuring cup, and a stainless-steel container, was utilized to evaporate the hard water in the cup.
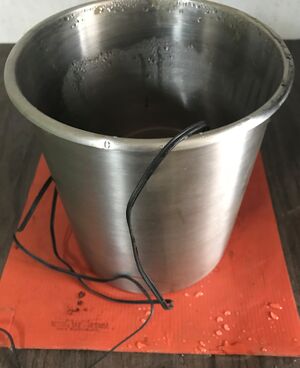
In the test, the stainless-steel container served as the insulation in maintaining the ideal temperature. The heating mat was set to 40 C and was observed over a period of 48 hours. During this period, a gradual decrease in water level was observed and the process resulted in residual salt crystals, and clean water.
To prototype the aesthetic of the device as a whole, a tea box and a piece of plastic wrap was utilized. This simple test solidified the use of a lean-to condenser in our final project.
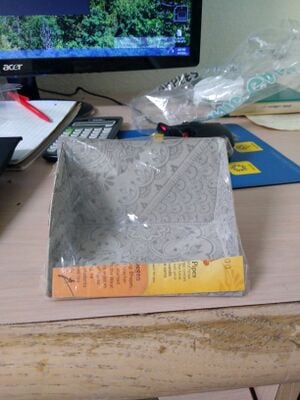
To prototype the internal design of the device, a cardboard box was modified to create all the components of the device.

This technology tested the functionality of use. It was easy to open and move the beakers in and out of the of the model. It also included the collection dish which demonstrated the ease of removal and decanting. This prototype was successful in delivering an efficient template.
Costs[edit | edit source]
| Quantity | Material | Source | Cost ($) | Total Cost ($) | Build Cost ($) |
|---|---|---|---|---|---|
| 2 | Commercial Sheet Pan | Donated | 3.89 | 7.78 | 0.00 |
| 1 | 1 x 12 Pine Board | Donated | 19.70 | 19.70 | 0.00 |
| 12 | Screws | Donated | 0.10 | 1.20 | 0.00 |
| 1 | EPS Foam Insulation | Donated | 27.37 | 27.37 | 0.00 |
| 1 | Silicone Heating Mat | Donated | 39.99 | 39.99 | 0.00 |
| 1 | Thermostatic Controller | Donated | 15.99 | 15.99 | 0.00 |
| 1 | Glass Cutter | Donated | 5.99 | 5.99 | 5.99 |
| 2 | Channel Trim | Donated | 8.59 | 17.18 | 17.18 |
| 1 | Locknuts | Donated | 1.39 | 1.39 | 1.39 |
| 1 | Furnace Cement | Donated | 5.99 | 5.99 | 5.99 |
| 8 | Ceramic Tiles | Donated | 3.19 | 25.52 | 0.00 |
| 1 | Plexiglass Sheet | ACE Hardware | 13.99 | 13.99 | 13.99 |
| 1 | Weather Seal | Donated | 3.99 | 3.99 | 3.99 |
| 1 | Caulk | Donated | 7.99 | 7.99 | 7.99 |
| 3 | Threaded Rod | Donated | 4.49 | 13.47 | 13.47 |
| 1 | 1 x 2 x 8 Pine Board | Donated | 2.99 | 2.99 | 2.99 |
| 1 | Rubber Weather Strip | Donated | 7.59 | 7.59 | 7.59 |
| 1 | Misc. Nuts & Bolts | Donated | 3.24 | 3.24 | 3.24
|
| $221.36 | $74.83 | ||||
Testing Results[edit | edit source]
The Desalination device can evaporate around 1 100ml solution of salt water in 1-2 days at 40 degrees Celsius.
Maintenance[edit | edit source]
The Desalination device does not require much maintenance. Basic cleaning needs to be done after each use. If any parts a broken
Schedule[edit | edit source]
This is when to maintain what.
- Weekly
- Remove plexiglass condenser and take out beakers after each use.
- Proceed to clean salt crystals out of beakers.
- Monthly
- Remove and wipe down plexiglass.
- Remove and dispose of water that is left in collection dish.
- Yearly
- Remove and replace plexiglass if transparency starts to fade.
How to Build a Desalinator[edit | edit source]
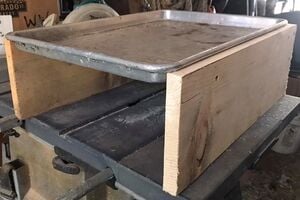
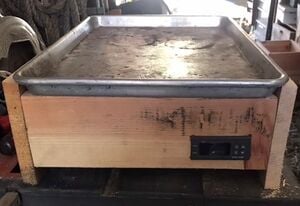
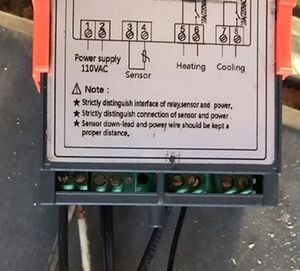
Note commercial sheet pan and thermostatic controller.
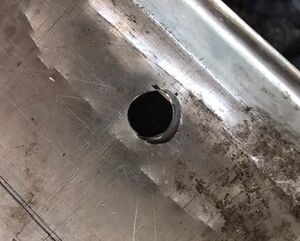
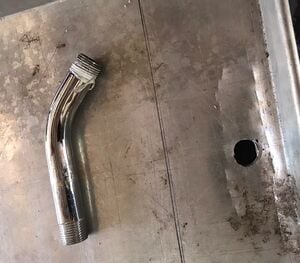
A 3/4" drill bit gives a good hole for 1/2" pipe.
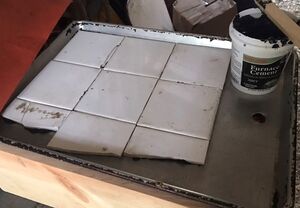
Broken tiles can work well in this application.
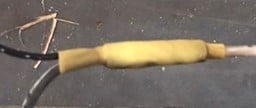
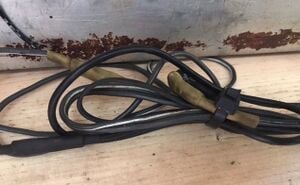
A crimping tool makes for strong connections.
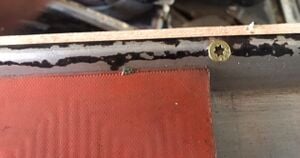
Use a slow speed for driving screws into metal, they snap easily.
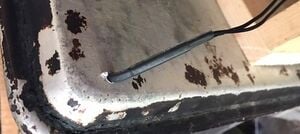
Be sure to not let any of the wiring touch the sheet pan, they can melt.
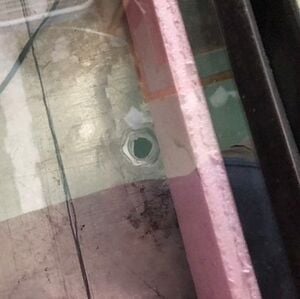
Enlarge ¾” hole in bottom sheet pan with metal files to allow ½” pipe to slide through.
Our base is done.
Use countersunk holes for the screws.
Big cuts go more easily with the saw. Use the utility knife for finer cuts and to shave the cuts for a better fit.
Have fun desalinating!
Troubleshooting[edit | edit source]
This is only how to troubleshoot basic operation. For complex issues, the solution might just say contact ________. It should be a table in this format:
| Does not evaporate water in desired time frame | Change temperature setting (see Instructions for Use section) |
|---|---|
| Does not collect condensation | Check that all seals are tight and aligned |
| Does not turn on | Make sure it is plugged in |
| Does not evaporate water in desired time frame | Change temperature setting (see Instructions for Use section) |
Discussion and next steps[edit | edit source]
After the final iteration of building this desalination device it is to be implemented in the classroom environment as a tool to teach physical science. This device is powered by electricity, so it should sit near a standard wall outlet on a countertop. During times it is not in use it will be stored on the countertop in the same place.
Suggestions for future changes[edit | edit source]
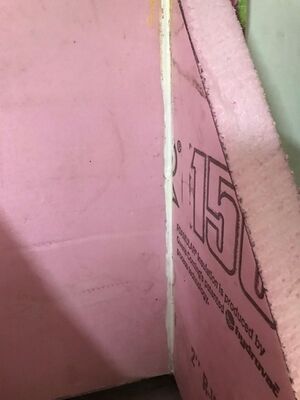
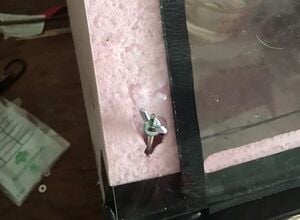
The seal between the condenser and the frame should be addressed. The seal might not be as big of an issue if one were to use a glass water condenser instead of a plexiglass water condenser, this is due to the fact glass is heavier and would keep a better seal. The seal issue has been addressed by bolting the condenser to the frame, and strapping it down. There is still some issue with the seal though.
References[edit | edit source]
