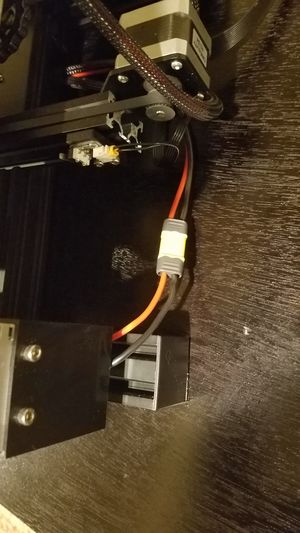
Connect the power supply and the power supply wireTake the cord underneath the power supply and connect it to the red/black wire underneath the printer.
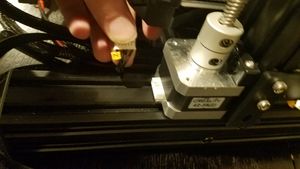
Z-axis motor wire connectionTake the 4 wire connector labeled 'Z' and connect it to the base of the Z-axis motor
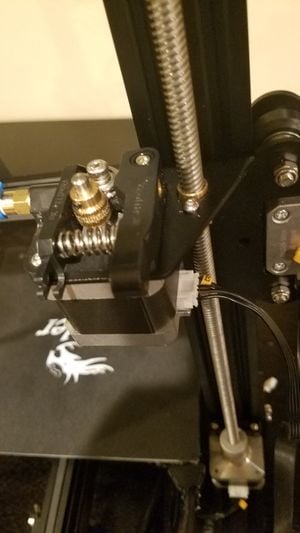
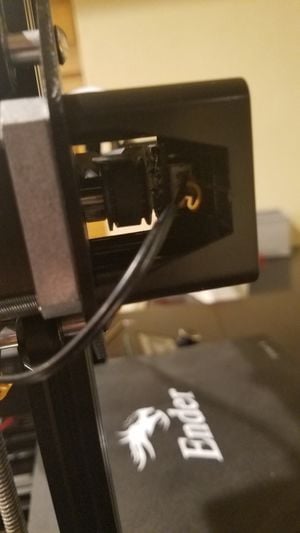
Extruder motor wire connectionTake the 4 wire connector labeled 'E' and connect it to the base of the extruder motor
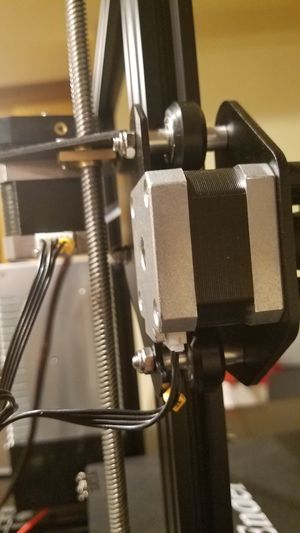
X-axis motor wire connectionTake the 4 wire connector labeled 'X' and connect it to the base of the X-axis motor
X-axis limit switch wire connectionTake the 2 wire connector labeled 'X' and connect it to the X-axis limit switch
Z-axis limit switch wire connectionTake the 2 wire connector labeled 'Z' and connect it to the Z-axis limit switch