Prepping Materials[edit | edit source]
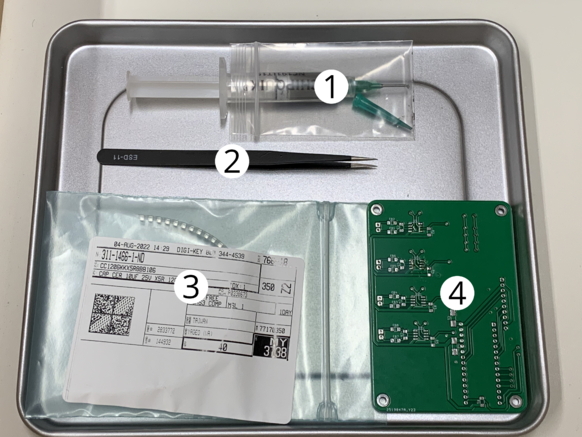
What you will need:
- Solder paste
- Tweezers
- SMD components for soldering
- PCB
- Paper towel for fixing mistakes

Applying Solder Paste[edit | edit source]
- Start by applying solder paste to the pads on the PCB.
- Apply less than you think you need! It's always easier to touch-up solder after the fact instead of getting rid of bridges caused by applying too much paste.
- Use tweezers to place your SMD components onto their pads.
- Make sure the solder paste is touching both the component and the pad so a solid connection is made.
- Place your prepped PCBs into the oven after placing all SMD components with solder paste.
Working with the Reflow Oven[edit | edit source]
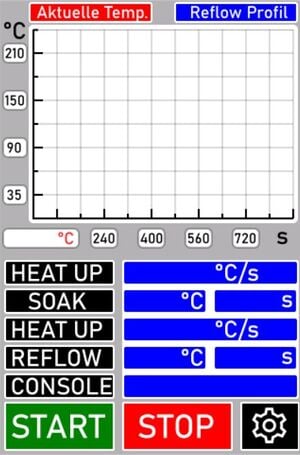
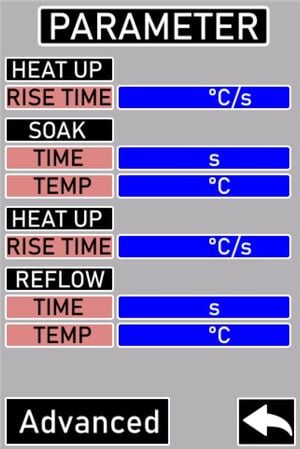
The oven should have the required parameters already loaded, so you just need to press start and wait until it's finished. For other soldering materials, you may need to chage the parameters. This process is outlined below:
Standard Parameters[edit | edit source]
| Heat up | 0.3C/s | |
|---|---|---|
| Soak | 90C | 50s |
| Heat up | 0.5C/s | |
| Reflow | 138C | 80s |
For More Information[edit | edit source]
This reflow was built by closely following this tutorial: https://www.instructables.com/DIY-REFLOW-OVEN/


