Michael Holt (Open Source Hardware Enterprise)
Working with OSHE
I am a senior Electrical Engineer at Michigan Technological University. Spring 2015 is when I became a member of the OSHE team. In the beginning of the spring semester the team had a few projects that needed to be completed. Those designs ranged from an Prusa i3 and Gigabot 3-D printers, a Lasersaur laser cutter/etcher and an induction furnace. Although I started off spending a little bit of time on different projects I ended up teaming up with Nicholas Kasza to complete the Prusa i3.
Prusa i3
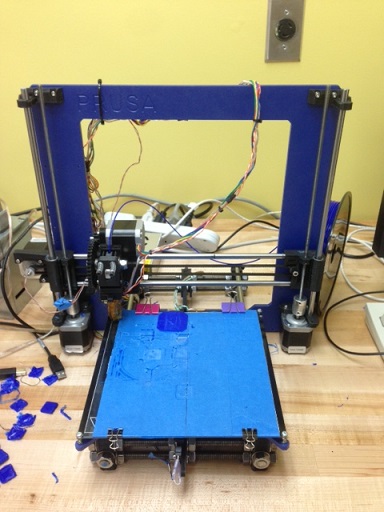
Fig. 1: Prusa i3 3-D Printer. Developed by Prusajr
The Prusa i3 printer is the newest 3-D printer design from RepRap. This design has stronger frame rigidity and easier assembly then their older models. The OSHE team and I would like to use this printer to help not only our group with future projects, but mostly to enhance the productivity of other MTU students. The Prusa i3 will allow different enterprises, senior design teams and other students to obtain customized parts and tools at a lower cost and agile time.
Constructing the Prusa i3
At the beginning of this semester The frame of the Prusa i3 was completed. There were still a few other tasks that had to be finished before we could start any troubleshooting. The extruder, single-frame bed, wiring and configuring the micro-controller were left to be done.
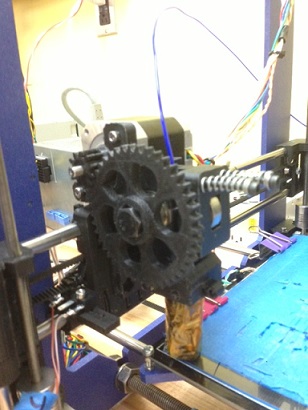
Fig. 2: Prusa i3 Extruder
The first part to be assembled was the extruder which is shown in the picture above. The extruder is one of the main components of almost every 3-D printer. Its motor feeds the filament to the thermistor for heating. Most of the parts were 3-D printed on one of the team's older printers. This really cut down the overall cost of the newer printer.
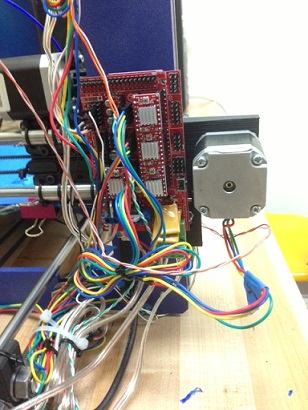
Fig. 3: Arduino Board
The Arduino board acts as the brain of the Prusa i3. It controls all of the moving parts of the printer. The main task that had to be completed here was the connection of the x,y and z motors, sensors, power and USB in order to talk to the computer. With the help from other OSHE team members we were able to solder and connect all of the wires to and from the Arduino board.
Final Actions for 2014
After all of the parts were connected and the firmware was added to the Arduino board we were able to connect the printer to the computer and start troubleshooting(the longest part of design). To help with the troubleshooting we used Cura and Pronterface software. Cura is used to edit/cut the model that is going to be 3-D printed and Pronterface gives the user full functionality of the Prusa printer. Nick and I have now been troubleshooting the printer for 2 weeks and it is now printing! There are still a few small things that need to be done in order to get the print to look flawless. We hope to finish these tasks in the next couple of days and leave this semester with a fully functional Prusa i3.
Induction Furnace
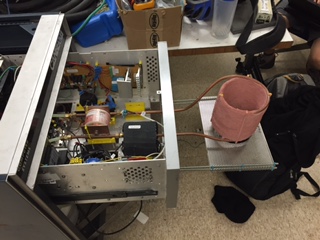
Fig. 4: Induction Furnace.
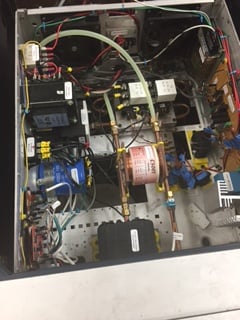
Our induction furnace is used to heat up and melt metals through induction. The coil in the left photo encloses the production of an electric current by changing the magnetic field. The furnace uses 3 phase power to maximize the current/voltage in order to melt highly dense metals. Initially I helped install the circuits Patrick designed inside the furnace. Under the coil are two metal plates that I cut out and installed which are used as a safe guard. If anything breaks and falls on the top plate it touches the bottom plate and shorts out. This will then turn off the furnace. I had to solder and connect wires to the micro controller which has been programmed to turn off the furnace if this happens. We have been testing the furnace numerous times. It has started up a couple times but still needs a couple adjustments to stop it from shorting out and turning off.
Lasersaur
Fig. 5: Lasersaur.
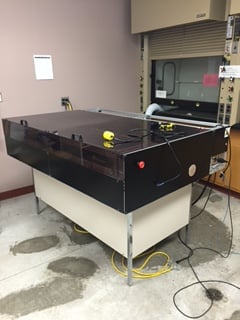
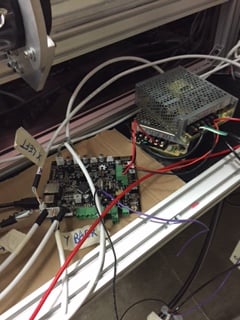
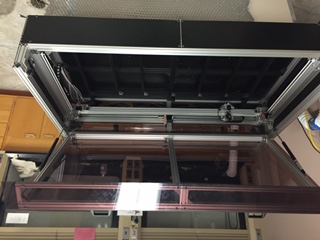
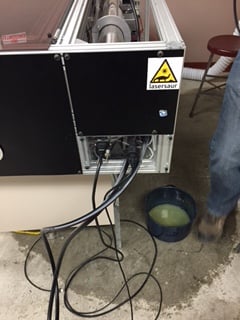
This semester our enterprise was able to complete our build of a lasersaur. The lasersaur is an open source laser cutter. It has the power to cut through material from paper to strong plastics and can also etch metals.I was able to help the team with the wiring, troubleshooting and other final touches in order to get the laser to cut efficiently and to finish the overall design of the lasersaur.
Other Actions
This semester the OSHE recieved their own lab in order to complete our projects. This was a big move forward for us. Our new lab contains fume hoods, water and compressed air which allows us to run the lasersaur. MTU supplied us with chairs and tables. This new lab made working on the lasersuar really convenient and will make the construction of other projects much easier. Our team and I brought a 3d printer to a presentation for freshmen and incoming students. We definitley stole the show and talked to a lot of people about 3d printing, OSHE and other projects that we have been working on. People were really interested. It will be exciting to see the enterprise grow with other intelligent, hardworking students that feel the same way we do about building and learning about open source hardware.
