Rain Water Bottler
Project developed by [jfhicks]
Template:Status-prototype You can help Appropedia by contributing to the next step in this OSAT's status. Template:Boxbottom
Abstract
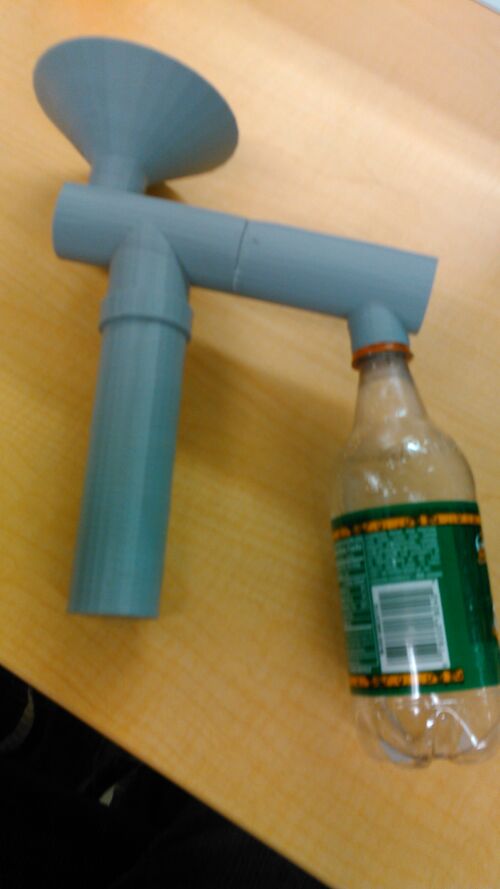
- This device collects rain water in a water bottle or any container that has standard bottle threads. It includes a purge container that collects the initial dirty rain water. The reason this water is dirty is due to the sediment that collects on a roof between rain cycles. Once the purge container is filled a ball floats to the top and closes of this container and the clean rain water is diverted into the water bottle.
- Picture of Rain Water Collector

Bill of Materials
- All compents are 3D printable but glue is needed to secure the purge main to the bottle collector and a container with standard bottle thread is need to collect clean water.
- The file used for the bottle neck threads and funnel were designed by laird can be found here [1]
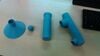
- Image of Parts
- Water Collector Purge scadWater collector purge.scad
- Water Collector Purge stlWater Collector Purge .stl
- Water Purge Pipe SCADFile:Purge pipe.scad
- Water Purge Pipe STL File:Purge pipe.stl
- ScrewBall Desigend by JamieLaing and must be scaled to .55. link to source [2]
- Water collector filler.scad File:Water collector filler.scad
- Water collector filler.stl File:Water collector filler.stl
- Water collector funnel.scad File:Water collector funnel.scad
- Water collector funnel.stl File:Water collector funnel.stl
- Image of Parts

Tools needed for fabrication of the OSAT
- MOST Delta RepRap or similar RepRap 3-D printer
- Liquid glue ex: Super Glue or 5 Min Epoxy
Skills and Knowledge Necessary to Make the OSAT
- Basic 3D printer knowledge
Technical Specifications and Assembly Instructions
To construct the rain water collector
- Print out the following parts using supports
- Water Collector Purge Water Collector Purge .stl
- Water Purge Pipe File:Purge pipe.stl
- Water collector filler File:Water collector filler.stl
- Water collector funnel File:Water collector funnel.stl
- Then you have to scale the ScrewBall by .55 in your slicer ex. Cura
- ScrewBall File:Screwball 7.stl Source [3]
- Insert the Water Collector Purge Part into the Water Collector Filler with a bead of liquid glue on the connector
- Screw the ball together
- Optional: Add a bead of glue around ball seam to insure ball is water tight
- Place the ball inside the purge pipe
- Place the purge pipe over the open pipe on the Water Collector Purge part
- Insert the Water Collector Funnel in the open hole on the Water Collector Purge part
- Screw Water bottle into the final pipe on the Water Collector Filler
- 15 Hrs
- Under 5 mins
Cost savings
- If your solution is not a low cost one then it is not really appropriate.
- Estimate your costs
- Find a commercial equivalent
- Calculate $ savings and % savings
Components
- Water Collector Purge scadWater collector purge.scad
- Water Collector Purge stlWater Collector Purge .stl
- Water Purge Pipe SCADFile:Purge pipe.scad
- Water Purge Pipe STL File:Purge pipe.stl
- ScrewBall Desigend by JamieLaing and must be scaled to .55. link to source [4]
- Water collector filler.scad File:Water collector filler.scad
- Water collector filler.stl File:Water collector filler.stl
- Water collector funnel.scad File:Water collector funnel.scad
- Water collector funnel.stl File:Water collector funnel.stl
- Image of Parts
- Image of Parts
</nowiki>