Lithophanes:
- Download a photo that you want to print on to the computer in a folder that you remember. If you don’t know how to download an image scroll down.
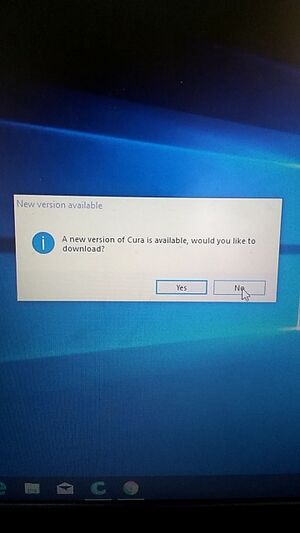
- Open cura, a box will open up asking if you want to update cura, and click no.
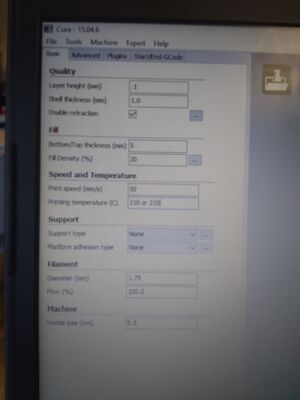
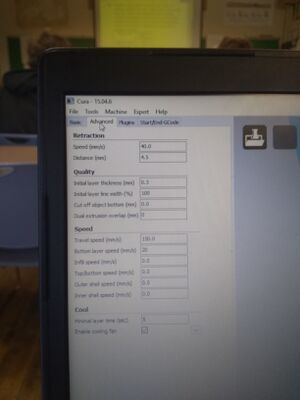
- Make sure all your original settings are right. Images with all the numbers shown below. They are also on the wall in the printing room. The page is labeled Cura #’s.
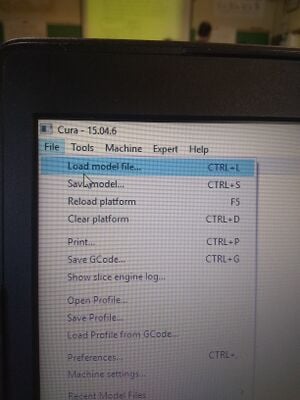
- Load model file, by clicking file, then click load model file.
- You will get a screen with pictures you downloaded to the computer if you downloaded any. Select the picture you want to print.
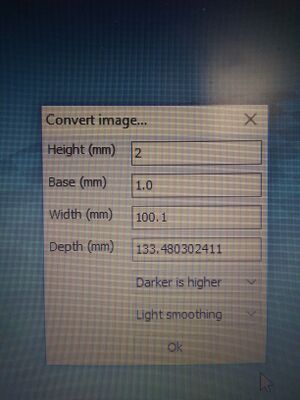
- You will have to convert the image. (change the numbers to the ones below)Your depth may be different. Just make the width around 100, and your height 2.
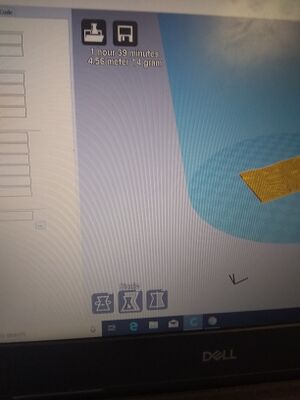
- Click ok, and your picture will load.Then click on your photo so three little boxes pop up in the bottom left corner. And click the middle one, it is the scale.
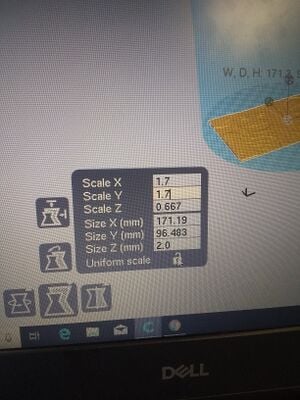
- Another box will pop up with scaling options, scale x, and scale y. After you scale the x, and y click on the lock so that is unlocked, and change scale z to 2. You may have to change your x and y to make so they are fitting on the print base. The x, and y change for every image, mess around with the numbers until your image is yellow.
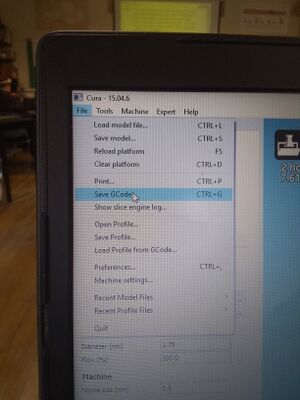
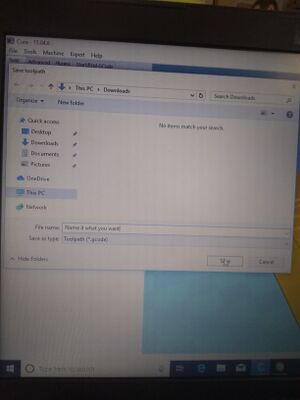
- You then click on file again, but click save g-code and save it as something you will remember and somewhere you will remember.
- Load the code into google, the link is http://10.80.34.7:8000/ you can change the number 7 to the number of the printer you would like to use.
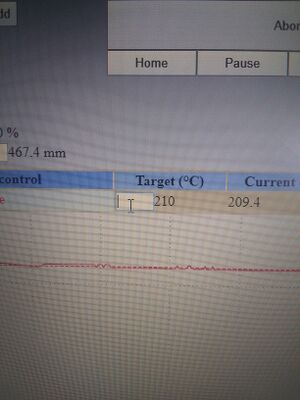
- In the target (c*), enter 210 for PLA, or 235 for PETG. You will be using PLA.
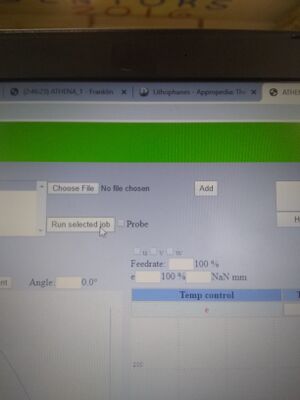
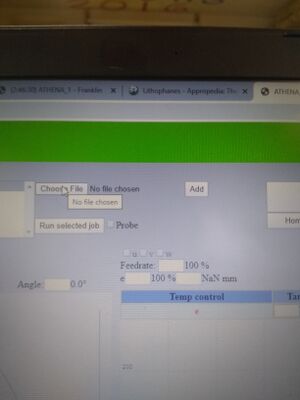
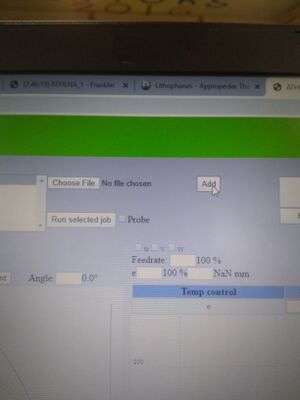
- Then click choose file, and select your gcode, after it is selected click add. The top of the screen may turn red for a little bit while it is parsing your code.
- After your screen turns green again, make sure there is glue on your print plate.
- Now press run selected job, located under choose file.
- You don't need a screen to be open for your print to continue printing, so log out of this computer, and continue on doing what you were doing before.
- When it’s finished, there is a tool with a flat silver part that you use to take your project off of the printer.
Saving/ downloading an Image:
- Take a picture of what it is that you want to print
- Send it to your gmail
- Open up gmail
- Click on your image
- Then you get two options, save to drive or download
- Click download, it looks like an arrow pointing downwards
- Then continue back on number 1 at the top of the instructions.
Additional information:
- If it starts to mess up somehow, click abort, then home
- Never click pause or resume
- If you click abort and home the temperature will immediately begin to drop, so re-enter the temperature before you begin to print again.
- Anything circled in green is to never be pressed and or changed.
- The purple you don't mess with unless you are changing filament. You wont need to change the filament, so you don't need to use anything circled in green or purple.
- NEVER TOUCH THOSE BUTTONS, OR THE OPEN BOXES WITHOUT NUMBERS!
- Your print will have a thin outer layer outside of your print that isn’t connected, and that is fine.
- Don’t touch the build plate, it may end up messing up your print. If the plate is loose ask someone who knows what they are doing to tighten it
- Don’t scrape glue off of the plate, you may add glue, but don’t remove it.
- DON'T use glittery filament.
Images, step by step:
Opening Cura:
Basic Cura Numbers:
Advanced Cura Numbers:
Load Model File:
Convert Image:
Scale Options:
Scaling Options:
Save Gcode:
Saving Gcode:
Printing Temperature:
Choose Image:
Add Image:
Run Your Print:
