Abstract
Background
Problem statement
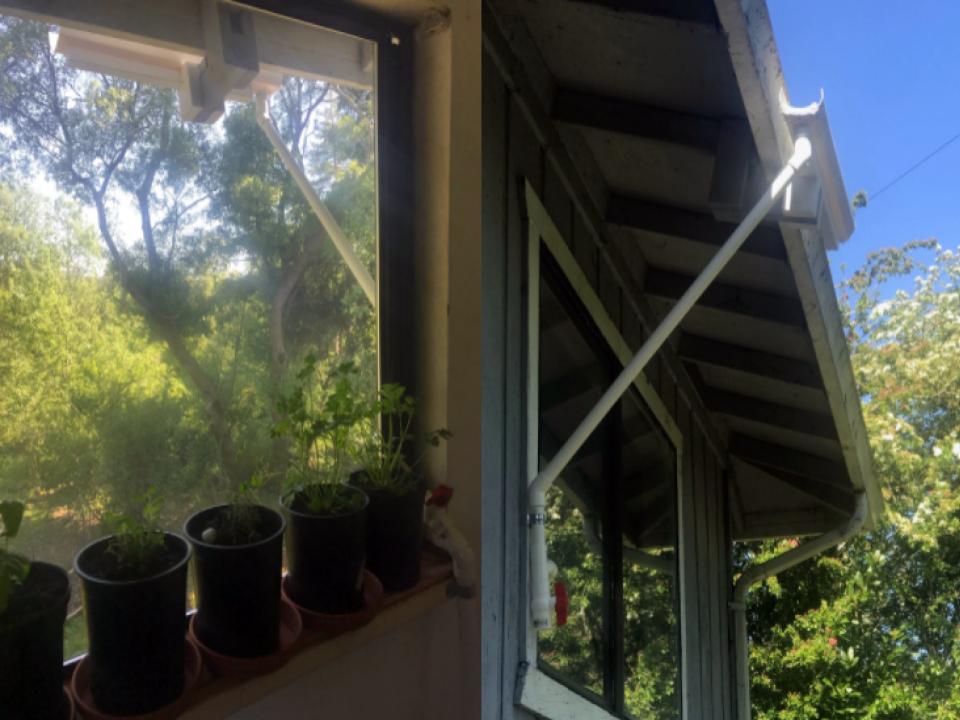
The objective of this project was to create a small personalized garden-water catchment system that can be applied rapidly in times of shelter in place like environmental conditions. This system is supposed to be durable and easy to use. These were the challenges that led the design iterations down the path and finally to its completion.
Criteria
Below are the my specific criteria that led and shaped the project into what it became today. This criteria synthesizes my idea of the core values of appropriate technology and sustainability.
| Criteria | Constraints | Weight (1-10) |
|---|---|---|
| Durability | Must withstand weathering and wear from storms and high winds | |
| Safety & Placement | Must have an easy to mount design. Must Be out of the way and sturdy. | |
| Reproducible | Needs to be reproducible given similar resource availability, and adaptive for whatever resources you do have. | |
| Usability | Easy to use and low maintenance. | |
| Cost | Must not exceed budget of 300 dollars. | |
| Functionality | Successfully captures and stores rainwater and successfully keeps water out of my room. |
Literature Review
This is a review of the necessary literature required when considering: building catchment surfaces, safe materials and rain water measurements. Beyond these necessary pieces of literature, the rest of the experience was honed through basic application of ENGR 305 appropriate technology.
Catchment surface Basics
1) - Catchment surface rule of thumb: (X ft^2) * (AREA ") * (1'/12") * (7.482Gallons/1ft^3)= desired quantity of rain water(Gallons)

       - So my Area was 5.0125 and I desired 8 gallons of water. Therefore my catchment surface necessary is:
           (X ft^2) * (5.0125 ") * (1'/12") * (7.482 Gallons/1ft^3)= 8(Gallons)
               xft^2= 1.59 ft^2
("To Catch Rain",Grafman,pg: 62-63)
Safe Materials Basics
1) - Gave several examples of PVC being used and PVC being a choice material for rain water catchment conveyance. PVC was the more expensive choice of pipe, but compared to the other options and close availability I went with PVC, because of the high safety rating indicated in "To Catch Rain".
("To Catch Rain",Grafman,pg: 16, 62-63)
Rain Water Table For ARCATA, CA (US)
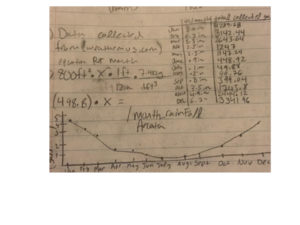
1) - It is required to know your precipitation charts before building your system, otherwise you may over or under produce in terms of water catchment. This will also indicate whether or not rain water catchment at this scale is possible. I live in an area that gets a decent amount of rain.
(weather-us.com )
Prototyping
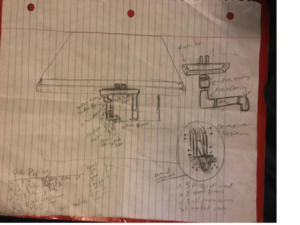
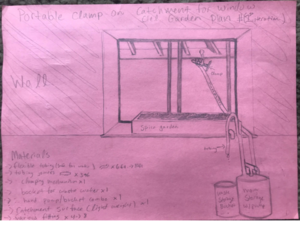
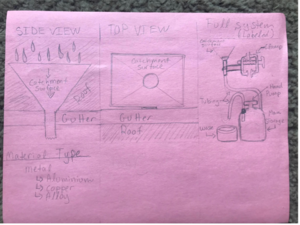
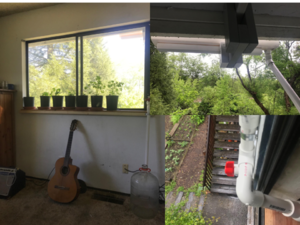
Given the time frame, prototyping took place in two stages. First, is an internal design process, initiated through observing possible installation sites. This lead me to begin to wonder about where the best spot was. Then what kind of materials I possibly have available. The next process was putting my ideas on paper in the most parsimonious manner, just to give this project some form. As you can see, my project is different in appearance from start to finish. But the main components remain the same. I found that allowing this creative iterative approach, lent a more appropriate design.
Construction
STEPS
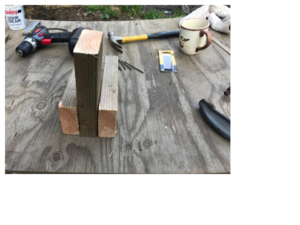
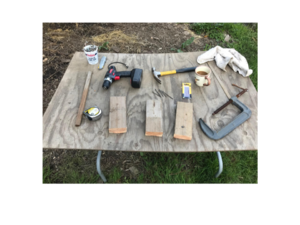
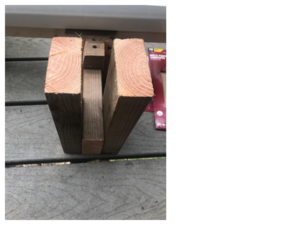
1.) BUILD WOODEN MOUNT
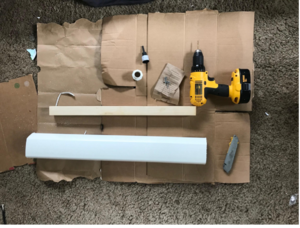
Cut lumber into three measured pieces (specific to the dimensions of roof cross member). Then drill two screws on either side staggered as to not hit another screw. And then one nail in the center of the 4 screws to make extra durable.
2.) SIZE CATCHMENT
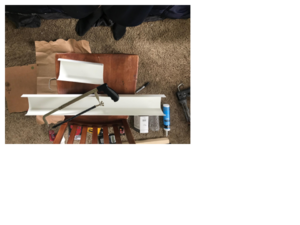
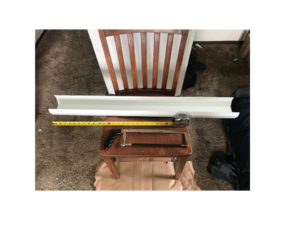
Use Catchment sizing method found in literature review, to determine correct surface area needed for desired amount of water catchment. Then use hacksaw to saw catchment surface to desired dimensions.

3.) ATTACH CATCHMENT TO WOODEN STUD
First cut wooden stud to desired length, giving yourself at least double your PVC diameter on either side of your catchment surface.
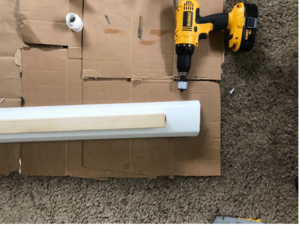
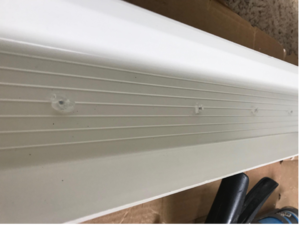
This will be for your PVC adapter later, so you can attach fittings to catchment surface. Then determine how many screws you need and mark places before screwing. Place a dab of 100% silicone over each marking, about a 1/2 bead. Then drill screws through bead of silicone, through the plastic catchment surface and into the wood stud underneath. The silicone assures no water loss and tight seal between screw and plastic.( it takes 24 hours for the silicone to fully cure, be mindful)
4.) DRILL 1" HOLE FOR PVC ADAPTER
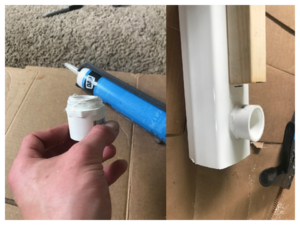
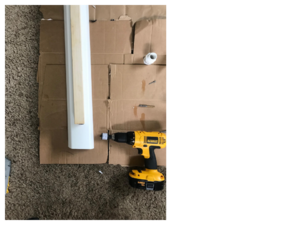
 First determine where you want your PVC joining with your catchment surface. Keep in mind the placement of PVC from roof to wall. Then use hole saw drill bit(desired diameter) to make a hole for your PVC adapter. apply 1/4" bead of 100% silicone and screw in the adapter to your catchment surface. Apply 1/4 bead of 100% silicone to top and bottom of conjoining surfaces of the adapter once screwed in. ( it takes 24 hours for the silicone to fully cure, be mindful)
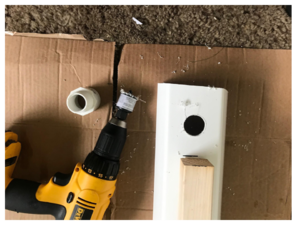
5.) ATTACH WOODEN MOUNT TO CATCHMENT
Determine where you wish to connect your mount to your catchment surface. Again, Keep in mind the placement of PVC from roof to wall.Keep in mind that there needs to be a slight downhill slope on your catchment surface; thoughtful placement can solve this consideration. Use wood screws and screw at least 4 screws into equally distant places between the wood stud on your catchment surface and your wood mount. The more the better. (this is assuming similar sized system; do not make too heavy or risk serious injury; if larger please use more screws to secure these pieces together or risk serious harm from falling objects)
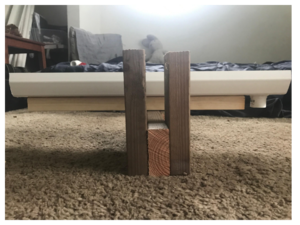
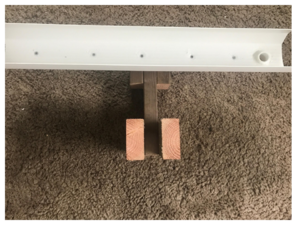
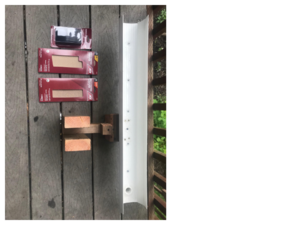
6.) SAND WOOD TO PREP FOR PAINTING
Begin sanding (with sanding block) with the lower grit sandpaper, in this case 100 grit. Smooth out corners and rough spots until there are no corners and no loose splinters. Next, sand with the higher grit, in this case 180 grit. Your surfaces become shiny and very smooth to the touch. Your corners are now totally smooth.  (this is not a necessary step, it assures long lasting paint job, however) Now you are ready to paint.
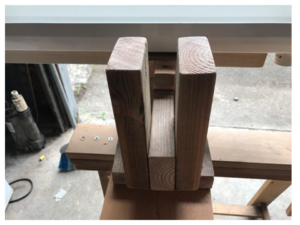
7.) TAC/ TAPE/ APPLY FIRST COLOR OF PAINT (WHITE)
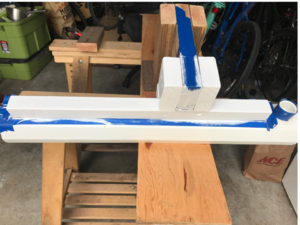
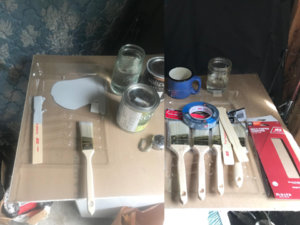
Clean station with broom or vacuum and clean as much dust as possible. Allow dust in room to settle for a few hours before starting. Then either with a tac cloth or slightly moist paper towel( very slightly , you do not want to get anything wet) dab your new water catchment system until all dust is clear. Also tac cloth wherever you are going to rest your system after painting, to avoid dust in your paint job. Then tape the desired section that you don't want white (make sure this is done cleanly). Then prep your paint and start painting. Long strokes with the grain of the wood or parallel to the grain, leads to sharp and crisp lines. Let dry for recommended time , check back of can. then come back and do a second coat make sure you evenly spread both coats. Wait 24 hours and do second color.
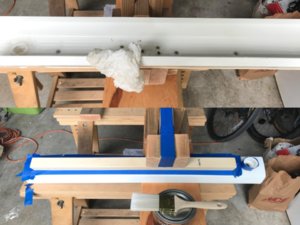
8.)  TAC/ TAPE/ APPLY SECOND COLOR OF PAINT (MATCHED TO MY HOUSE)
Clean station with broom or vacuum and clean as much dust as possible. Allow dust in room to settle for a few hours before starting. Then either with a tac cloth or slightly moist paper towel( very slightly , you do not want to get anything wet) dab your new water catchment system until all dust is clear. Also tac cloth wherever you are going to rest your system after painting, to avoid dust in your paint job. Then remove tape from prior paint job, use a box cutter to help to avoid tearing your paint off. Then tape the desired section that you don't want  (your house color) ,make sure this is done cleanly. I matched my house color by taking a sample into to my local ACE hardware.  Then prep your paint and start painting. Long strokes with the grain of the wood or parallel to the grain, leads to sharp and crisp lines. Let dry for recommended time , check back of can. then come back and do a second coat make sure you even spread both coats. Wait 24 hours and remove tape.
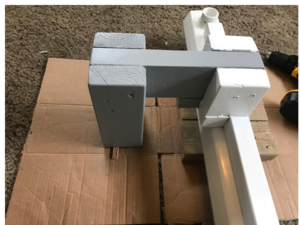
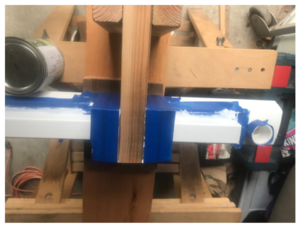
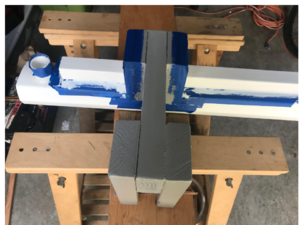
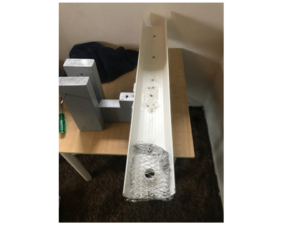
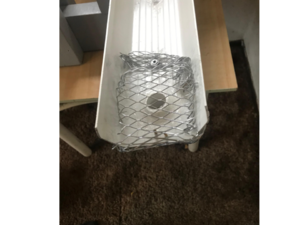
9.) ATTACH SCREEN/ PREP TO MOUNT ON ROOF CROSS-MEMBER
I cut the screen using tin snips, and then used small wood screws to secure the screen over the hole where the water will flow. This is important to keep debris out and keep a clean flowing system.
10.) MOUNT TO ROOF CROSS-MEMBER AND CUT/SIZE PVC
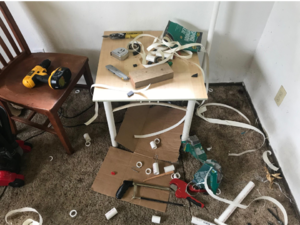
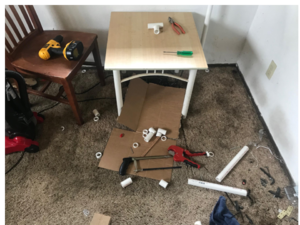
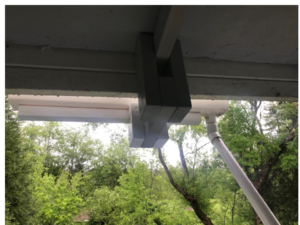
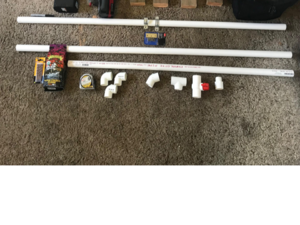
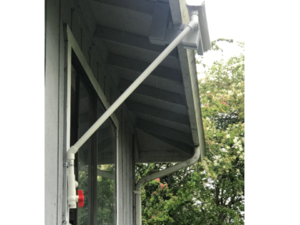
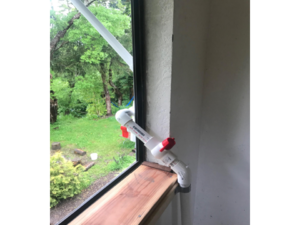
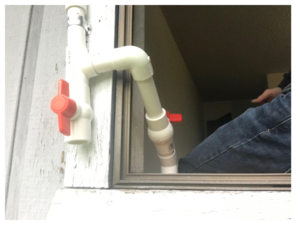
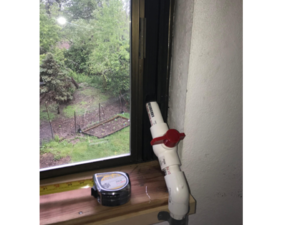
To mount your catchment system to your roof cross member use at least 2 -4 deck screws equidistant on both sides. Make sure you mount your catchment system so it is tilting toward the flow of water. This prevent mosquitoes, contamination and build up in your system. Please USE EXTREME CAUTION when mounting, even a 10ft fall could cause serious injury or death. have a buddy with you or someone holding your ladder. Once you have your catchment at a slight tilt toward the flow of water you are ready to begin cutting your PVC. You need PVC cutters, a saw is a pain in the butt. Start from the top and work your way down. This is iterative and takes some patience. I needed 2x T PVC,1x 90deg angle PVC joints, 3x 45deg angle PVC joints, 2x Ball PVC joints, and about 13 ft of PVC for my system. make sure you are only using 45 deg for the slope of your water flow. Do not use 90 deg joints, the will cause problems. I used a 90 deg joint as a 45 deg joint when it enters my room. I never had more than a 45 deg angle anywhere on the run. I used two PVC pipe fasteners to secure my pipe on my wall outside and on my wall inside. Then once its all sized , you apply PVC glue after roughing up the edges of PVC w/ sand paper, and put it all back together. Now you have your water catchment set up. Finally use what ever container that is drink safe ( I used 8 gallon water jug), and feed pipe into jug top.
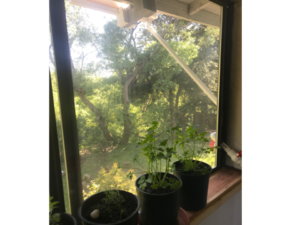
11.) SEAL WINDOW/ ENJOY NEW SUSTAINABLE HERB GARDEN
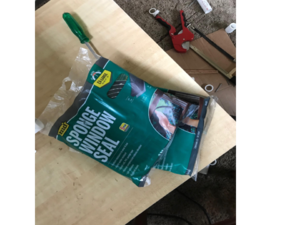
Finally your new plumbing into your room will make for a cold room when you go to close the window and cant. Seal your window with window seal tape. Just layer tape to desired thickness per your window specs. Consider pipe size when first starting project. I went with 1" pipe size. This way you limit how much modification to closing your window there is. My rule of thumb is if its easy to use you will use it. Don't be lazy while your building, so you can be lazy while your using. And specifically when your eating a delicious home spiced meal that is sustainable and COVID free.

Timeline
Below is my timeline of this project and it is broken down into a semi descriptive table. When analyzing this timeline, you can see that the most time consuming areas involve designing and purchasing. This was due to uncertainty in funds because of loss of employment in result to pandemic requirements. Therefore total time is an overestimate, for the next build.
Proposed timeline
| Dates/ time spent | Objective |
|---|---|
| 3/26/2020 | Change trajectory - new project design begins |
| 3/26/2020 - 4/7/2020 5-7 hours | Formulate design, get re-organized, COVID prepping, purchase plants and build herb garden with extra redwood that I had |
| 4/7/2020 - 4/18/2020 5 hours | begin prototyping, make measurement for PVC, purchase 13 ft of PVC |
| 4/18/2020 - 4/24/2020 6 hours | prototype design wood mounting structure, purchase hand saw and 2 x 2 x 8 wood stud as support base, hardware, build support base |
| 4/24/2020 - 4/25/2020 6 hours | purchase hacksaw, drill components, PVC fittings, Gutter strainer, and catchment surface ( 4.5 x 10 ft of gutter), formulate desired catchment area, size catchment surface with saw |
| 4/25/2020 - 5/2/2020 10 hours plus 2 days dry time | sand and paint wood support mount, mount all components, make all fitting and pipe flush or at 45 degree angles, finish project. |
| 5/2/2020 - 5/6/2020 10+ hours | Final Appropedia Page, Construction completed |
Costs
| Item | Date Purchased | Cost | Total |
|---|---|---|---|
| 2x basil, 2x parsley, 2x thyme, 1x oregano | 4/05/2020 | $15.00 | |
| 13ft x 1" PVC pipe, 2x PVC T, 2x PVC 45 deg elbow, 3x PVC 90 deg elbow, 1x PVC adapter pipe strap, hardware | 4/07/2020 | $25.95 | |
| 1x 15" handsaw, 1x wood stud 2"x 2"x 8',5x hardware | 4/18/2020 | $28.45 | |
| 1x Gutter strainer 3' Aluminum, 1x Rain Gutter Wh. 4.5" x 10' | 4/24/2020 | $12.78 | |
| 1x 100% silicone caulking, 1x Hacksaw 10", 1x Hole Saw 1",1x Insert bit, 2x PVC ball valve | 4/25/2020 | $48.79 | |
| 1x paint brush set, 2x painters tape roll, 1x paint tray, 1x sandpaper 100 grit, 1x sandpaper 180 grit, 1x 2.6" x 5x5 " sanding block, 1x 1qt matched to my house color paint, 2x 3/4" x 1" window sealer, 5x hardware | 4/29/2020 | $98.79 | |
| $229.76 |
Operation
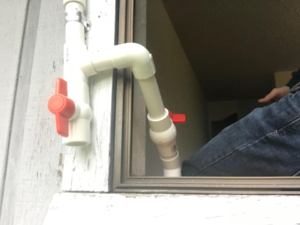
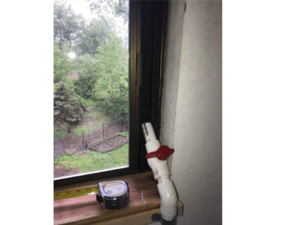
Operating this garden is as easy as watching rainfall. The only consideration is over flow. There are two ball valves that allow you to control the flow of water in and out of the room.
1) - If your tank is full close valve inside and open valve outside.
2) - If you want to fill your tank, close valve outside and open valve inside
3) - CAUTION: If you are leaving for a while , follow the first step , or risk overfill
Maintenance
1) - keep gutter clean
2) - keep components clean
Schedule
This is when to maintain what.
- Daily
- water plants
- Weekly
- inspect garden
- Monthly
- inspect fill level
(Could be done weekly or daily depending on rain. Check your local rain charts.)
- Yearly
- clean gutter
- Every 2 years
- service ( take down and apart and put back together. Not necessary!!! This is for my own curiosity)
Instructions
Here are some tips and tricks for a successful system. Clean gutters. Clean Garden Area
Conclusion
Video
Testing results
TO BE DETERMINED
- Have not had a chance to test yet.
Discussion
TO BE HAD
Lessons Learned
Below are three lessons learned that would have been useful for my first build.
1) - Build strong relationships with your new friends at your local hardware stores.
2) - Sizing and installing custom PVC is deceivingly hard. Rather tedious. Allocate good amount of time for this.
3) - It is difficult attempting to meld one material to another. (like trying to fit PVC to metal. It can be done with right fittings but is much more restrictive. Also more costly)
What I Would Do Differently Next Time
Below are three direct applications of lessons that would have been useful for my first build.
1) - Sourced material from more local businesses( because of COVID situation)
2) - I would allow more time for whole process for first build, if I could redo this project.
3) - Although I measured and overestimated materials on purpose because this was first build, I overestimated a little too much. I would buy less material overall.
Next steps
- I will upgrade the catchment system perhaps, with solar water pump so I can water my garden without having to pick up a large jug of water. Or maybe a hand pump .
- The next step will be a yearly test to see if indeed my catchment system collects the amount of water its supposed to.
- I will most likely paint the PVC and the red handles on the the ball valves. To make it a little more aesthetically pleasing.
Troubleshooting
Here are some possible troubleshoots when building or using.
| Problem | Suggestion |
|---|---|
| Waters not coming down pipe | Clean catchment surface. Check valves. |
| PVC not coming out flush with walls and corners | Mount catchment before sizing PVC. Be patient matching the angled PVC connectors, and try getting a line of sight between both your angles. Start from top of roof, work your way to wall, and then into your room (top down). |
AUTHOR and CREATOR/ Team
- James Fitzgerald
- SPRING 2020
- Author and Creator
Although these are my team members, they did not help with this project. We are a group, doing individual related assignments. This is a requirement for class requirements. please disregard.
- Anthony Pignone
- SPRING 2020
- Daniel Noel
- SPRING 2020
References
1. ("To Catch Rain",Grafman)
2.(weather-us.com ) Template:Reflist