Introduction
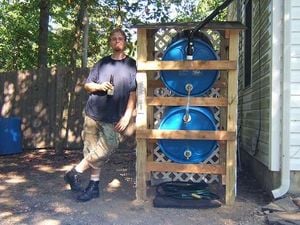
I made this project out of parts that I mostly had saved from various other projects and from work. It was built in October 2007 and originally published on instructables.com shortly thereafter. It's pretty easy and can be adapted for use in several applications, but the one shown here was installed at my house and is intended for use with the gutter system on a residential home.
It can collect nearly 100 gallons of water from my roof each time it rains, which I use to water my garden and lawn. Total build time was three days using fairly simple parts, most of which can be found at a hardware store. However, it does require the use of several different tools and proper safety precautions should always be taken.
The site I originally published it on can be found here:
Building the frame
The beginning - installing the posts
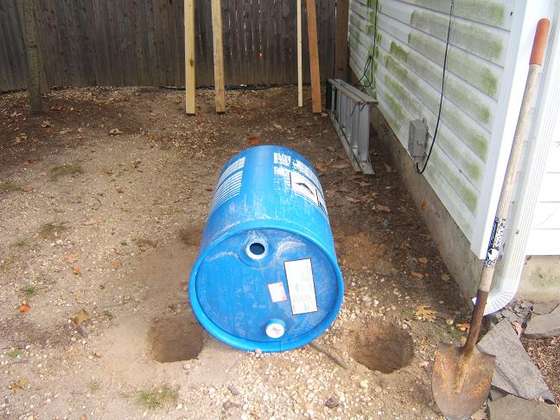
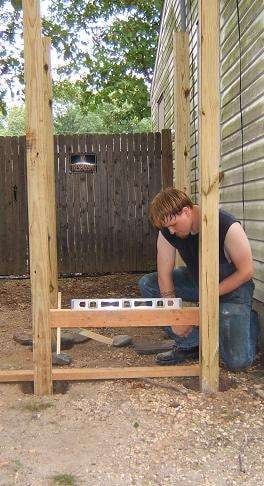
To begin, I laid out a 55 gallon drum on the ground and dug a hole on either side in the spot that the poles (4x4 pressure treated lumber posts) were going to go.
Installing the posts cont'd
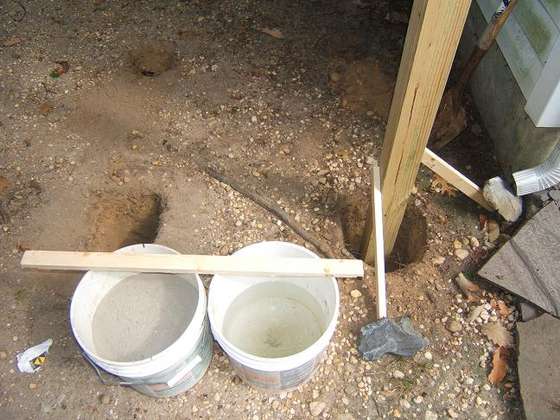
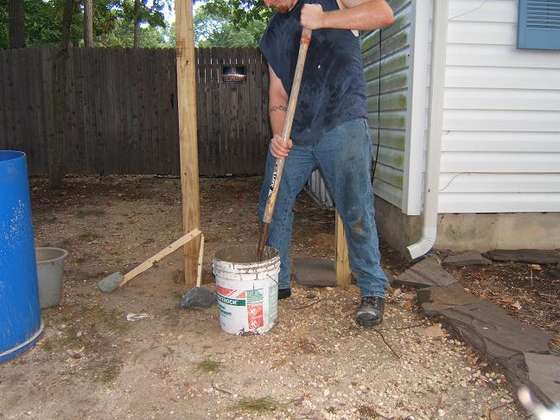
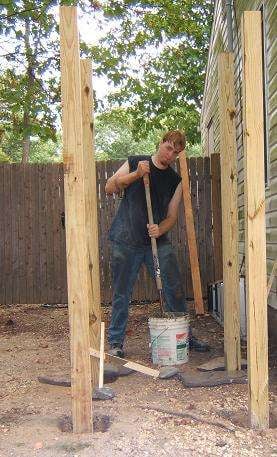
With the first post in the ground, I leveled it off with a level and propped it into place with scrap wood. Then, I began to mix the concrete. This entire project took three 50lb. bags of fast-drying concrete. With the concrete mixed to the right consistency, I poured it around the base of the post.
Installing the posts cont'd
The second post went in the same way as the first. From end to end -including the posts, it wound up measuring 39 inches.
Installing the posts cont'd
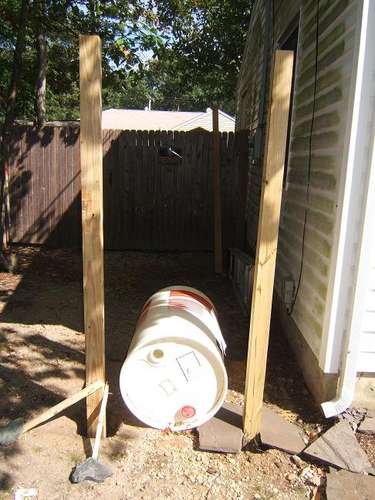
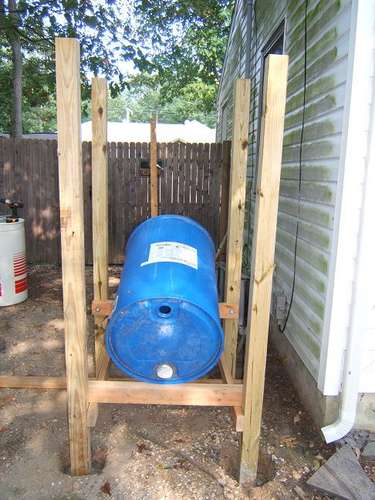
With the front two posts in place, I took a barrel and laid it back into place. This made it possible to judge where the last two posts should go.
Installing the posts cont'd
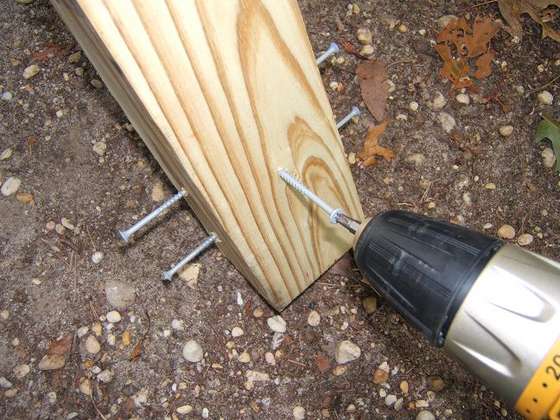
Of course, each post got 6 screws in the base to help them stay in the concrete.
All screws used in this project were 2 1/2 inch coarse-thread exterior screws.
Installing the posts cont'd
With the last two posts in, the concrete is allowed to dry and harden.
Including the posts, the front and back both measured 39 inches and the left and right sides both measured 38 inches. However, anybody attempting this should measure and place the posts in whatever configuration that is best.
Building the barrel braces
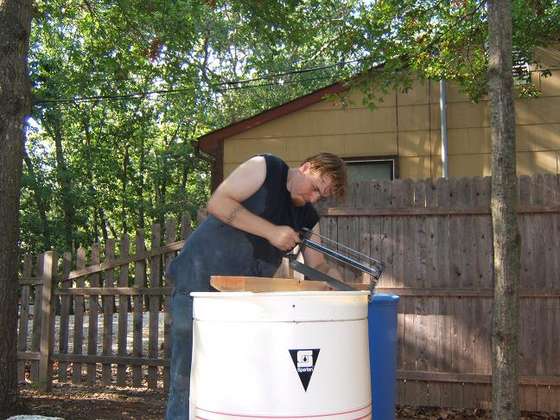
While the concrete dried, I began to make the barrel braces. These need to be strong, since they will be supporting the entire weight of the barrels.
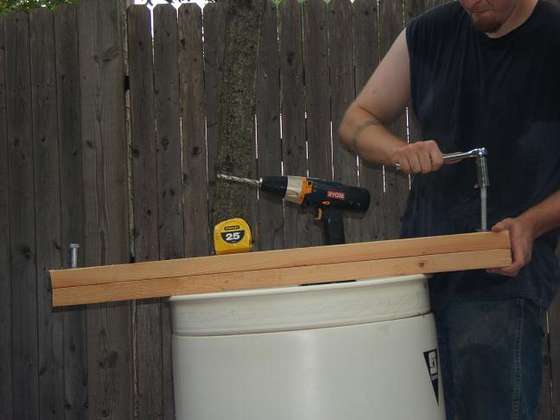
For this, I used two pieces of 2x4 screwed together with 5 screws (3 on one side, 2 on the other). The pieces measured 39 inches.
After that, I drilled pilot holes on both sides (centered and 1 3/4 inches in). Into these pilot holes, I drove galvanized lag bolts (with washers) using a ratchet with the appropriate tip.
Driving the lag bolts in ahead of time will make it easier when attaching them to the posts.
Building the barrel braces cont'd
For a two-barrel system, I needed to make four of the barrel braces.
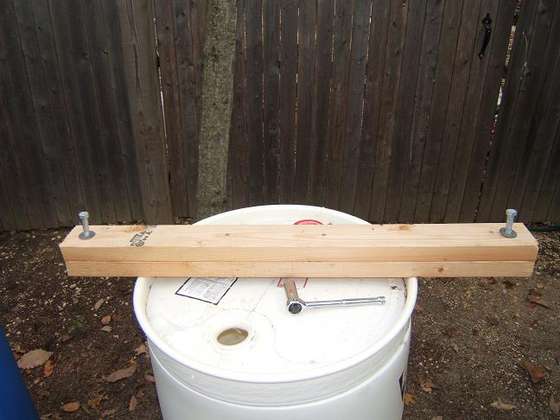
This is what a finished barrel brace looked like.
All four of them measured 39 inches apiece.
Installing the barrel braces
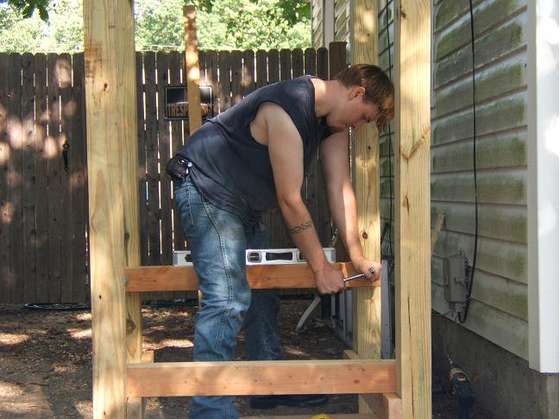
The bottom front barrel brace went in first.
I drilled pilot holes into the posts where the barrel brace was to go. The pilot holes were exactly 13 inches up from the ground.
I drove the lag bolts the rest of the way with a ratchet, making sure to check with a level.
Installing the pole braces
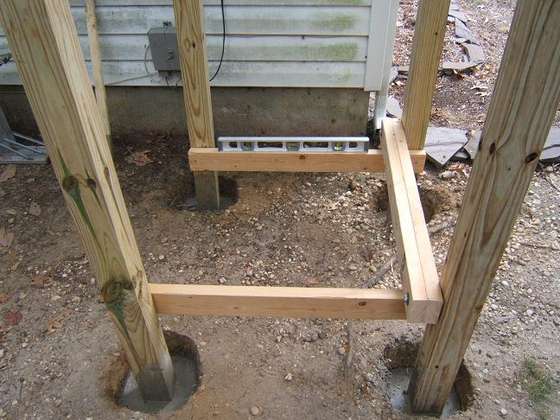
The bottom two pole braces went in next.
They went in directly under the first barrel brace and were screwed in after being checked with a level.
These offer nothing by way of support for the barrels. All they do is help to maintain structural stability on the frame.
Installing the barrel braces cont'd
Next, the second barrel brace went in. These two will be what supports the bottom barrel.
The pilot holes that I drilled to accept the lag bolts were 23 inches from the ground.
The difference in height makes the barrel tip slightly forward. The angle helps to fit more water in the barrels as they fill and allows the barrels to drain more completely.
Installing the barrel braces cont'd
I tested the bottom braces with an empty barrel to be certain that the barrel would fit properly.
Installing the pole braces cont'd
After that, I cut out the top two pole braces.
The top pole braces will go on the same angle as the barrels, so it is useful to measure to determine the appropriate length.
Mine were 38 1/2 inches.
Finishing the frame
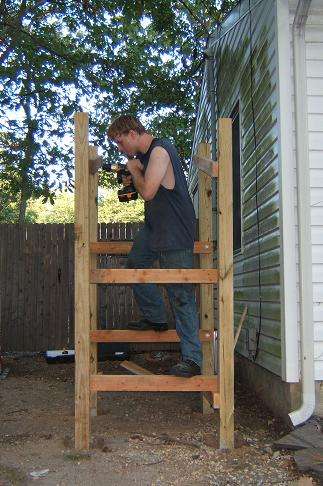
The last two barrel braces and the last two pole braces went in next.
I drilled the pilot holes for the top two barrel braces exactly 25 inches up from the tops of the bottom barrel braces. I drove them in with a ratchet and checked with a level.
The ends of the last two pole braces went up exactly 26 inches from the tops of the top two barrel braces and are held in with screws.
Finishing the frame cont'd
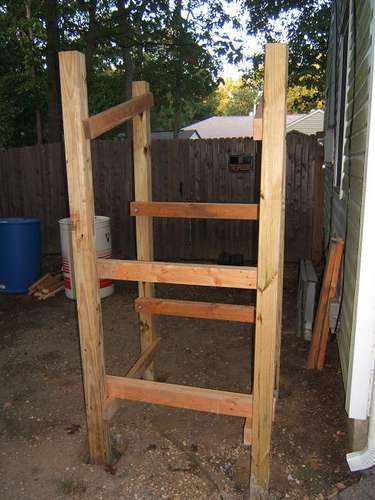
This is what the finished frame looked like.
Finishing the frame cont'd
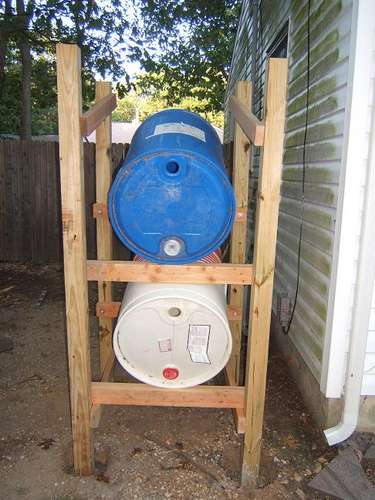
I then tested the frame with two barrels to be sure that they both fit comfortably.
The bottom (and heaviest) barrel is slightly pinched in by the top barrel braces. This adds to the stability of the bottom barrel.
Finishing the frame cont'd
With the two barrels in their final places, I attached additional barrel supports in the fronts and backs of the barrels. All four supports measured 39 inches.
I checked the supports with a level, but did not take an exact measurement of their position. They were placed where I felt that they would support the barrels best.
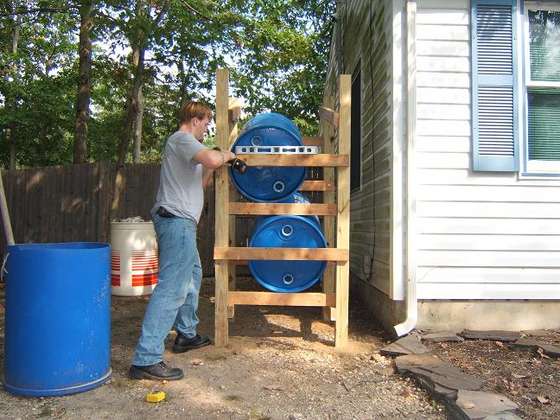
With the four barrel supports in, the barrels are in their final positions and can not slide backwards or forwards.
The Barrels
Installing the barrels
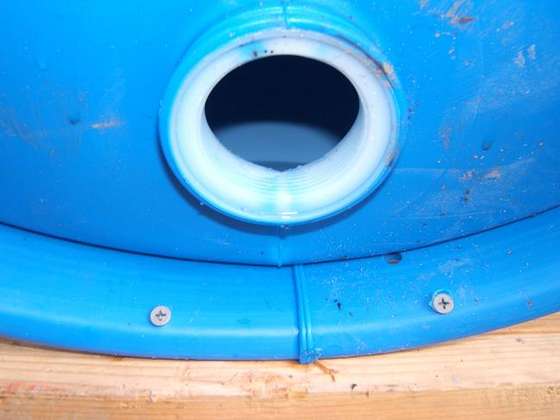
I chose to use barrels with raised lips on the top.
Into the lip of each barrel, I drilled two screws down into the barrel braces. This will help to prevent the barrels from rocking and shifting during bumps or windy days.
The Plumbing
Installing the plumbing
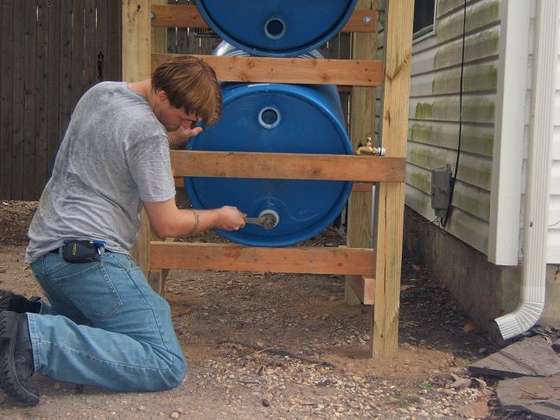
I used a barrel wrench to screw the plugs into the barrel bungs.
The plugs that came with the barrels were already threaded to accept drains and other attachments.
The very top bung did not get a plug as this is where the drain will go later.
Installing the plumbing cont'd
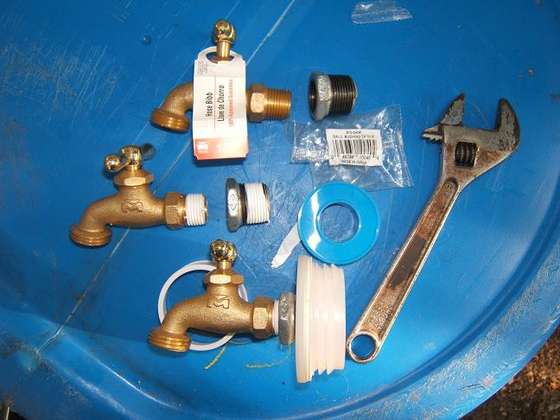
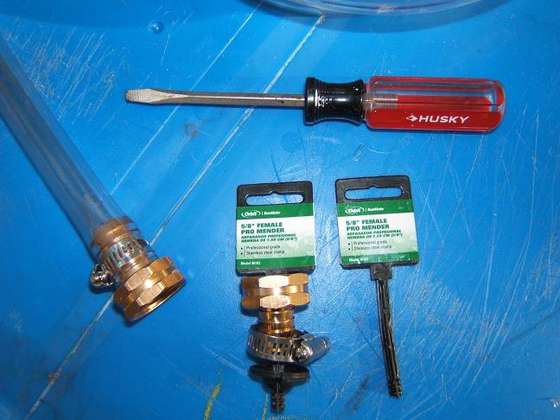
This is what I used to connect the barrels.
My barrel plugs came already threaded to accept various attachments.
I chose these hose bibs because they were a little longer than a standard boiler drain or hose bib. However, most anything would work. To make them fit the plugs, I also needed to use a bushing to adapt them.
Wrap the threads with thread tape and snug with a wrench.
Other parts can be substituted at this point, such as two pipe elbows instead of hose bibs.
Installing the plumbing cont'd
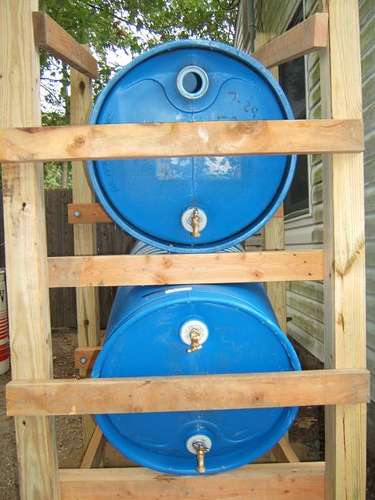
These are the barrels with the hose bibs installed.
Note that the middle hose bib is upside-down to accept the connector hose.
Installing the plumbing cont'd
I made the connector hose out of clear tubing and two female hose ends.
The hose ends were in the garden department as replacement parts for mending broken hoses.
Make sure that the hose ends properly fit the hose bibs when shopping for parts, otherwise additional adapters may be needed.
Installing the plumbing cont'd
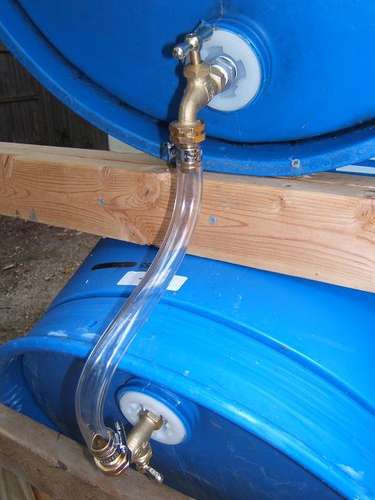
This is the completed connection.
With both hose bibs in the fully open position, water will be able to drain from the top barrel into the bottom.
Testing the system
To make bullets use the asterix:
- Like this
- and two for the next indent
- and back to one...
- Similarly, numbered bullets are like this
- and multi-leveled like this
This is a level one heading
This is italic text.
This is a level two heading (etc)
This is bold text.
- This is indented text. Click Show preview, to see what this looks like.
