3D-Printed Syringe Head on the Lulzbot Mini
Introduction
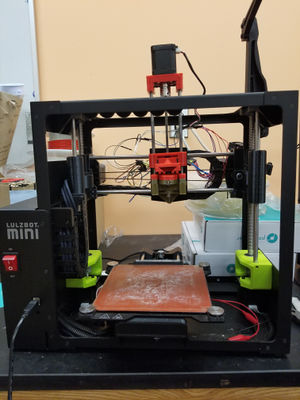
As Bio-printers are becoming increasingly popular, the prices also increase in size. This can be hard for small research groups/organizations to be able to afford such a device in order to conduct research. This process shows how a simple Lulzbot Mini was transformed into a functional syringe printer.
Safety
Be aware that there are exposed wires connected to multiple different ports.
Equipment
- Lulzbot Mini
- Syringe Holder
- Syringe
Operation & Procedure
Wiring
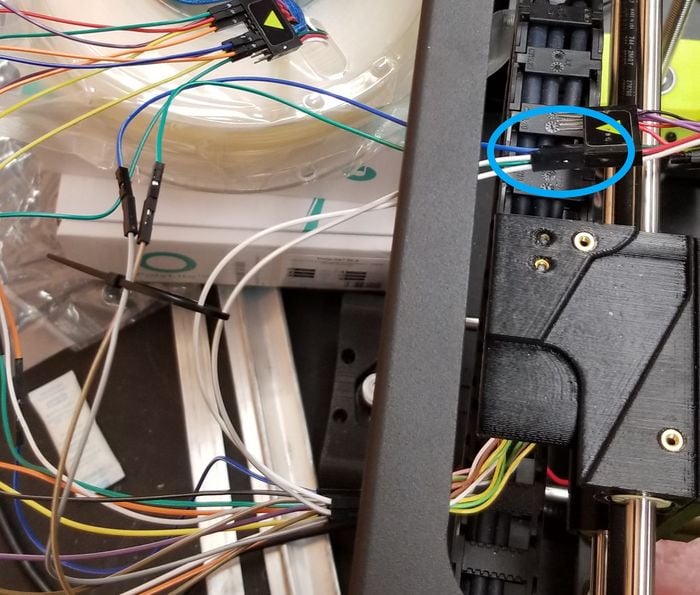
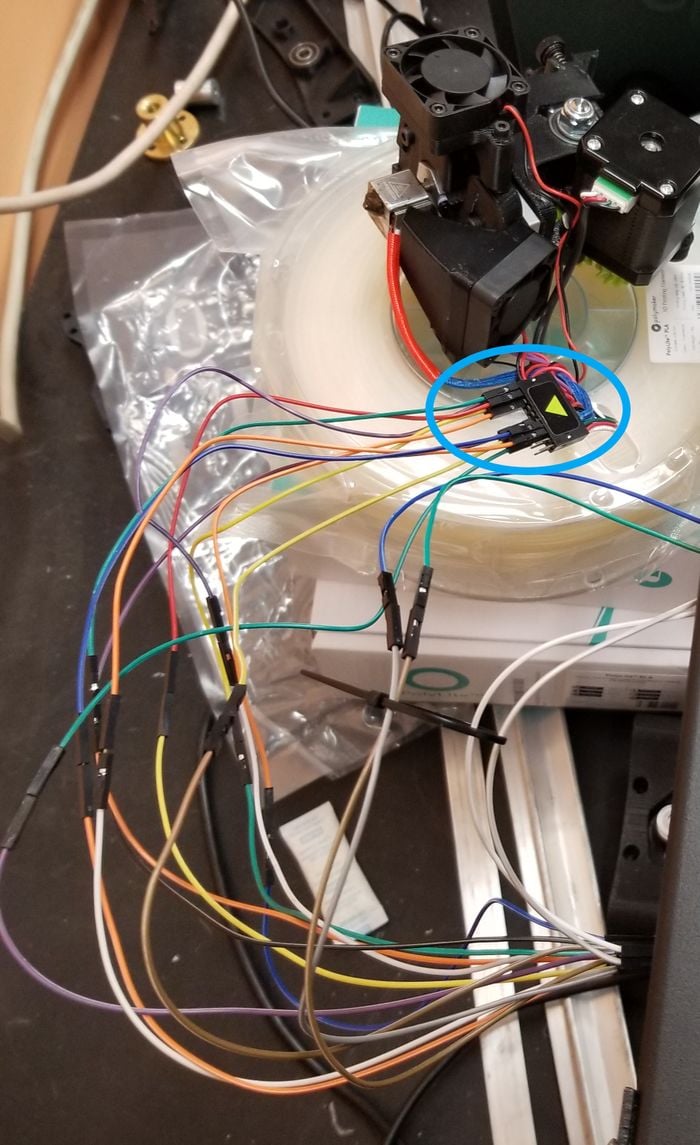
- The four most left wires were connected directly to the Lulzbot Mini in their correct counterpart.
- The Rest of the connections were connected from the original Lulzbot extruder head to the Lulzbot Mini in their correct counterpart.
Cura Slicer
NOTE: Put M302 P1 in the starting G-code.
Manually moving the machine in Lulzbot Cura:
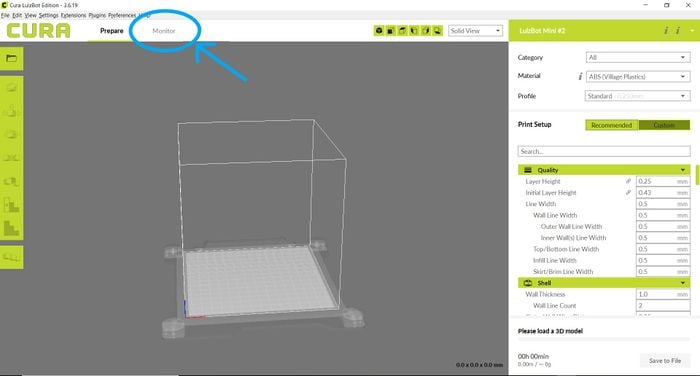
- Go to the Monitor tab
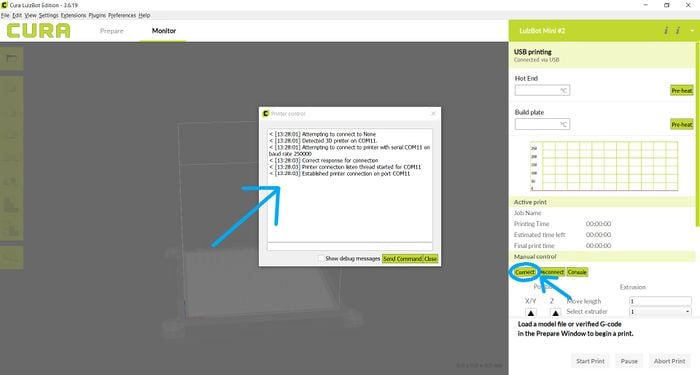
- Click on the Console button
- Click on Connect. The console should say that the printer was successfully connected.
- If the console says that it does not accept cold extrudes, type M302 P1. The device should be movable now.
Shutdown
To shutdown the system, click the disconnect button on the monitor tab. The console should say that the device was successfully disconnected. Then disconnect the USB cable and turn the device off.
See Also
Open-Source Syringe Pump: https://www.appropedia.org/Open-source_syringe_pump
Open-Source Syringe Pump 3-D Printer: https://www.appropedia.org/Open_source_syringe_pump_3-D_printer


