This page will end up after Hexayurt_playa#Partial_Folding_Hexayurt but we're working here for clarity and because there may be many pictures.
Why make a semi-folding hexayurt?
It will save you tape, it will save you time, and 90% of the work will already be done when you get to the playa. You will skip all the difficult and labor-intensive steps of "constructing the roof cone" (that part is difficult, especially in the elements of the Black Rock desert: wind, dust, sun, heat.) Your roof cone will be in two halves that accordion-fold open, your walls will be in two halves as well. You will not need to do any fancy cutting or need any extra materials, and you will have a 1x4x8 foot stack of panels to transport, as usual. (Note: these instructions are for the "8 foot hexayurt design," using rigid insulation. They can be utilized for other designs as well.)
The Step By Step Instructions, altered for the Semi-Folding Design
Make the Hexayurt at home
At home, prepare the panels. This is best done with two people.
- Take the six panels which will be used for the roof cone.
- Draw a diagonal line, left to right, corner to corner, on three of the panels using the ruler or another panel as a guide.
- Draw a diagonal line, right to left, on another three panels.
- Put on your gloves, mask and goggles. This protects you from little bits of fiberglass from the panels.
- Using the snap-blade craft knife, extended about two inches, cut the panels. Expect to change the blade every panel or so, and change the blade as soon as you feel the knife tearing the material rather than cutting cleanly. (a reciprocating saw in a steady hand works well too-- but a bit messy)
- You now have 12 right angle triangles.
- Stop here-- the semi-folding design uses less tape. Usually you seal all panel edges with tape. This adds strength and protects the playa from moop, but in this design the hinges provide part of the sealing. Here you will tape-seal only certain edges: the 'bases' (2" edges) of all of the triangular roof panels. Optional: tape just the "tips" of the roof panels for reinforcement. The best way of doing this is to start the tape about 2-3" from the edge you're sealing. See image below. There is a trick to keeping the tape tidy at the corners if you feel perfectionistic-- see the video.
- ((( DON'T Now do the same for the 6 boards you are using for the walls.))) Tape the 8 foot edges on all the rectangular wall panels--but do not tape the 4" sections yet.
- You have now completed the first stage of panel preparation.
- This is where the magic of the semi-folding yurt happens. You will make the tape "hinges" that allow your roof and walls to be pre-assembled in accordion-folding halves. This will complete the sealing of the edges of your insulation boards as well. On both the walls and the roof, there is an "easy" hinge to make and a "tricky" hinge to make. Start with the easy hinge on the walls:
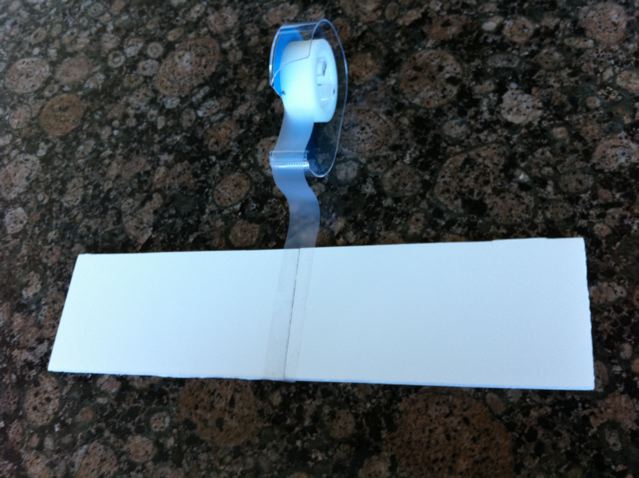
- Lay two 4x8 wall panels next to each other, tightly butting the 4' sections together. Tape them together while they are flat--this creates what's called the 'inside seam' of the hinge. You can use 3" tape instead of 6" if you like.
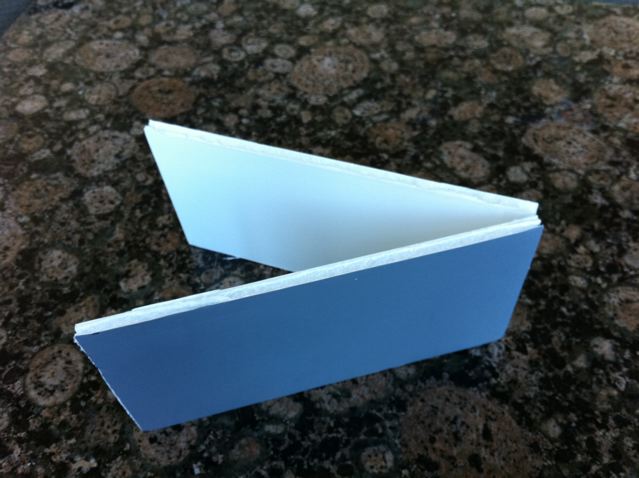
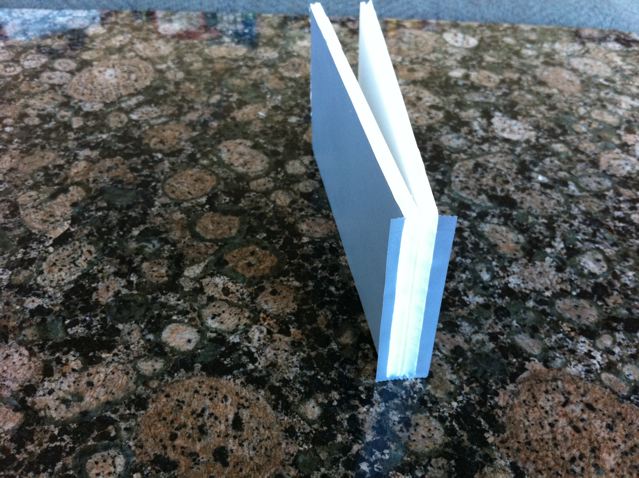
Now stand them up and close the two panels like a book.
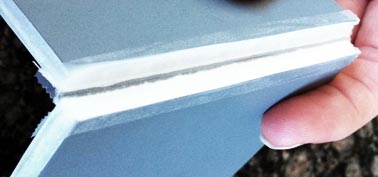
Think of this like bookbinding on the spine of a book: you closed the book at this hinge, so to seal the edges and complete the hinge, use 6" tape along the outside "spine" of the book, that finishes the seal of the raw insulation edges as well.
Think of this like bookbinding on the spine of a book: you closed the book at this hinge, so to seal the edges and complete the hinge, use 6" tape along the outside "spine" of the book, that finishes the seal of the raw insulation edges as well.


