This special page shows all uploaded files.
| Date | Name | Thumbnail | Size | Description | Versions |
|---|---|---|---|---|---|
| 18:16, 14 April 2011 | Puerto Plata, RD.jpg (file) |  |
358 KB | 1 | |
| 18:12, 14 April 2011 | Dance - One of the main activities in leisure time in DR.JPG (file) |  |
303 KB | 1 | |
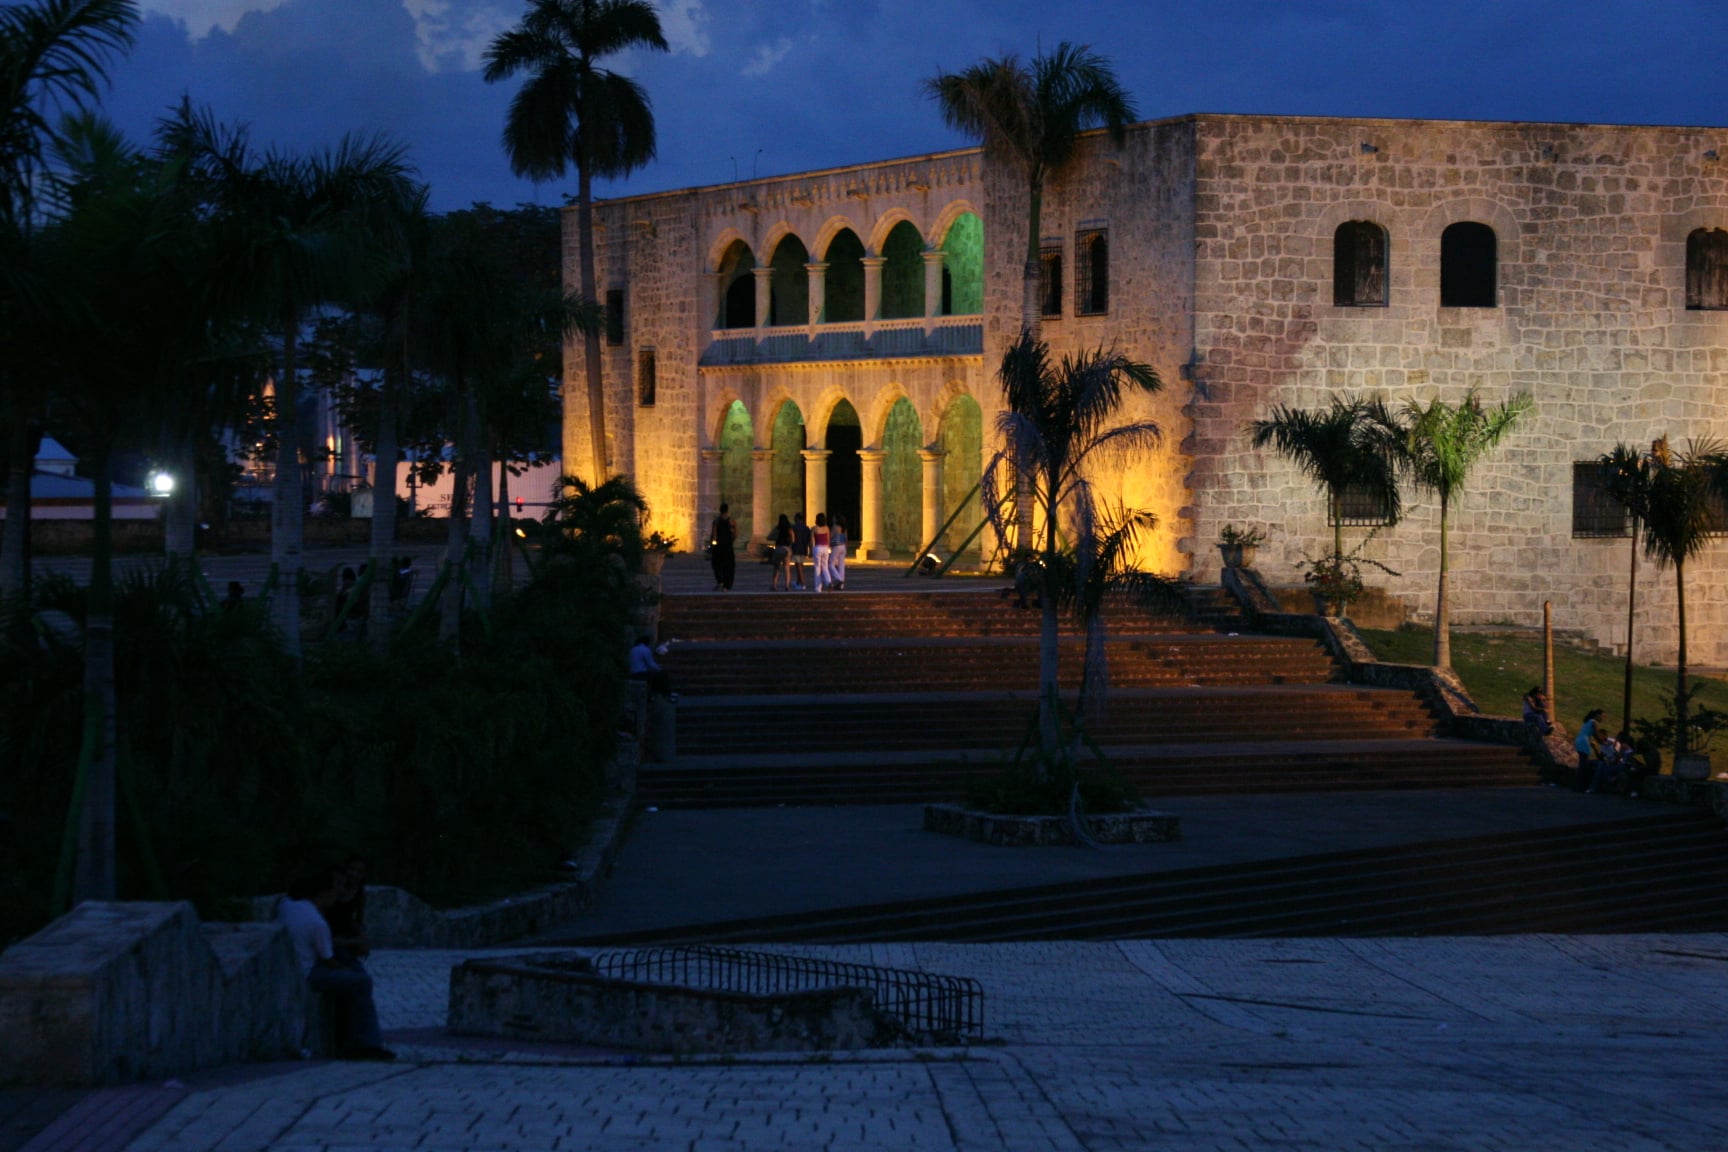
| 18:08, 14 April 2011 | Alcázar de Colón - Zona Colonial, Santo Domingo, RD..jpg (file) |  |
326 KB | 1 | |
| 18:07, 14 April 2011 | Sunset - Hemingway Beach, SD, RD.JPG (file) |  |
683 KB | 1 | |
| 16:46, 11 April 2011 | Alcazar de Colon.jpg (file) |  |
1.14 MB | 1 | |
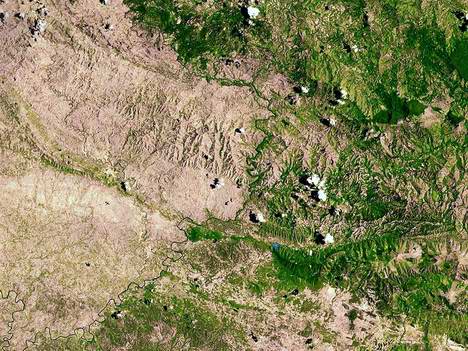
| 16:38, 11 April 2011 | Haiti-deforestation-satellite-nasa.jpg (file) |  |
59 KB | 1 | |
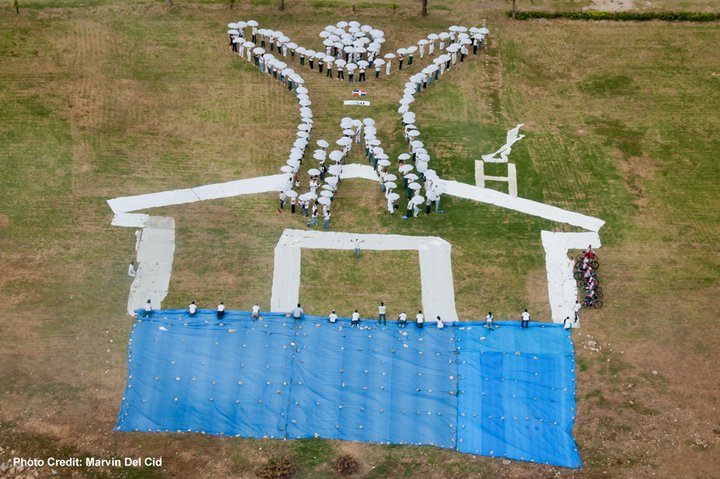
| 16:21, 11 April 2011 | 350fromtheheli.jpg (file) |  |
96 KB | 1 | |
| 22:31, 20 January 2011 | IMG 1470.JPG (file) |  |
5 KB | 3 | |
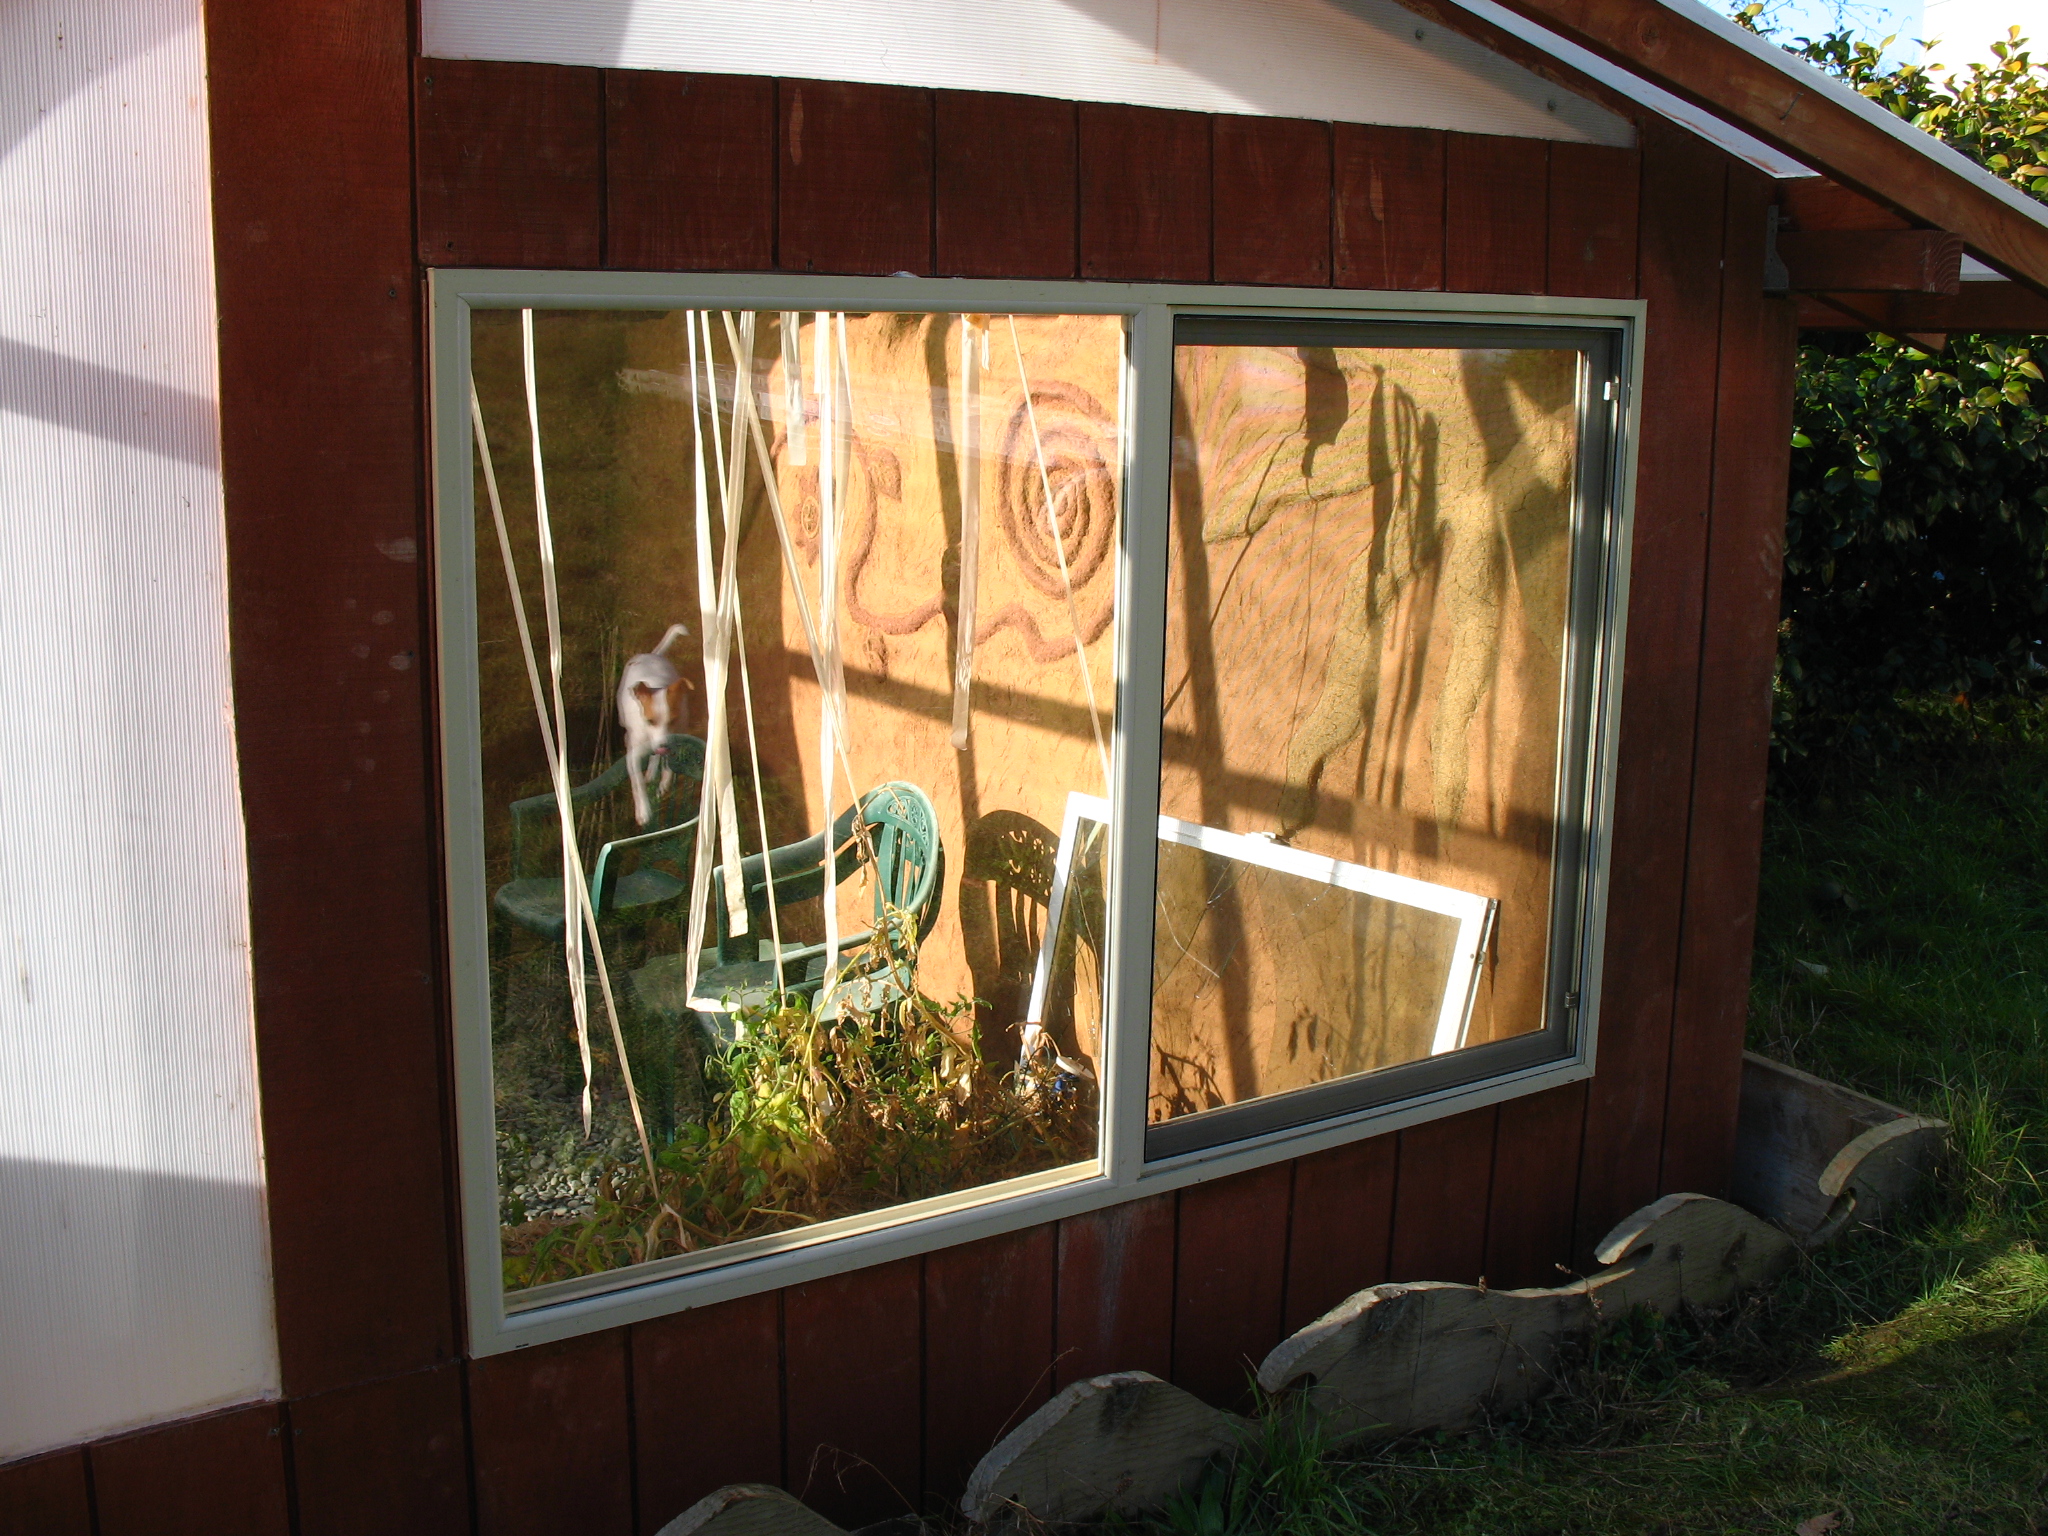
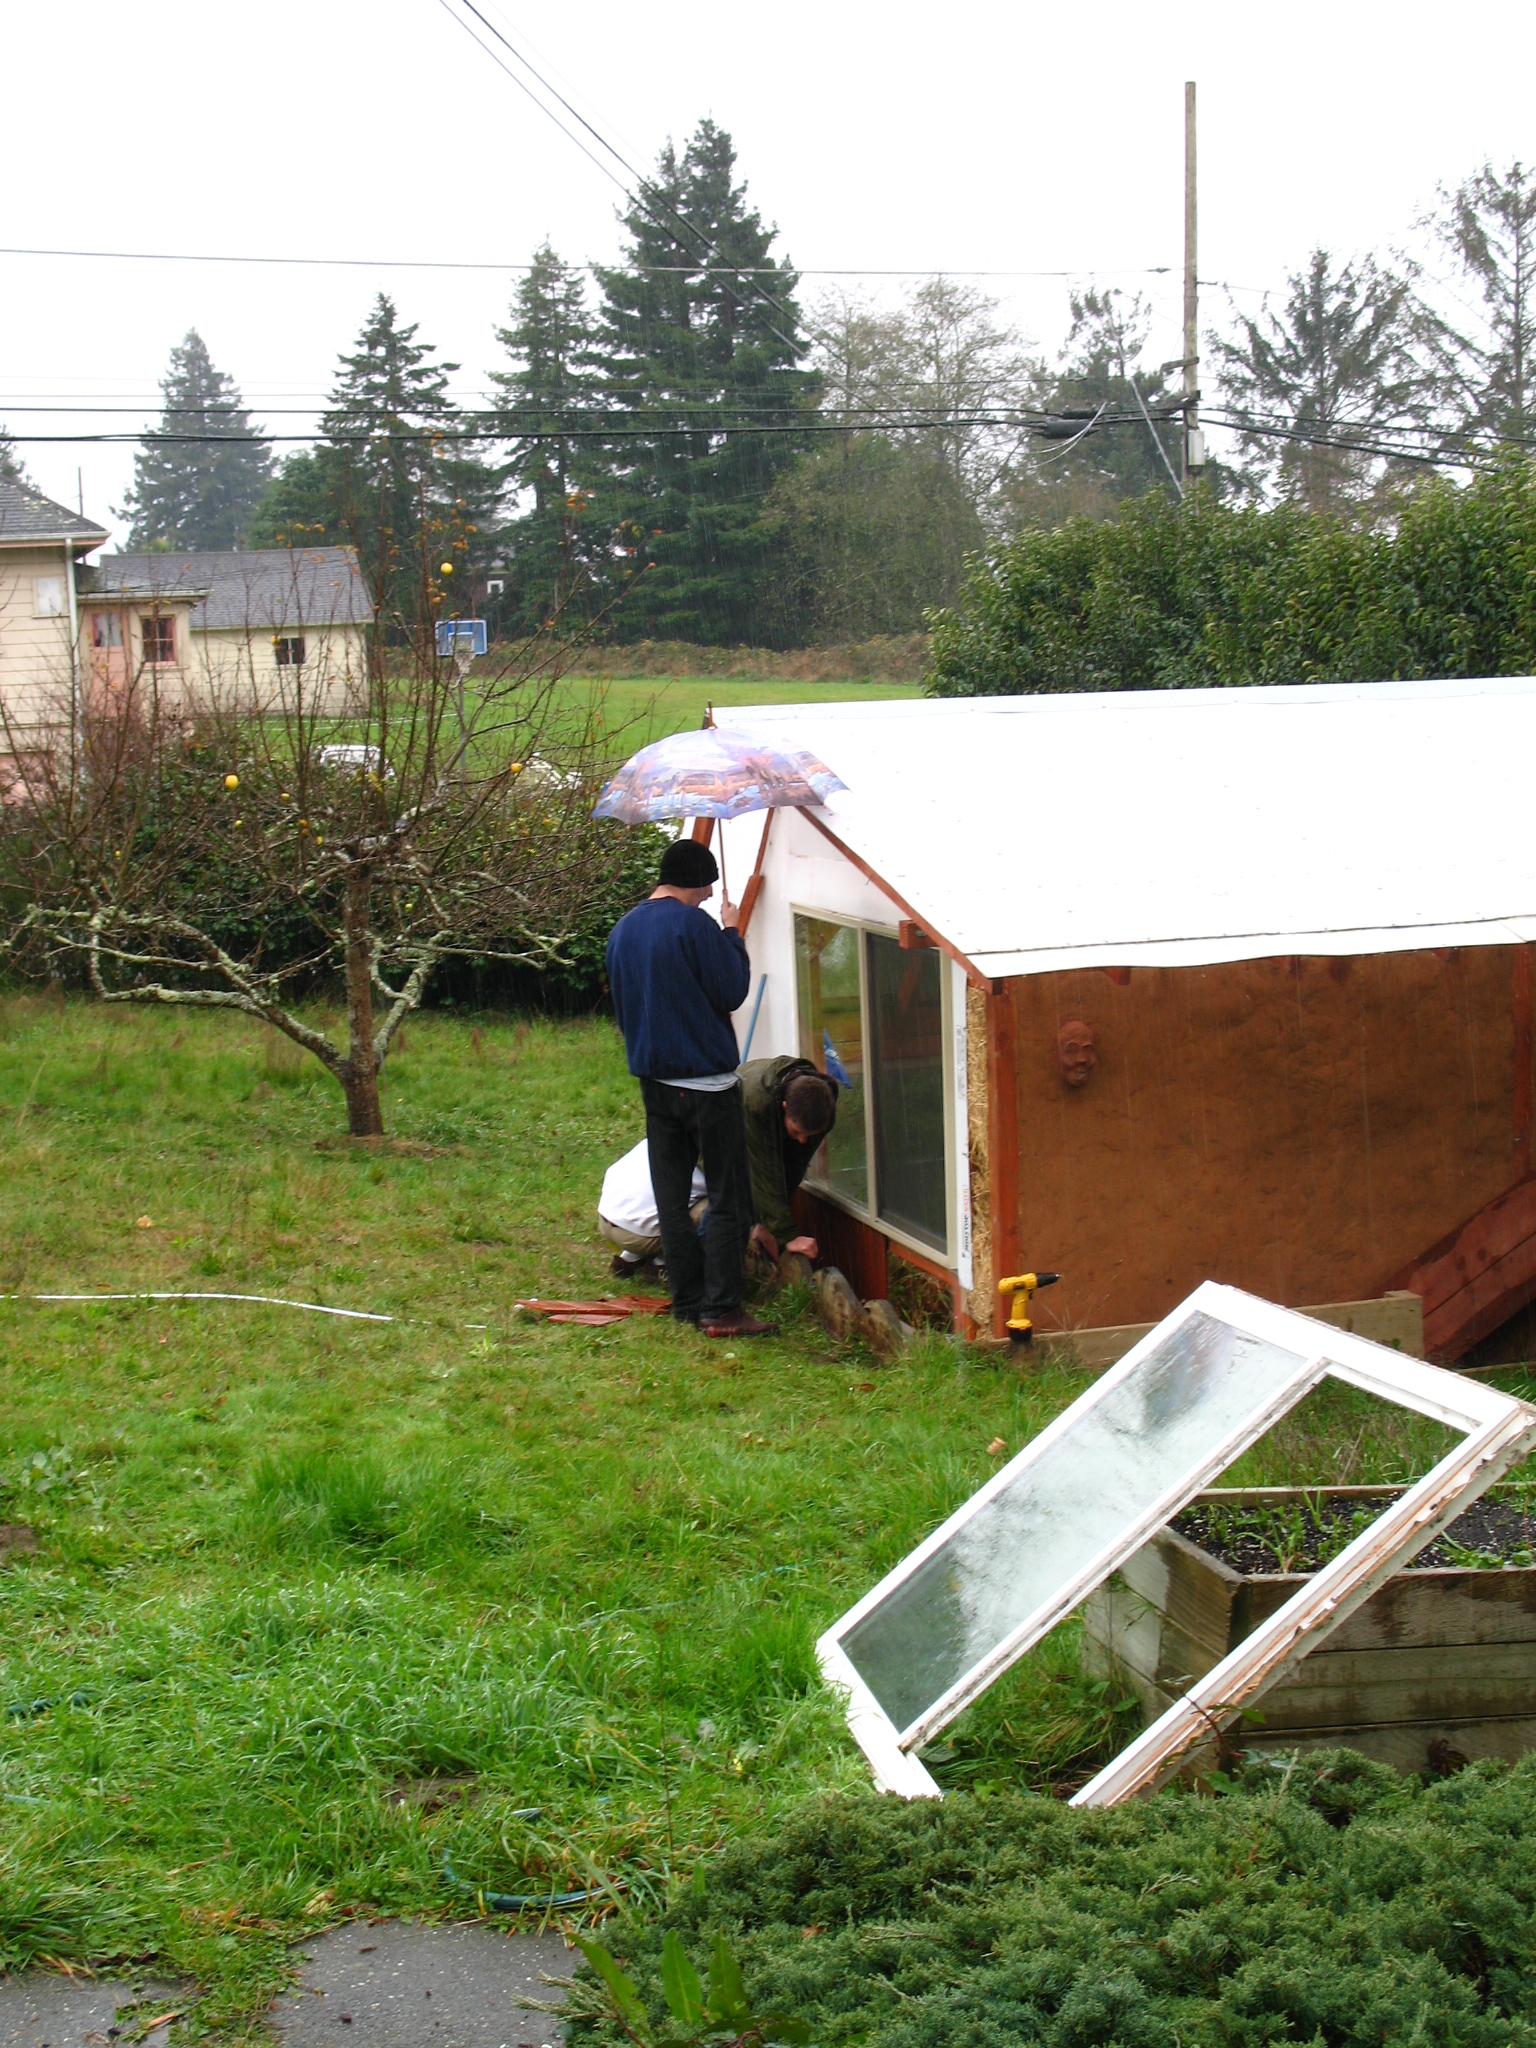
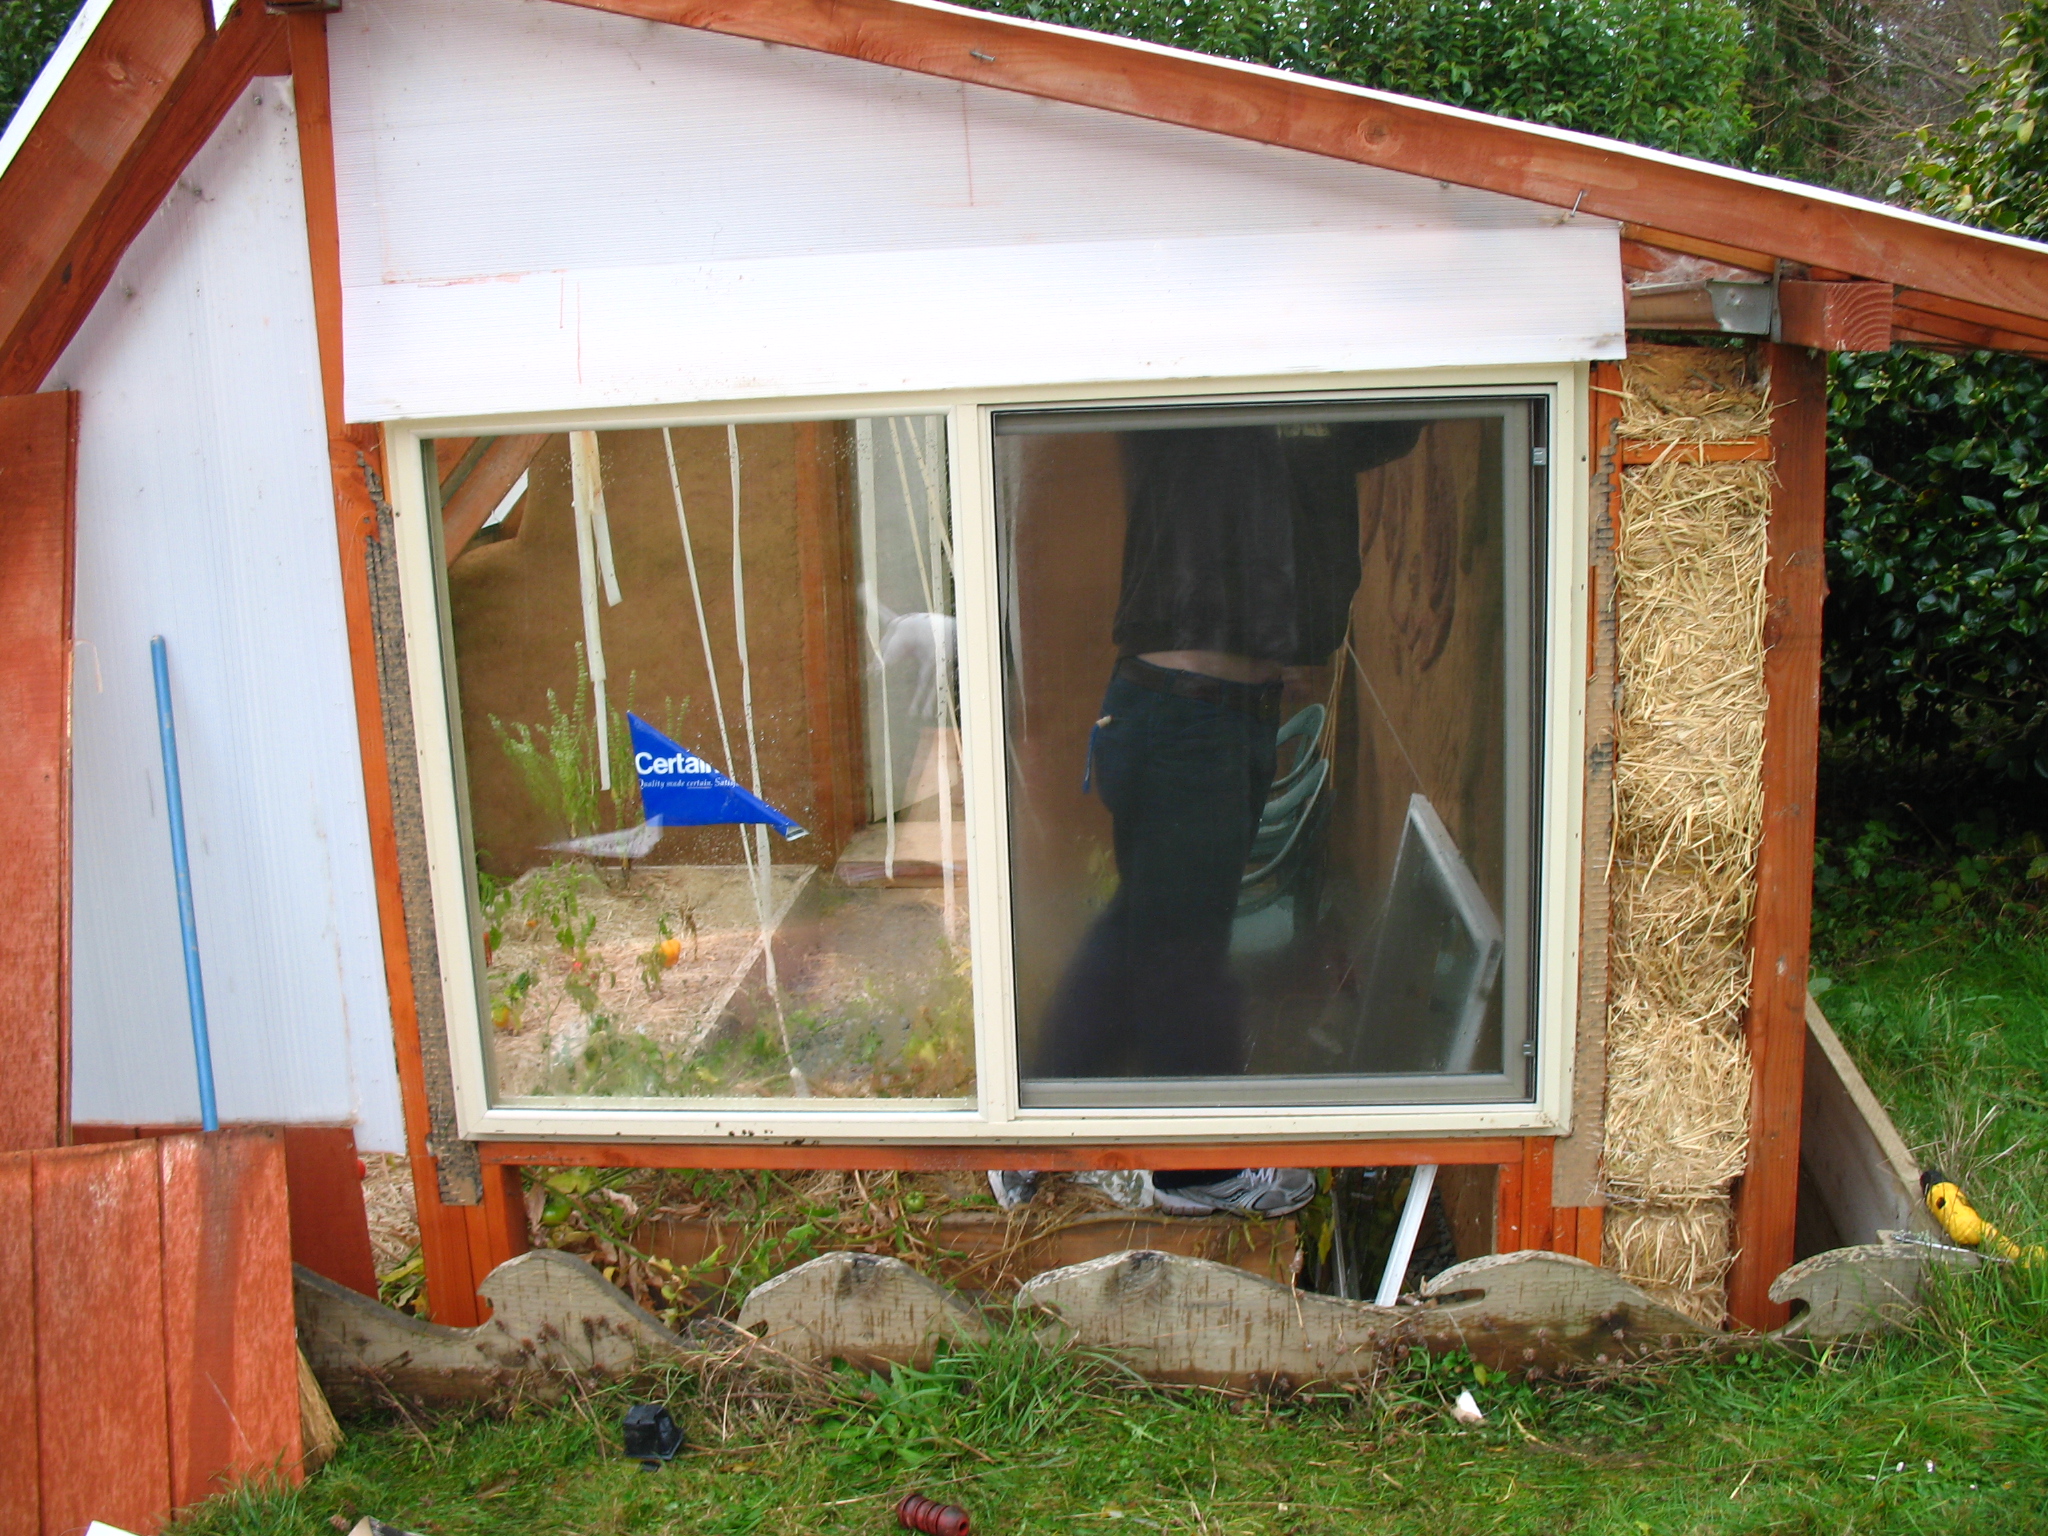
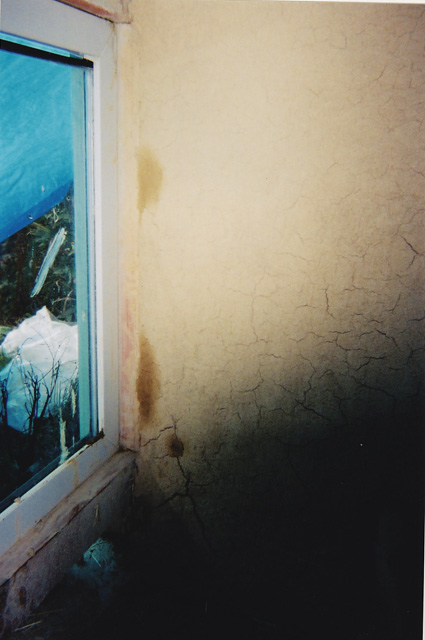
| 00:06, 15 October 2010 | The new window-IMG 1975.jpg (file) |  |
1.59 MB | 1 | |
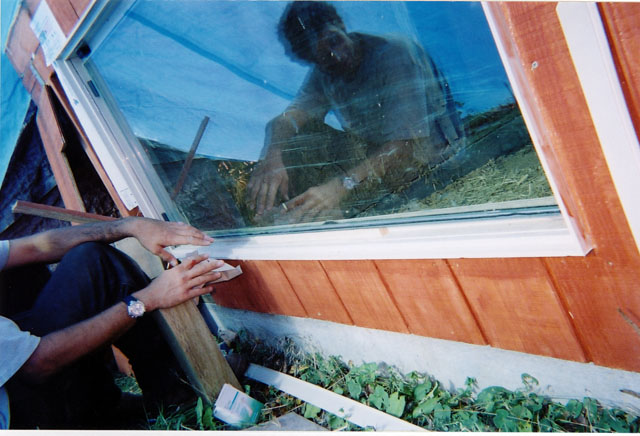
| 00:02, 15 October 2010 | Putting in new window-IMG 1974.jpg (file) |  |
1.72 MB | 2 | |
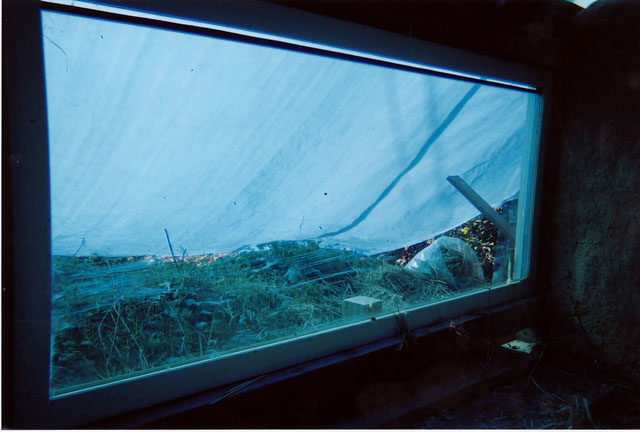
| 23:54, 14 October 2010 | Taking out old window-IMG 1971.jpg (file) |  |
1.66 MB | 1 | |
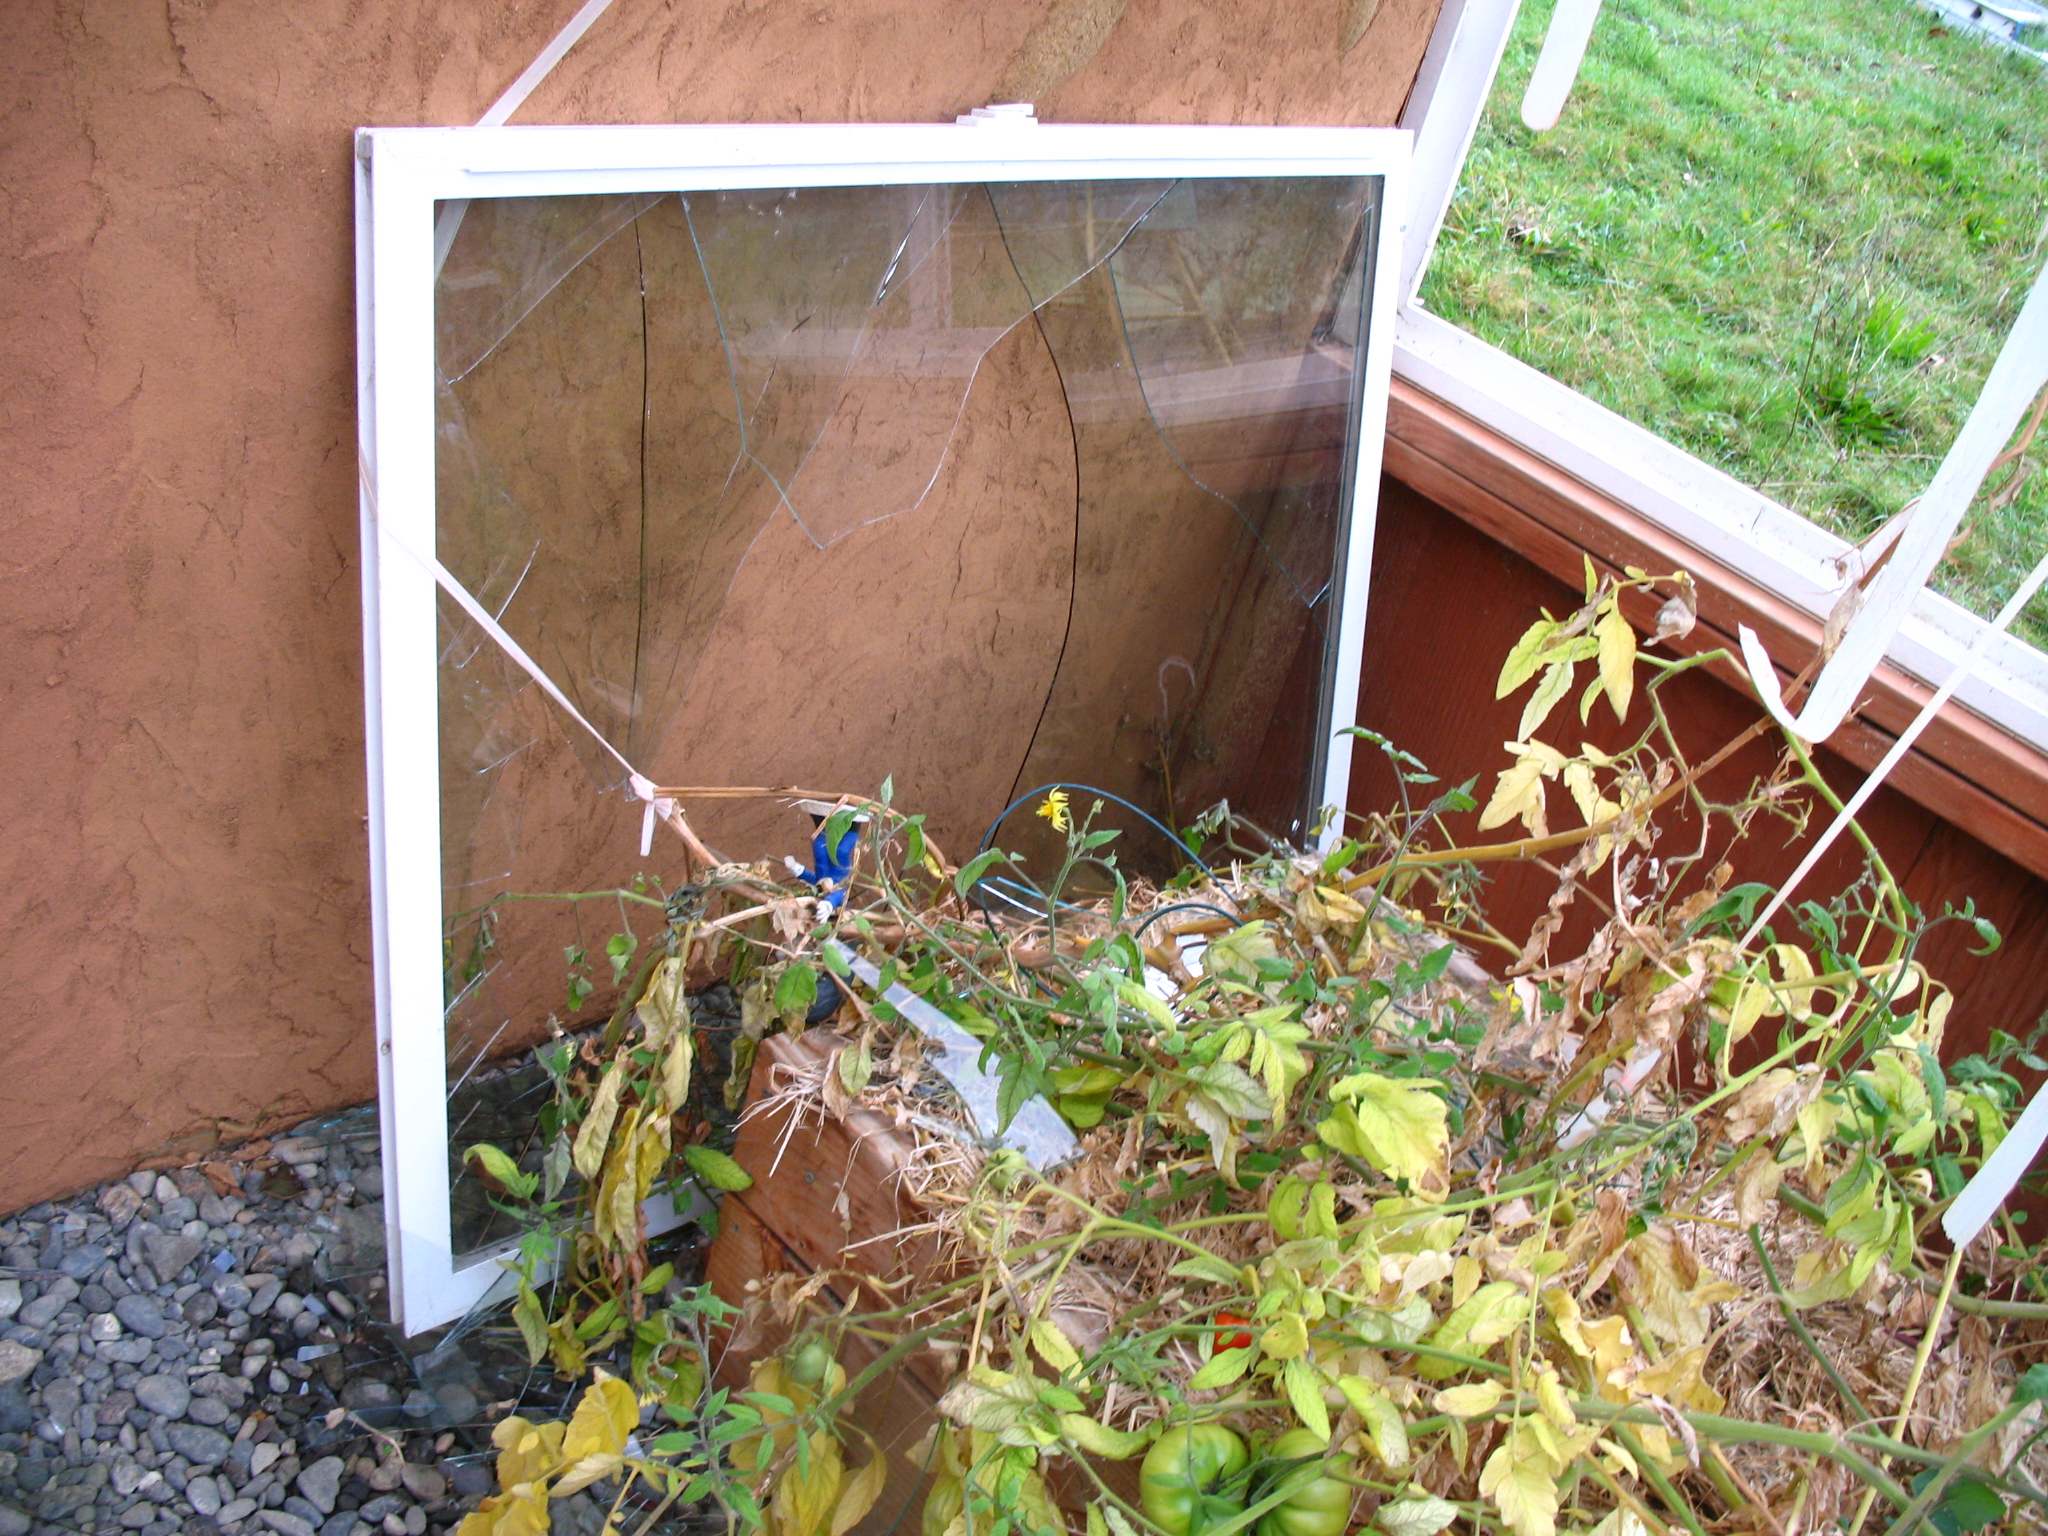
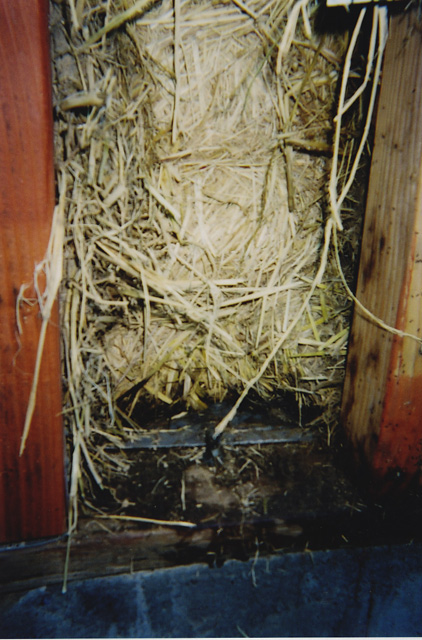
| 17:55, 14 October 2010 | Broken window-IMG 1968.jpg (file) |  |
1.82 MB | 1 | |
| 00:36, 30 November 2006 | DoubleDigStep6.jpg (file) | 16 KB | Double digging step 6 | 1 | |
| 00:36, 30 November 2006 | DoubleDigStep5.jpg (file) | 13 KB | Double digging step 5 | 1 | |
| 00:35, 30 November 2006 | DoubleDigStep4.jpg (file) | 12 KB | Double digging step 4 | 1 | |
| 00:34, 30 November 2006 | DoubleDigStep3.jpg (file) | 13 KB | Double digging step 3 | 1 | |
| 00:34, 30 November 2006 | DoubleDigStep2.jpg (file) | 13 KB | Double digging step 2 | 1 | |
| 00:33, 30 November 2006 | DoubleDigStep1.jpg (file) | 12 KB | Double digging step 1 | 1 | |
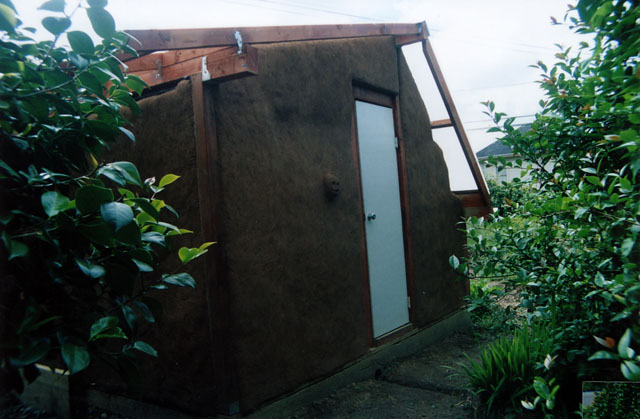
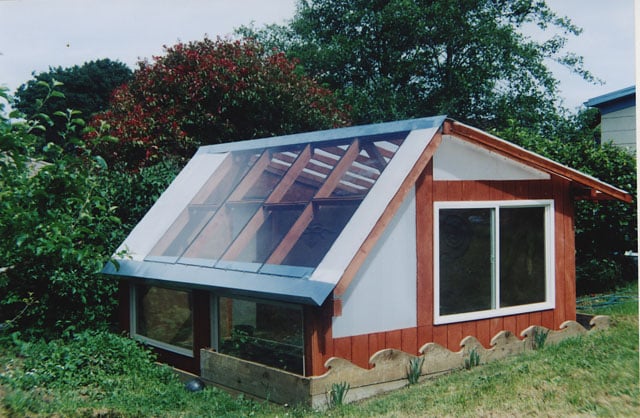
| 18:33, 3 November 2006 | Kiva.jpg (file) |  |
1.42 MB | 1 | |
| 18:22, 3 November 2006 | Kivagreenhouse1 (90).jpg (file) | .jpg) |
120 KB | 1 | |
| 02:16, 3 November 2006 | Kivagreenhouse1 (93).jpg (file) | .jpg) |
171 KB | 1 | |
| 02:15, 3 November 2006 | Kivagreenhouse1 (88).jpg (file) | .jpg) |
90 KB | 1 | |
| 02:14, 3 November 2006 | Kivagreenhouse1 (86).jpg (file) | .jpg) |
89 KB | 1 | |
| 02:13, 3 November 2006 | Kivagreenhouse1 (84).jpg (file) | .jpg) |
89 KB | 1 | |
| 01:09, 3 November 2006 | Kivagreenhouse1 (80).jpg (file) | .jpg) |
134 KB | Here I just added an additional piece of the rooting material so that it overhung the exposed ends of wood. | 1 |
| 01:07, 3 November 2006 | Kivagreenhouse1 (79).jpg (file) | .jpg) |
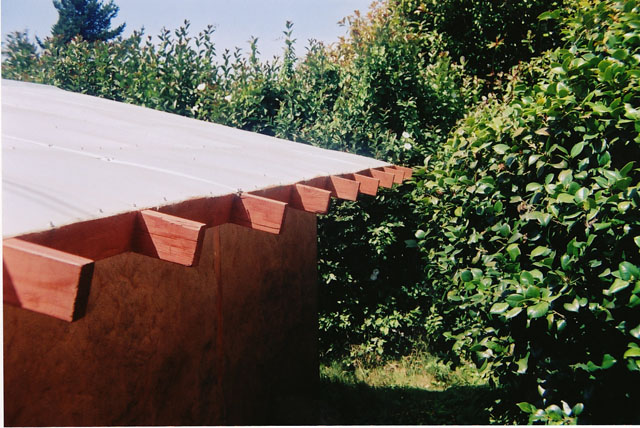
127 KB | Next I decided that the ends to the rafters that were exposed on the North side needed to be covered. At first I thought they would be OK because they were stained but I realized that with the amount of rain we get in the winter it would be better if the | 1 |
| 01:04, 3 November 2006 | Kivagreenhouse1 (78).jpg (file) | .jpg) |
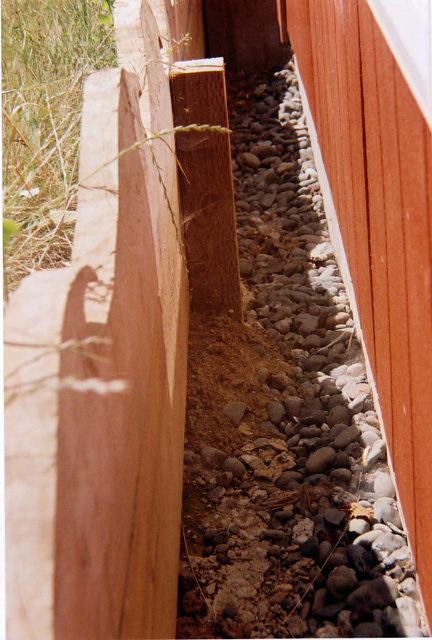
80 KB | If left this could have become a great problem because it would clog up the French drain around the foundation. To fix it I just added an additional board on the bottom of the wall and made sure it was inserted into the ground about an inch so no soil co | 1 |
| 01:02, 3 November 2006 | Kivagreenhouse1 (75).jpg (file) | .jpg) |
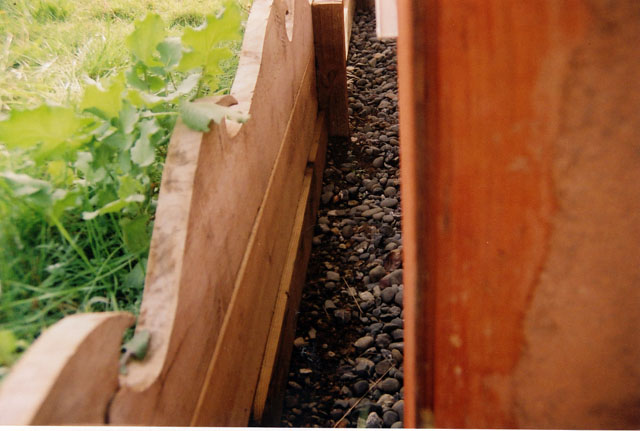
130 KB | After a year of weather there were a couple of improvements that needed to be done. The first was on the retaining wall. Our original wall did not reach all the way down to the ground so a small gap was left where soil found its way through. | 1 |
| 00:45, 3 November 2006 | Kivagreenhouse1 (67).jpg (file) | .jpg) |
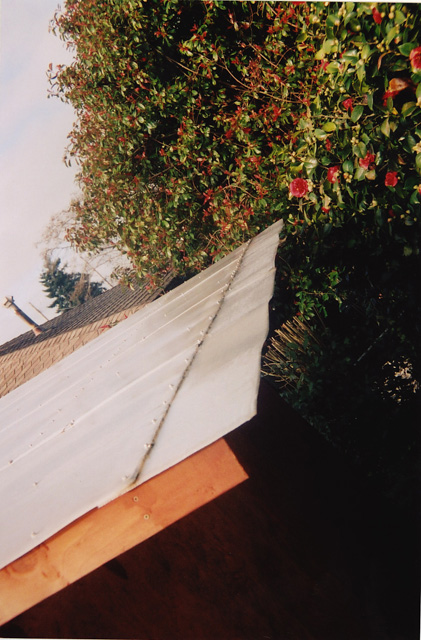
115 KB | To fix the leaks we sealed the window all the way down to the foundation and added a rain gutter onto the bottom of the glass. This gutter canals all the water that comes down the south side of the building so that it no longer runs down the front of the | 1 |
| 00:44, 3 November 2006 | Kivagreenhouse1 (65).jpg (file) | .jpg) |
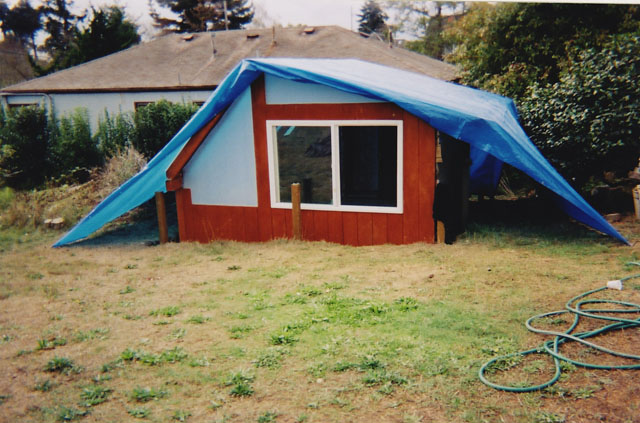
109 KB | While drying the entire greenhouse was covered in a tarp so that no rainwater could find its way to the exposed wall. We also made sure there was lots of air circulation around the open area. | 1 |
| 00:43, 3 November 2006 | Kivagreenhouse1 (66).jpg (file) | .jpg) |
131 KB | We removed any wet straw that we could and left it open to dry out for a month or so. | 1 |
| 00:42, 3 November 2006 | Kivagreenhouse1 (64).jpg (file) | .jpg) |
105 KB | First we removed the siding and saw that there were two leaks. One on the top where water was getting in between the siding and the bale and the lower leak where we had not sealed the window all the way to the foundation. | 1 |
| 00:39, 3 November 2006 | Kivagreenhouse1 (63).jpg (file) | .jpg) |
76 KB | When the rains come in the fall we realized that we had a huge problem. The southwest corner was leaking and the water was going right into the straw bale wall, which is the worst thing that can happen. Moisture is the enemy to straw bales and a wall wi | 1 |
| 00:12, 3 November 2006 | Kivagreenhouse1 (52).jpg (file) | .jpg) |
96 KB | We had a small problem with the two windows on the bottom south side of the greenhouse. The glass in them come loose and slid down creating a gap between the glass and the top of the molding. In removing the glass out we realized the entire window had b | 1 |
| 00:10, 3 November 2006 | Kivagreenhouse1 (51).jpg (file) | .jpg) |
70 KB | We had a small problem with the two windows on the bottom south side of the greenhouse. The glass in them come loose and slid down creating a gap between the glass and the top of the molding. In removing the glass out we realized the entire window had b | 1 |
| 23:14, 31 October 2006 | Kivagreenhouse1 (50).jpg (file) | .jpg) |
131 KB | After the horse manure mixture dried the scratch coat and the filler layer went on easily. So far the peg board has worked well and this spot blends in with the rest of the wall. | 1 |
| 23:13, 31 October 2006 | Kivagreenhouse1 (49).jpg (file) | .jpg) |
146 KB | After the horse manure mixture dried the scratch coat and the filler layer went on easily. So far the peg board has worked well and this spot blends in with the rest of the wall. | 1 |
| 23:12, 31 October 2006 | Kivagreenhouse1 (48).jpg (file) | .jpg) |
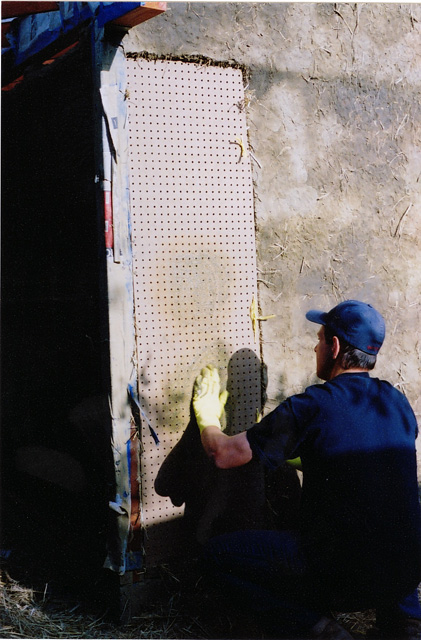
123 KB | We bought a piece of peg board and tied it onto this section. The reason for choosing peg board is that it is breathable and can be tied easily due of the holes in it. When we put the peg board on we in filled behind it with as much straw as could fit. | 1 |
| 23:10, 31 October 2006 | Kivagreenhouse1 (47).jpg (file) | .jpg) |
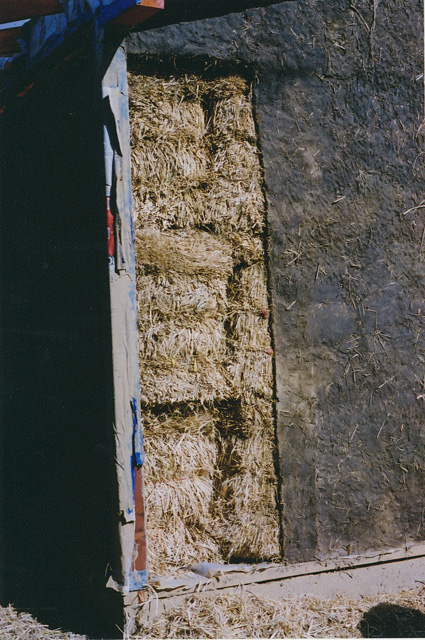
158 KB | When the bottom first bale was put in it was not flush with the rest of the wall. This created an indentation in the wall that needed to be filled. The first thing we tried to do to fix this spot was to tie a 6 inch section of straw into that hole and t | 1 |
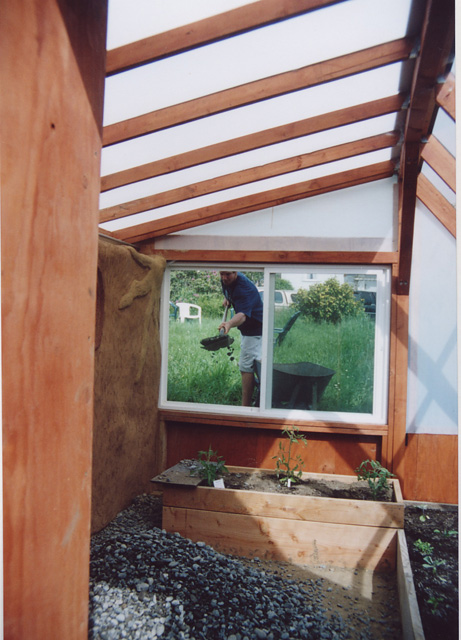
| 22:28, 31 October 2006 | Kivagreenhouse1 (74).jpg (file) | .jpg) |
123 KB | Before we put the garden boxes in we compacted the floor with a hand tamper, which consist of a steal plate at the bottom of a stout pole, and shaped the floor so that it was at a slant ending at the hole in the foundation. Once the garden boxes were in | 1 |
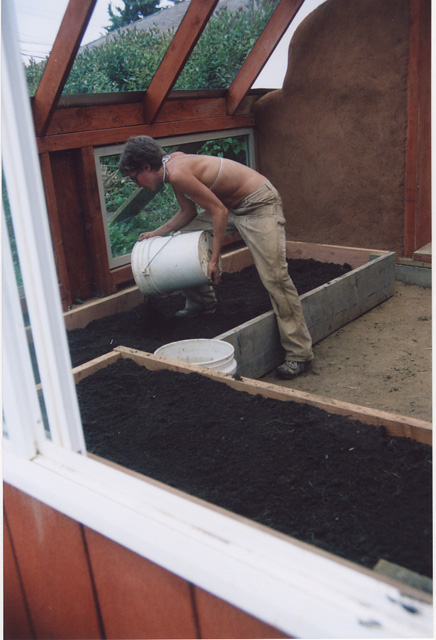
| 22:00, 31 October 2006 | Kivagreenhouse1 (73).jpg (file) | .jpg) |
97 KB | Once the beds were built we filled them with soil that came from the garden box that used to be where the greenhouse is now. To fill them we brought the soil in one bucket at a time. This was a lot of work. | 1 |
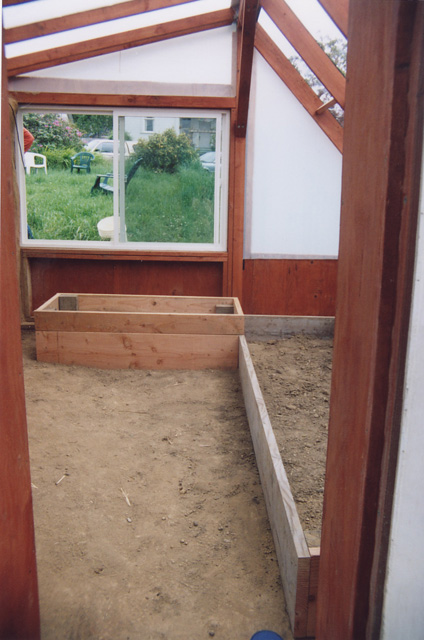
| 21:57, 31 October 2006 | Kivagreenhouse1 (72).jpg (file) | .jpg) |
102 KB | The garden beds sit right on the ground with each side buried a couple of inches into the floor. They were put together inside the greenhouse and then leveled which was hard to do with them in there because they got in the way. If I were to do it again | 1 |
| 20:26, 28 October 2006 | Kivagreenhouse1 (61).jpg (file) | .jpg) |
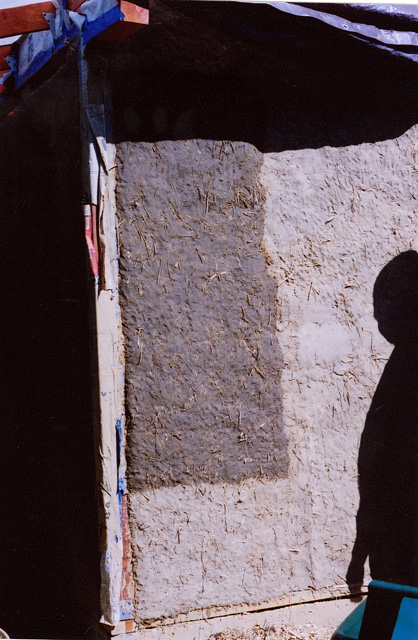
157 KB | The mistake in our plaster turned out to be not enough sand or horse manure. Our final ratio was two parts sand and horse manure to one part clay and lots of water to make it go on easy with a trowel. | 1 |
| 20:24, 28 October 2006 | Kivagreenhouse1 (60).jpg (file) | .jpg) |
83 KB | This is our test strip bale. In the future I will make all of my test strips about twice as big as what I did here so that I get a better feel of how it will look when it dries. | 1 |
| 20:23, 28 October 2006 | Kivagreenhouse1 (59).jpg (file) | .jpg) |
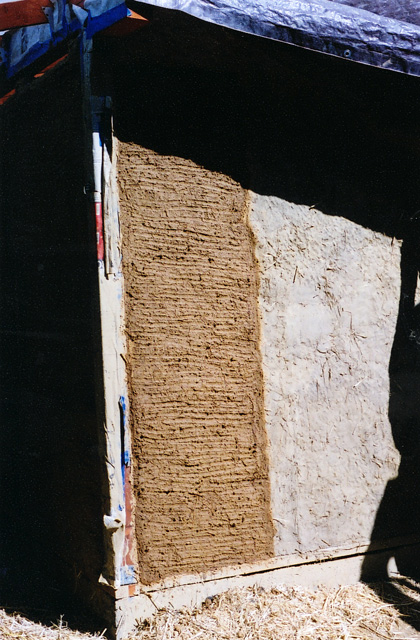
104 KB | Once the materials were ready we mixed them like the last layer, on a tarp with our feet, and applied it to the wall by hand. This layer did not have the right ratios and had to be redone later due to cracking. The lesson we learned here is to make sure | 1 |
| 20:18, 28 October 2006 | Kivagreenhouse1 (58).jpg (file) | .jpg) |
105 KB | Once the materials were ready we mixed them like the last layer, on a tarp with our feet, and applied it to the wall by hand. This layer did not have the right ratios and had to be redone later due to cracking. The lesson we learned here is to make sure | 1 |
| 20:16, 28 October 2006 | Kivagreenhouse1 (55).jpg (file) | .jpg) |
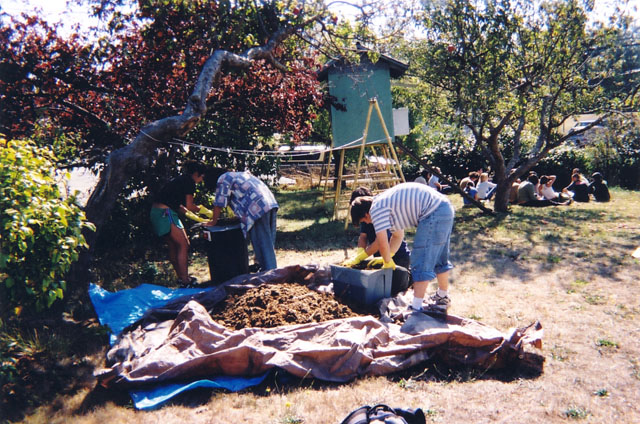
141 KB | The preparation of the materials for the last coat took a long time. The last coat is made up of horse manure, clay, sand, and flour paste, all of which had to be processed. The sand was run through a 1/8 inch screen, the manure was pushed through a ¼ | 1 |
| 20:15, 28 October 2006 | Kivagreenhouse1 (53).jpg (file) | .jpg) |
160 KB | The preparation of the materials for the last coat took a long time. The last coat is made up of horse manure, clay, sand, and flour paste, all of which had to be processed. The sand was run through a 1/8 inch screen, the manure was pushed through a ¼ | 1 |
| 19:52, 28 October 2006 | Kivagreenhouse1 (45).jpg (file) | .jpg) |
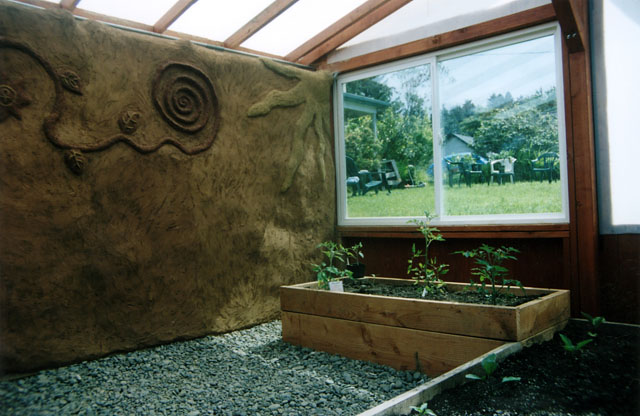
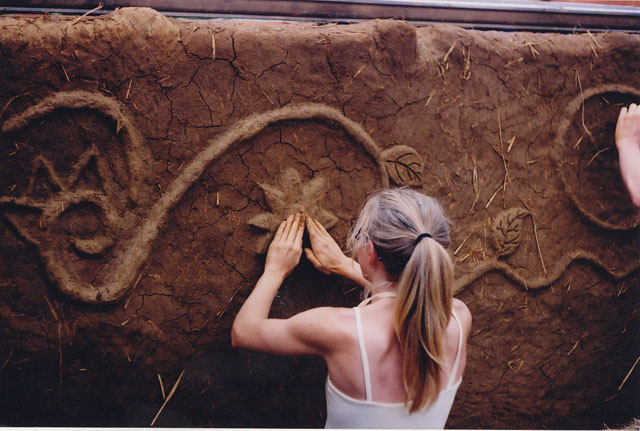
96 KB | Once the filler layer was complete it was time to do any artwork that we wanted on the walls. The artwork is done with the same mix as the filler layer and is like working with clay in ceramics class. It is important to make your designs much bolder tha | 1 |
| 19:49, 28 October 2006 | Kivagreenhouse1 (41).jpg (file) | .jpg) |
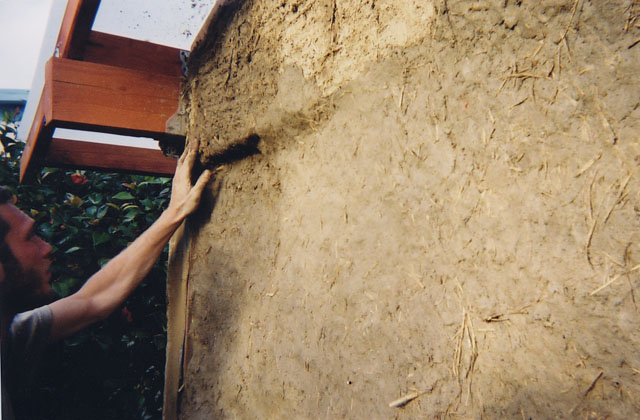
89 KB | As with the last layer it is important to work in an upward direction so that each piece of stucco is bonded with the one below it. We would mix up a small amount of filler and break it into small hand sized balls that we applied one at a time dampening | 1 |