.jpg&veaction=edit)
.jpg&action=edit)
.jpg&action=history)
.jpg)
.jpg)
.jpg&oldid=6986)
.jpg&action=info)
.jpg)
Size of this preview: 398 × 599 pixels. Other resolution: 425 × 640 pixels.
Original file (425 × 640 pixels, file size: 136 KB, MIME type: image/jpeg)
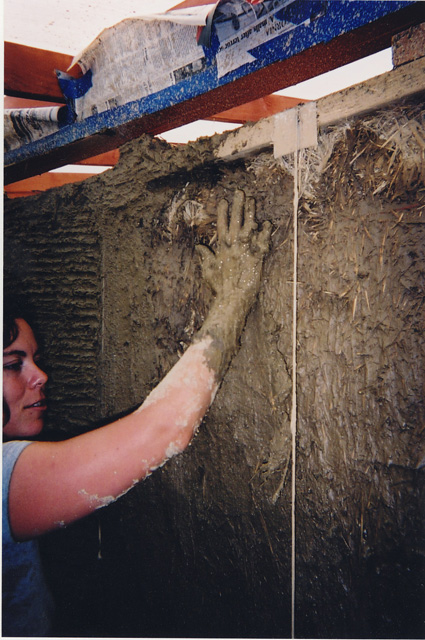
We applied the scratch layer to the bales after the slip had dried a little. This is a thin layer put on by hand into which we made horizontal lines with our fingers so that the next layer would sick to it. When applying the scratch layer it is best to start on the bottom of the wall and work your way up pushing the mixture in an upward direction.
File history
Click on a date/time to view the file as it appeared at that time.
| Date/Time | Thumbnail | Dimensions | User | Comment | |
|---|---|---|---|---|---|
| current | 19:42, 28 October 2006 | | 425 × 640 (136 KB) | Soysinlimites (talk | contribs) | We applied the scratch layer to the bales after the slip had dried a little. This is a thin layer put on by hand into which we made horizontal lines with our fingers so that the next layer would sick to it. When applying the scratch layer it is best to |
You cannot overwrite this file.
File usage
The following page uses this file:
.jpg&oldid=6986)
.jpg)