103. Now it is time to get your fully grown or young ducks to start your flock.
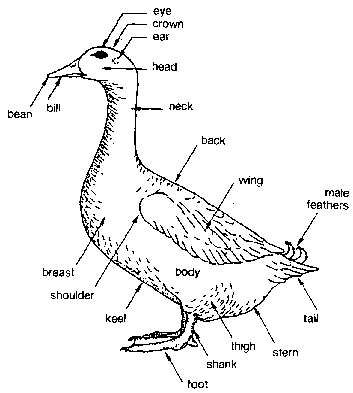
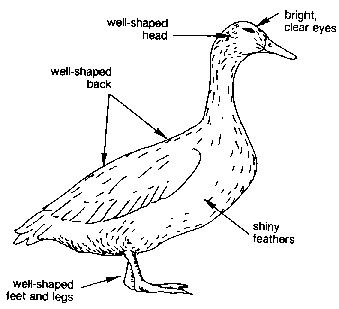
104. Let us begin by learning the parts of a duck. This will help you when you choose yours.
105. Below is a drawing of a duck. Look at it carefully and learn the name of each part.
Parts of a duck
Choosing ducks for your flock[edit | edit source]
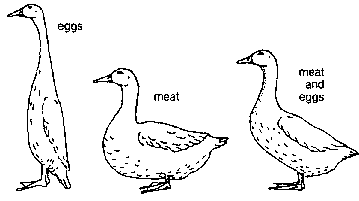
106. Some are best for eggs, some kinds are best for meat and some are good for both. The drawings below show you these 3 kinds of ducks.
Kinds of ducks
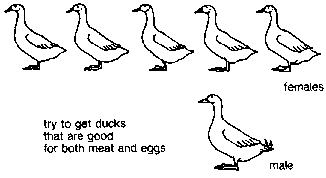
107. When you are choosing ducks to start your first flock, try to get the kind of ducks that are good for both eggs and meat.
Try to get ducks that are good for both meat and eggs
How to choose good ducks[edit | edit source]
108. It is best to choose your ducks from a place where you can see them before you buy them. If you watch them carefully you will be able to see the difference between healthy, strong ducks and sick, weak ducks.
109. If a duck looks well, has well- shaped legs, feet, wings, back and head, and if it moves about well, it is probably a good duck to buy.
A duck that looks well and stands and moves well, is a good duck to buy
How to tell the difference between female and male ducks[edit | edit source]
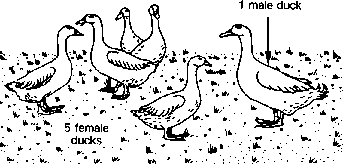
110. When you first begin with a flock of 6 ducks you must have 1 male duck to be able to grow your own baby ducks.
5 female ducks and 1 male duck
111. So, it is very important to be able to tell the difference between female and male ducks. You can tell the difference
· by listening to the quack made by the duck
· by looking at the feathers near the tail of the duck.
Listening to the quack
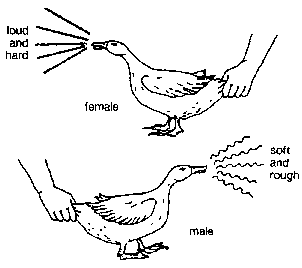
112. If you are going to begin with ducks of 8 weeks or older, you can tell female from male ducks by listening to them quack.
113. When ducks have reached this age, the quack made by a female is very different from the quack made by a male
114. Gently hold the duck by the tail until i1 begins to quack.
A female duck will make a hard, loud quack.
A male duck will make a soft, rough quack.
Quack at the female and male duck
Looking at the feathers
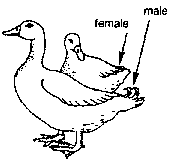
115. If you are going to begin with ducks of 4 months or over, you can tell female from male ducks by the feathers on their tails.
116. When ducks have reached this age, male ducks have curled feathers on their backs near the tail and female ducks have none.
Flocks at the female and male duck
How to handle your ducks[edit | edit source]
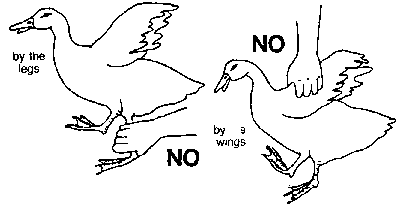
117. The legs or wings of a duck can easily be hurt or even broken. So, never grab a duck by the legs or the wings.
How to grab ducks
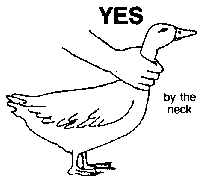
118. To catch a duck, grasp it firmly but gently at the base of the neck.
Grab the duck by the base of its neck
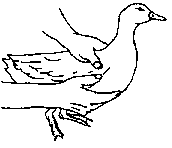
119. You can also catch a duck by holding its wings against its sides with one hand on each side of its body and a thumb over each wing.
Hold the duckÂ's wings against its sides
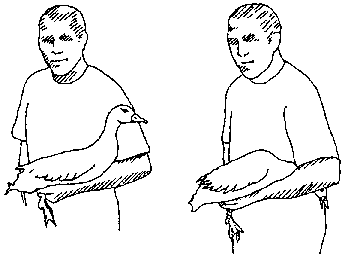
120. After you have caught a duck, slide one hand under its body and hold its legs firmly.
121. Then you can rest the body of the duck on the lower part of your arm and carry it easily.
Rest the body of the duck on the lower part of your arm
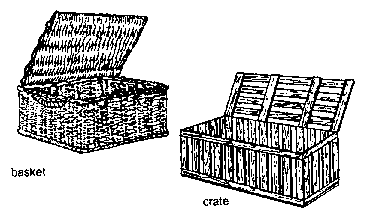
122. If you have to move a duck from place to place, you can carry it in a basket or a crate with a cover.
Basket; crate
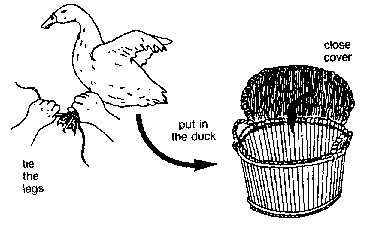
123. First, tie the legs of the duck together. Then put it gently inside and put on the cover to keep the duck from getting out.
Put the duck in the basket
After you get your ducks[edit | edit source]
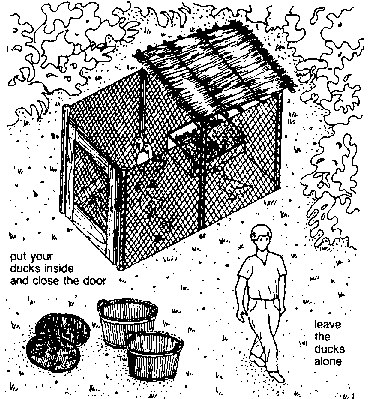
124. When you bring your ducks home, put them in their shelter, close the door and go away. That way they can settle down, become calm and get used to their new home.
Put the ducks inside and close the door, leave the ducks alone
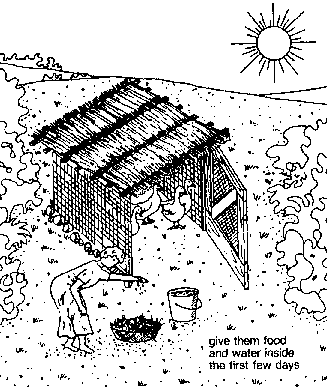
125. Later the same day, just before the sun goes down, give them some food to eat and some water to drink. However, give them the food and water inside the shelter.
Give them food and water inside the first few days
126. You can give them food that is left from your last meal. You can also give them some chopped green plants.
127. If you see that your ducks eat all the food that you give them, give them a little more.
128. Keep your ducks in their shelter for the first 2 or 3 days. However, be sure to give them some left- over food and chopped greens each night just before dark and make sure that they have water.
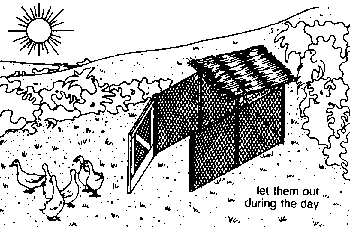
129. When you see that your ducks are calm and used to their new home, you can let them out for the day.
Let them out during the day
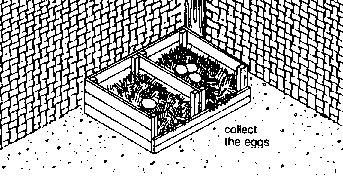
130. Let your ducks out a few hours after the sun is up. That way they will lay their eggs inside so that you can collect them easily.
Collect the eggs
131. During the day your ducks will wander about looking for insects and worms and grass and roots and other things that they like to eat.
132. Then, each night just before dark give them the left- over food from your table that day.
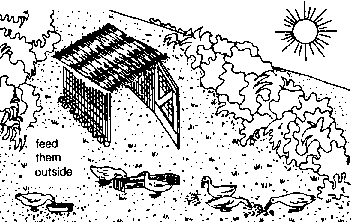
133. However, this time give them food in front of the shelter, not inside. That way is will stay clean inside.
134. By giving your ducks food in front of their shelter each night, they will become used to coming back to eat at that time.
Feed them outside
135. When your ducks have eaten, you can close them safely inside until the next morning.
136. During the first few weeks, check on your ducks from time to time during the day to see where they are.
137. However, soon they will learn to go out in the morning and come back by themselves at night. You will have to do very little for your ducks.
