Simplified tanning[edit | edit source]
The safest method for tanning rabbit skins is to send the skins to one who specializes in this work, but if home-curing is to be attempted the following procedure if correctly done should produce perfect pelts. Before anyone ever thinks about tanning, he should have enough pelts to tan to warrant his time, talent and money. The skins to be tanned must be of good quality. And good quality skins come from healthy rabbits which are the result of good management. Skins of molting rabbits are not good pelts for tanning. It is a waste of time, talent, and money to try to tan them.
1. Slaughtering[edit | edit source]
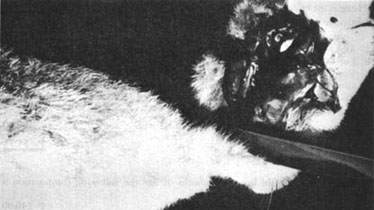
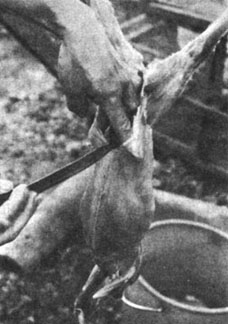
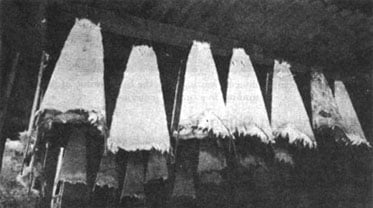
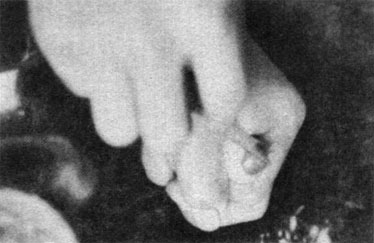
Do not feed the rabbits the day before butchering them, because much of the skins are either wasted or saved during the cutting process. The butcher should know how to butcher the rabbits. In order to skin a rabbit properly one should first suspend the rabbits by its hind legs securely facing the butcher. With his left hand the butcher holds the head firmly and in his right hand, he holds a sharp knife. His left hand then pulls down the rabbit with a jerk to break its neck and then his right hand cuts with the knife just behind the head to drain the blood. When the blood is drained, continue the cutting across the back of the head clown to the tip of the jaw including all of the thick fur covering the neck and jaw (Fig 32).
FIGURE 32-With a sharp knife cut from the neck to the tip of the jaw.
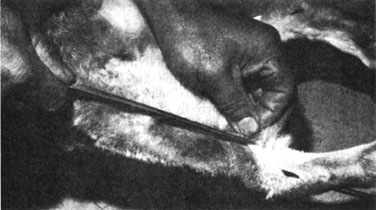
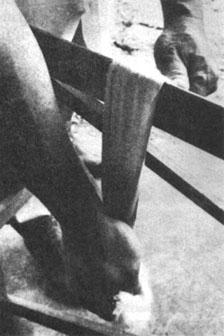
FIGURE 33 - Make a slit down the back of both hocks.
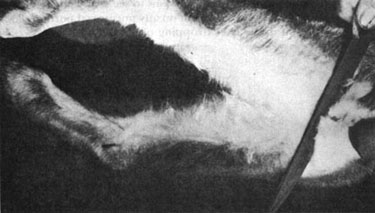
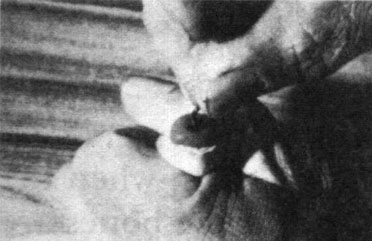
Next the butcher cuts with the knife, a slit down hock at the back and then down the other hock (Fig. 33). At this point he should loosen the flesh at the sides of the hocks with his fingers preparatory to skirting the carcass. Cut the tail at its base (Fig. 34) and also the two front legs above the joints at least half an inch high. With two hands pull the skin down the carcass until the skin is pulled oft whole like a sock. Immediately afterwards, soak the skin, tail, and feet in the soap solution.
FIGURE 34 - Cut the tail at the base.
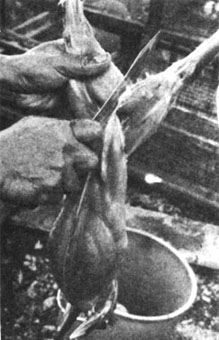
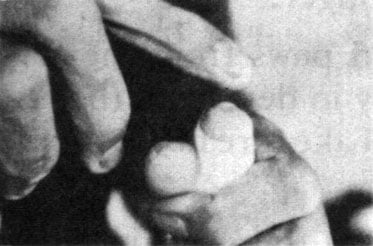
Meanwhile, make a slit on the rabbit's flesh from the rectum (Fig. 35), down to the breast, taking care not to puncture the intestines (Fig. 36). Remove the entrails. Wash the meat and hang it to air. The last step is to wash the skin thoroughly with soap and again in clear water to remove all the blood and dirt. Gently squeeze the skin between your hands. Never twist or wring the skin. Drain to remove the water.
FIGURE 35 - With the knife open the anus region to start the removal of the entrails.
FIGURE 36 - Cut the stomach and remove the entrails starting with the urine sac. Make sure urine does not spill on meat.
2. Curing the skin[edit | edit source]
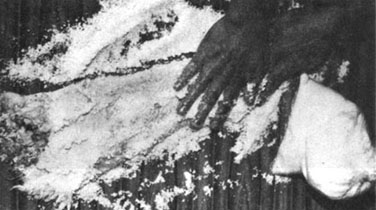
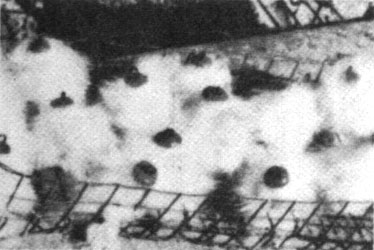
First, soak the skins in highly concentrated salt solution for one night. The next day, squeeze the water from the skin but again do not twist. Salt thoroughly the flesh side of the skins (1 k salt per pelt, Fig. 37). From time to time examine the skins to see if any portion is not covered with the salt. Rub more salt on any uncovered portion. Poor salting will result in the later dropping off of the fur.
FIGURE 37 - Salting the skin throughly. Poor salting results in hair falling off.
3. Dehairing[edit | edit source]
If you desire rabbit hide without the fur, by-pass the procedure No. 2 "Curing the Skin" (salting) and follow the steps enumerated below for 510 pelts.
a. Wash the pelts well in soap solution.
b. Prepare 500 grams of lime or ash and place or pour the same into a plastic container filled with 2 gallons of lukewarm water.
c. Stir the mixture.
d. Drop the pelts into the solution and squeeze them.
e. Leave the pelts for 24 hours or until the skins are ready for dehairing.
f. Dehair the pelts and wash with 100 grams of tide and 50 grams of borax several times until the pelts are completely dehaired.
g. Squeeze the water from the pelts and deflesh very carefully the inside part of the skins.
h. Place the skins in the tanning solution - you are ready to proceed to "actual tanning."
4. Actual tanning[edit | edit source]
Before defleshing your skins, prepare the tanning solutions which are made up of two parts, namely:
a. In a pail dissolve 500 grams of powdered alum in one gallon of warm water.
b. In another pail dissolve 250 grams of salt and 125 grams of soda in a half gallon of warm water.
c. 60 cc formalin.
When these solutions are dissolved, slowly pour the salt-soda solution into the alum solution at the same time stirring with a wooden spoon or paddle. While waiting for the mixed solution to cool off, deflesh your skins to be tanned. Defleshing is one of the hardest parts of tanning. It is done by starting from the back portion of the skin and slowly working the flesh off in a circular pattern (Fig. 38). When all the skins are defleshed, immerse them into the tanning solution for three to thirty days. Stir the skins three times a day since the chemicals separate and settle to the bottom of the pail.
FIGURE 38 - Defleshing is done by starting from the back portion of the skin and working in a circular pattern.
5. Washing and oiling[edit | edit source]
When the skins are tanned, wash them in soft water. Begin with water that had been mixed with borax to remove the tanning chemicals (one spoonful to a gallon), then wash several more times in plain clear water. Press and squeeze out the water but do not twist or wring the skins.
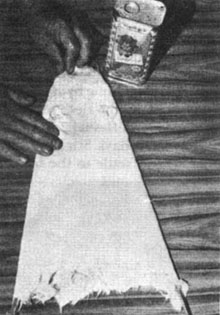
Stretch the skins on a V-shaped, 1.50 m long piece of No. 9 galvanized iron wire covered with plastic to prevent rusting. The fur should be inside and the flesh facing out. When this is done, apply coconut or olive oil thinly and evenly on the skins (see oiling formula below)(Fig. 39). If either olive or coconut oil is not available, use 100 cc of any type that is procurable and will not turn rancid. If only one of the recommended is available, use 100 cc for the oiling process, To dry, hang the skins in the shaded place not under the direct sunlight (Fig. 40).
FIGURE 39 - Rub a thin layer of oil solution on the fleshside of the pelt.
FIGURE 40 - Dry the skin On a U-shaped frame covered with plastic tubing in the shade.
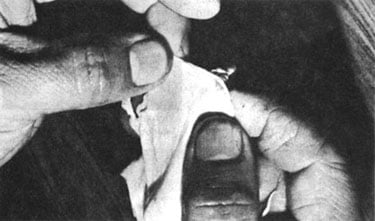
When the skins are about 95 per cent dried, start working or kneading them. Stretching or buffing the skins until they are as soft as linen handkerchiefs may take hours (Fig. 41). This is also one of the most critical parts of the tanning process. Negligence can never be repaired. the more you buff the skins the better. When the skins are well dried and soft and are ready for use, powder them with talcum.
Oiling formula[edit | edit source]
250 cc water
300 grams borax
50 cc olive oil
50 cc coconut oil
90 grams 1 medium bath soap
FIGURE 41 - Buffing or stretching the pelt.
Dissolve bath soap over fire after slicing or shaving it in small pieces. Mix remaining ingredients and let cool to lukewarm temperature. Rub thin layer on skins.
Tanned pelts can be made into such finished products as bags, hats, coats, bedspreads, and shawls. The most efficient way to market tanned pelts is to sell them in whole form, thus, eliminating overhead costs of making finished fur products.
Making charms from rabbit paws and tails[edit | edit source]
1. Wash paws and tails thoroughly in any detergent to remove dirt and blood. Re move water by squeezing but do not break the bones.
2. In a plastic container, mix 2 liters formaline and 1 liter water (2:1). Soak paws and tails for 3 days or more. After 3 days, when the bones are hard, the paw and tail are preserved. If the bones are still soft, leave in the formaline solution longer.
3. With a rubber globe, remove the tails and paws from the formaline solution and wash them thoroughly in detergent (borax, tide, baking soda, or sodium bicarbonate). Take care not to inhale toxic fumes from the solution.
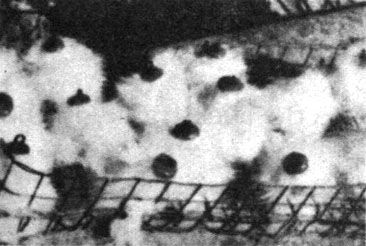
4. Dry paws and tails on wire mesh or G.I. in the sunshine until thoroughly dried.
1. Perstop wood glue.
2. Copper wire.
3. Hand drill made from.05 nail attached to small piece of wood for drilling hole into foot.
4. Cup containing water.
5. Key chains.
Procedure
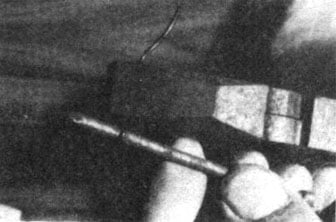
1. Prepare hook by bending copper wire around a.075 nail to form an eye. Use a pair of pliers for easy manipulating (Fig. 42).
FIGURE 42
2. Mix glue to a consistency like peanut butter, calculating the needed quantity.
3. Having dried the tails and feet thoroughly, chop or cut the exposed bone with a sharp bolo to remove rough edges.
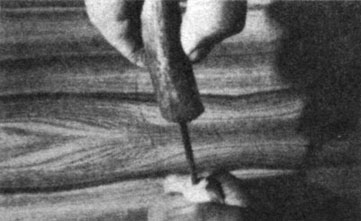
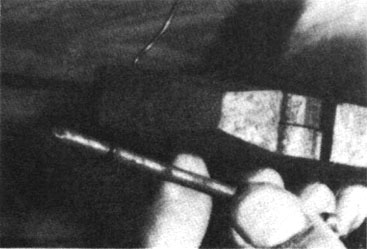
4. With the homemade hand drill, make a hole in the center of the bone about 1 cm to 1 ½ cm deep (Fig. 43).
FIGURE 43
5. Spoon just enough glue with the pointed stick into the drilled hole (Fig. 44).
FIGURE 44
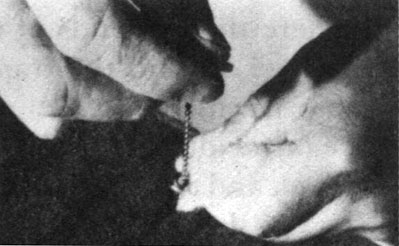
6. Insert hook up to the neck of its eye (Fig. 45)
FIGURE 45
7. Dip your index finger into the glass of water and smooth the mound of glue around the hook and edges of the paw or tail (Fig. 46).
FIGURE 46
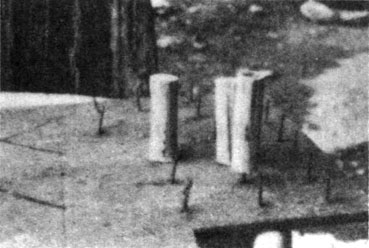
8. Put foot and tail upright in a welded wire rack or cartoon. Let stand in sun until glue is hardened (Fig. 47).
FIGURE 47
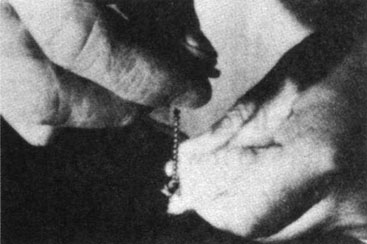
9. When glue is dried, place a key chain through the eye of the hook. It is now a completed product (Fig. 48).
FIGURE 48
10. If you have many completed paws and tails, link them together in strands and place in a cellophane bag to protect them from dirt and crust.
11. Bring them to market.
In places where the demand for artificial rabbit tails is economically feasible for production or to produce them, the following instructions utilizes trimmings and good quality tanned pelts for their construction. Artificial tails arc relatively inexpensive to purchase in comparison to the cost of one pelt, thus, the market is open to all strata of the population.
Making artificial rabbit tails[edit | edit source]
Materials
-Two inch lenght of stick (this lenght of stick will serve as the 'bone' so it should be as wide as you want the finished 'tail' to be.)
-One rabbit hide, slit down the center of the stomach or you can use remnant pieces of hide.
-One razor blade (single edge is safer and provides more control.)
-One can of Rugby contact cement.
-Paint thinner (to clean glue from fingers.)
-Wood glue (perstop powdered glue).
-One.075 nail.
-One inch lenght of copper wire.
-One rack which will allow the finished product to dry in an upright position.
-Paper and pen.
READ ALL STEPS FIRST BEFORE PROCEEDING
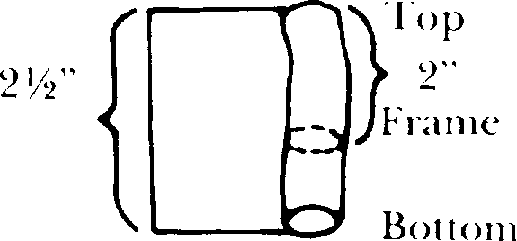
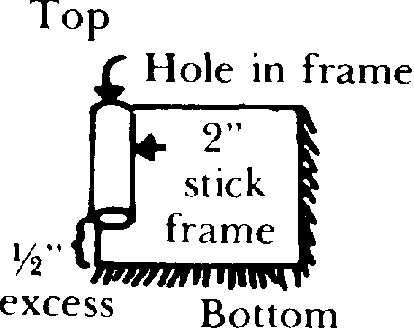
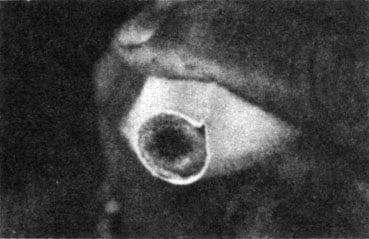
1. Roll a piece of heavy paper (this will serve as your pattern) around the.05 stick frame. Make a 1 cm hole in one end of the frame with it.a.05 nail, where you will later insert the - copper wire hook (Fig. 49).
FIGURE 49
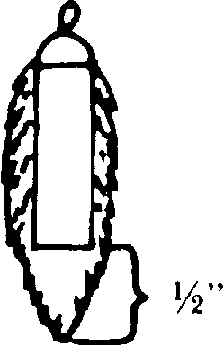
2. Make the lenght of this pattern.064 the extra.0125 will hang off the end of the.05 stick frame to imitate the end of a normal rabbit tail (Fig. 50).
FIGURE 50
3. Mark the exact point where the two ends of the pattern meet when wrapped around the frame. (this is the width of the pattern).
4. Cut the pattern at the exact width of the frame.
5. Lay pattern on inside of pelt and trace the pattern onto pelt in such a way so that the direction of the fur will end up running smoothly down toward the end of the "tail" (Fig. 51).
FIGURE 51
6. Then take your pen and ruler and retrace the pattern with a more heavily defined dotted line. Make sure your width is exact to avoid overlap (Fig. 52)!
FIGURE 52
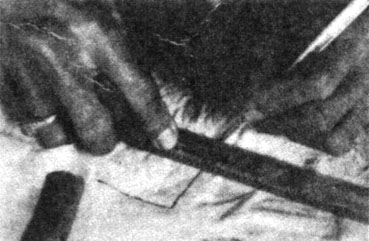
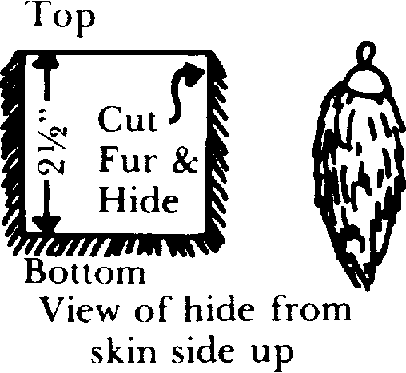
7. Before you actually cut the hide keep in mind that you do not want to cut the fur...only the hide, except along the edge that will eventual!.´, be the top of your rabbit's tail (STUDY ILLUSTRATION) (Fig. 53).
FIGURE 53
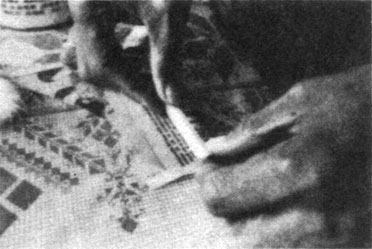
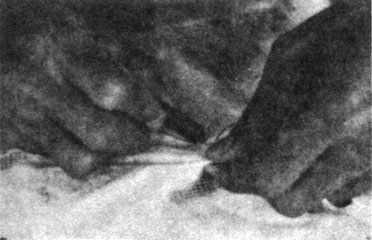
8. Now take your razor blade (preferably single edge) and slowly cut out the pattern (Caution here because it is very easy to slip and cut yourself and damage the fur) (Fig. 54).
FIGURE 54
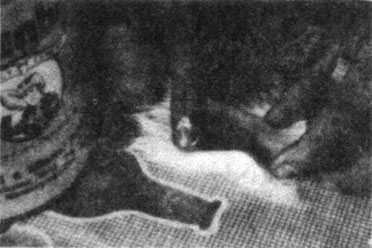
9. With your finger, smooth some Rugby contact cement onto the inside of this cut pelt. (Do not get cement on fur!!) (Fig. 55).
FIGURE 55
10. With your finger, smooth a thin layer of Rugby contact cement onto the.05 or-.038 stick frame also (Fig. 56).
FIGURE 56
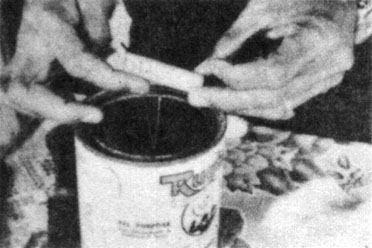
11. Let these two glued surfaces sit until almost dry-about 20 - 30 minutes.(You can clean your fingers with the paint thinner while you wait.) (Fig. 57).
FIGURE 57
12. Slowly and carefully place the stick frame on the pelt as illustrated (Fig. 58).
FIGURE 58
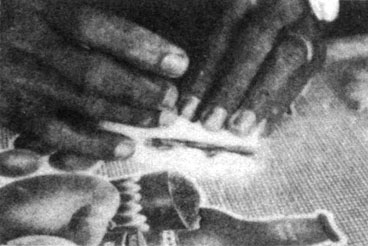
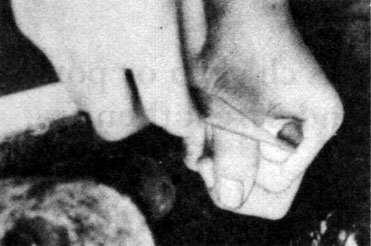
13. Roll skin onto frame evenly. If you cut the pelt accurately the ends will be flush with each other (not overlapping). If the pelt is too short, try stretching it with your fingers so it will reach (Fig. 59)
FIGURE 59
14. This photo shows a pelt that has not been cut accurately resulting in overlap.. something best to avoid (Fig. 60).
FIGURE 60
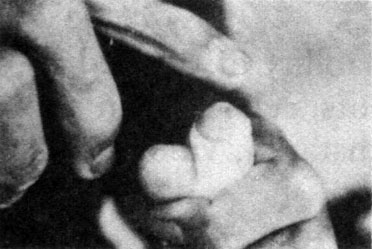
15. The.0125 excess in length hangs from the bottom to create the illusion of a tail which you can help by gently molding the "excess" pelt with your fingers (Fig. 61).
FIGURE 61
16. Mix a small amount of the Per-stop Powdered glue with a small amount of water so as to make a thick paste about the consistency of very thick peanut butter.
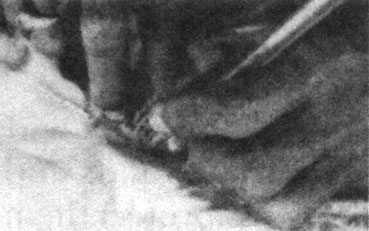
17. Using a small pointed stick, apply this glue to the top of the produced (or fake) rabbit tail-do not get the glue on fur-and form into a small rising mound as illustrated (Fig. 62).
FIGURE 62
18. Then wet your finger and smooth all rough spots on this mound of thick glue. The reason is, this glue dries very hard and any jagged edges will cut you easily (Fig. 63).
FIGURE 63
19. Bend the.025 length of copper wire around a thick nail to form your hook and insert the bent wire into the hole of the frame, through the mound of glue. (Again smooth rough areas with wet finger.)
FIGURE 64
20. Put finished rabbit tail into a rack to dry for 24 hours or until the glue hardens (Fig. 65).
FIGURE 65
21. Strands of colored ribbon or crochetted string looped through the copper hook add a colorful touch. Or attach a metal ball chain fastener (Fig. 66).
FIGURE 66
22. If you have many rabbit tails, link them together in a long strand and bring them to market.
