To learn why thermal curtains are awesome to begin with, how much money they could save you, or understand how they work, check out this similar page: CCAT is great. This more detailed procedure will provide extended benefit for those who learn better with diagrams and words than with the following photographs.
The Procedure
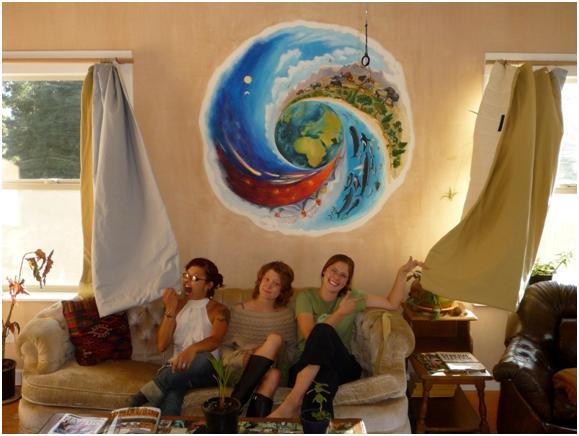
And Voila!
| Image | Step |
|---|---|
|
Step 1. Measure the windows to be treated with thermal curtains. Be careful on how you convert your measurements into the fabric yard. |
|
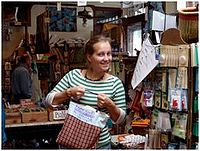
Step 2. Obtain the batting material and decorative fabric material. It is best if you can use recycled or sustainable material. Keep in mind that you want sturdy material that is not going to stretch or rip easily. Twill works best, while jersey is impractical. Step 3. Wash the decorative fabric material before you fabricate your thermal curtains. |
|
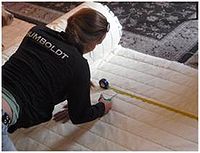
Step 4. Cut the batting material and the fabric out according to the measurements of the window, giving an allowance of 2 inches around the perimeter of the decorative fabric material. Remember, it is better to be a little over than too short. |
|
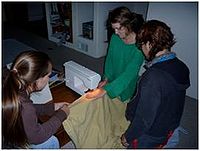
Step 5. Pin the fabric on to the batting material so that it makes sewing easier. With the Warm Windows batting material, the fabric-side of the batting material must face the decorative-side of the fabric material. |
|
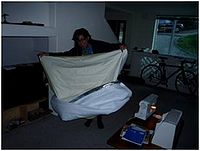
Step 6. Use a sewing machine to sew the fabric to the batting material. Sew three edges together and then flip the curtain to expose the exterior. |
|
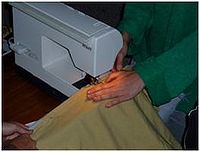
Step 7. On the un-sewn edge, tuck the remaining material into the curtain and sew them together. This keeps the seam on the inside and makes the finished product look nice. |
|
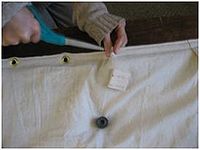
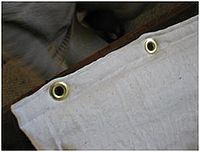
Step 8.Make holes in the material along the top for the grommets to be put into. |
|
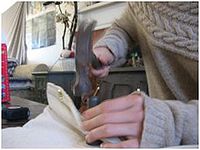
Step 9. Hammer the grommets into place. |
|
|
|
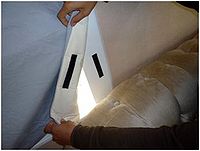
Step 10. Sew Velcro onto the sides of the curtain panels that need to be sealed onto the wall. Position and set Velcro on the walls relative to the position of the Velcro on the curtains. This allows for better insulation. |
|
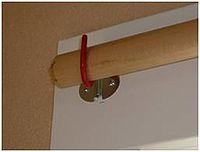
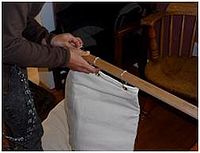
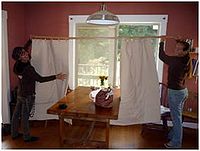
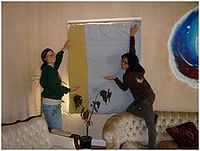
Step 11. Install the curtain rod and hang up the curtains. |
|
|
|
|
|
|
|
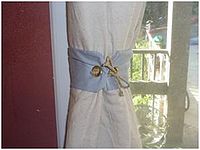
Step 12. Make curtain ties out of the extra material, if any, if you want to be able to tie the curtains back when not in use. |
Tips
Measurement Considerations Before fabricating thermal curtains for your home, you need to decide which windows you want to cover. In the northern hemisphere, north-facing windows and large windows release the most heat, therefore covering these windows will have the biggest impact. You need to measure the height and width of the windows. Be sure to keep in mind that you want your curtains to extend beyond the window in order to get best results.
Also note that the cold air on the window side of the curtains will flow downward, and the warm air inside the house will flow upwards. Because of this, you can help to prevent this cycling of the air (and thus cold drafts) by installing a pelmet above your curtains. The pelmet doubles to hide the curtain fittings (rail, etc.).
The Necessary Materials
- Insulative batting material (obtained through CCAT at Humboldt State University or ordered from Warm Windows.
- Decorative cover material
- Curtain rod or wooden dowel
- Curtain rod brackets or dowel brackets
- Curtain rings or shower curtain rings
- Velcro
- Sewing machine, thread, pins, scissors, tape measure
- Grommet punch set with grommets
Ending Note
This page was created by Kelly Muth of Eng 114 at Humboldt State. The other group members are Maria Hester, Heidi Halverson and Kelsey Knutson. Without them, the thermal curtains would not have been as awesome as they are. Thanks for everything! And a special thanks to Lonny Grafman, who taught an excellent class and taught me more than I possibly could know about whole earth engineering.